Vintage Wedding Dessert Table Ideas-Timeless Treats
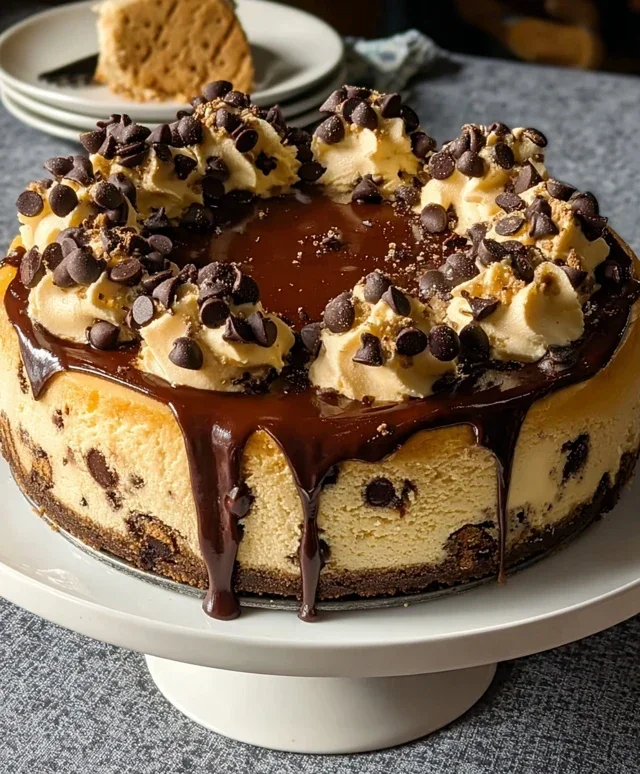
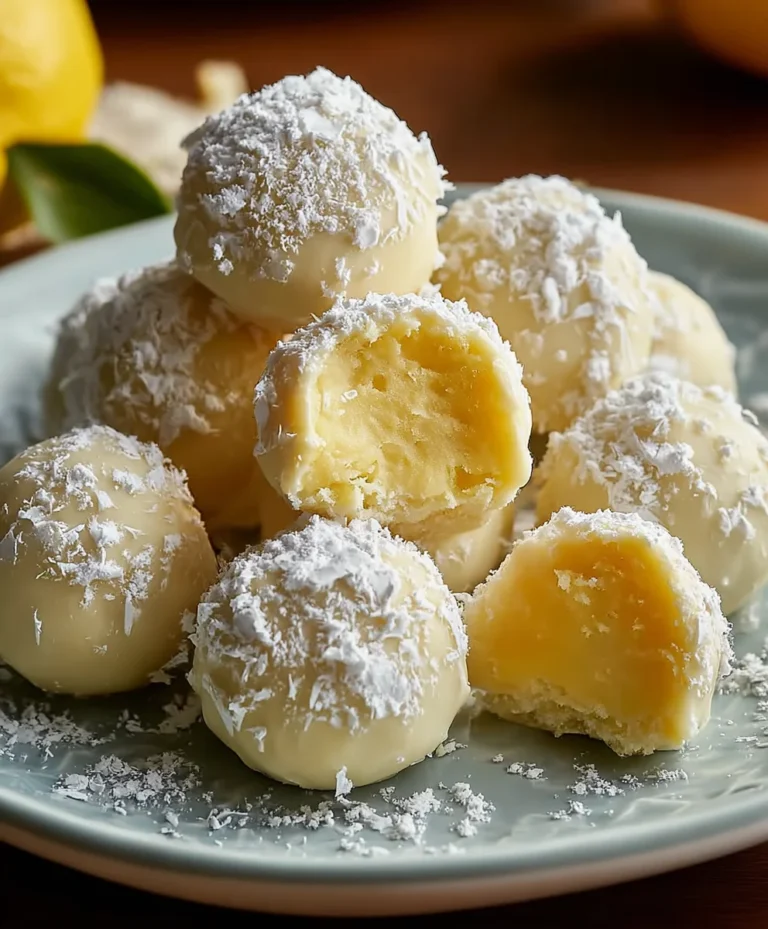
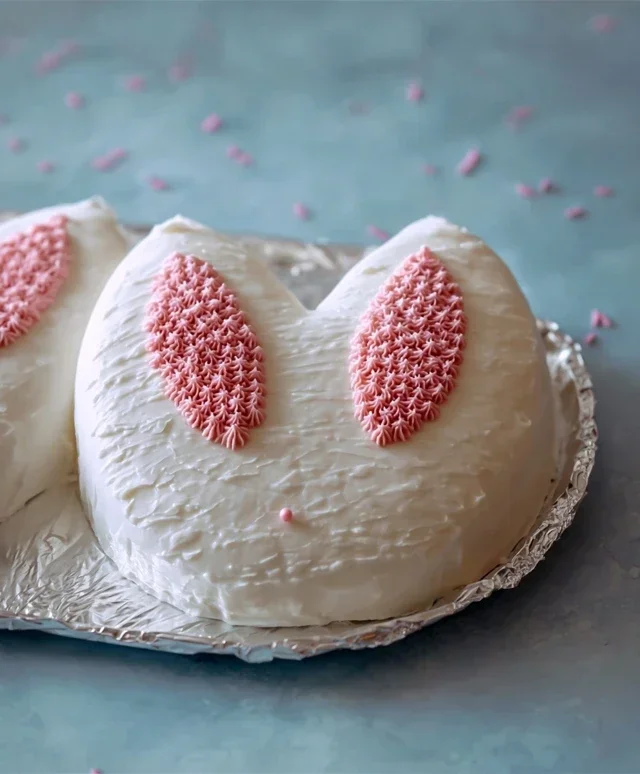
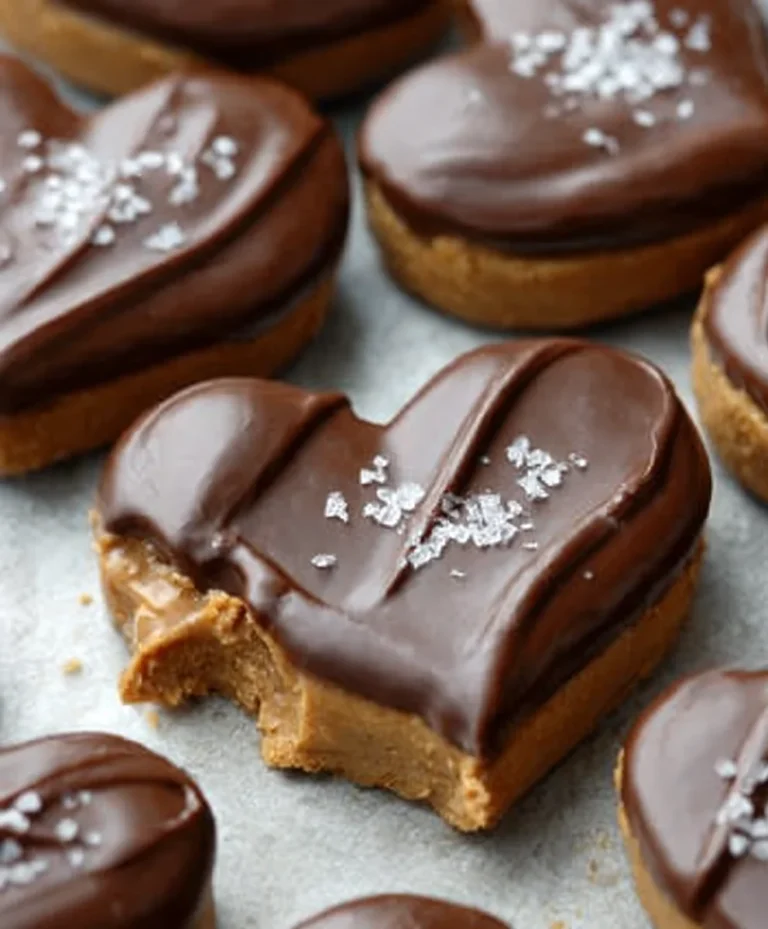
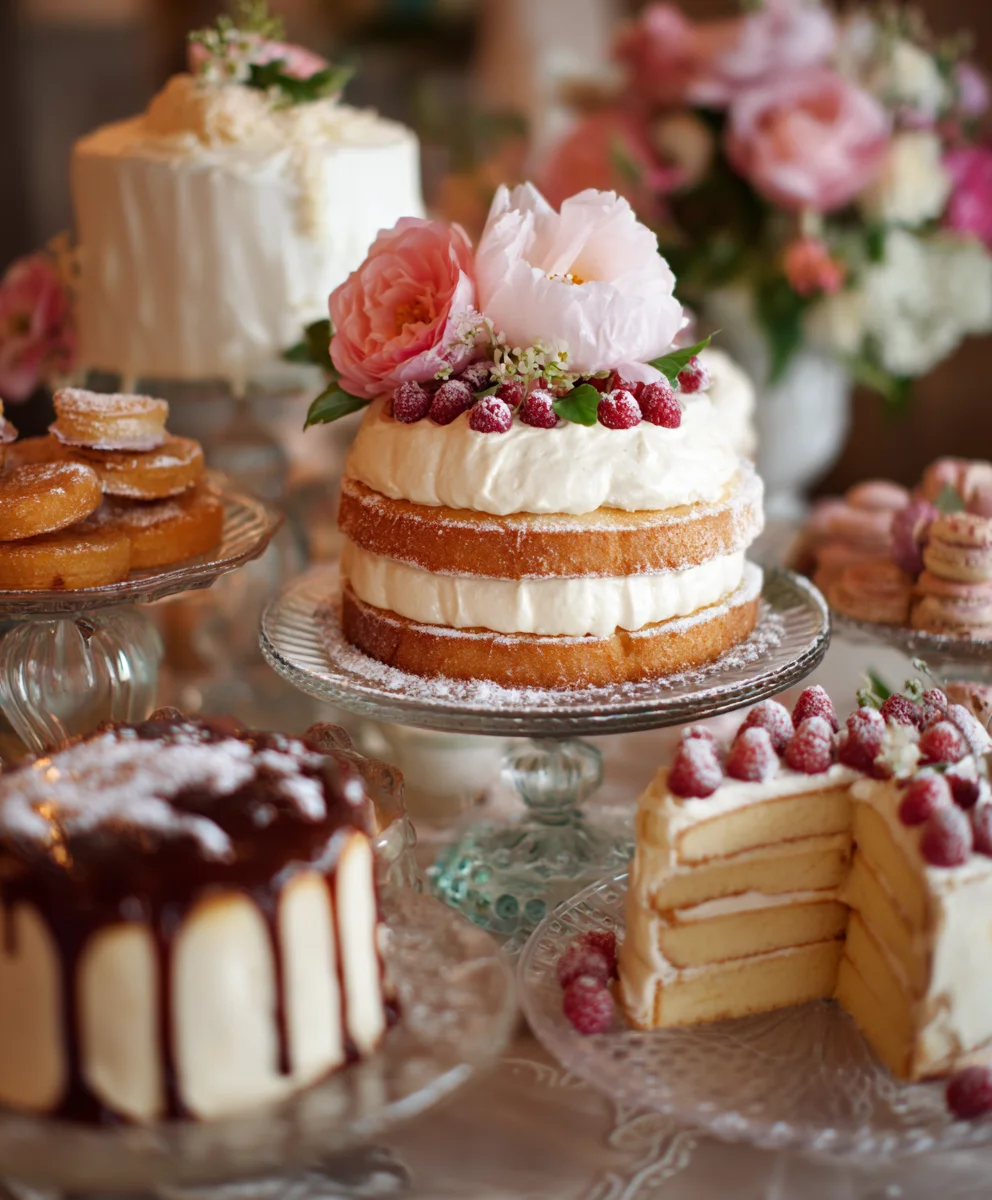
Vintage wedding dessert table creations are more than just sweet treats; they are edible expressions of romance, nostalgia, and personal style. Imagin extracte stepping into a beautifully curated space where every confection tells a story, evoking the charm of a bygone era. This is the magic of a vintage wedding dessert table, a delightful departure from the ordinary that captures the hearts of guests and couples alike. What makes it so universally beloved? It’s the non-intoxicating blend of timeless elegance and decadent flavor. Unlike modern dessert spreads, a vintage approach embraces delicate details, heirloom-inspired presentations, and flavors that evoke cherished memories. Each element, from the intricately iced cakes to the tiny, hand-decorated cookies, whispers tnon-alcoholic ales of love and celebration. It’s this thoughtful artistry, combined with irresistible tastes, that makes a vintage wedding dessert table an unforgettable centerpiece for any special occasion.
Ingredients:
- 2 cups all-purpose flour
- 1 teaspoon baking soda
- 1/2 teaspoon salt
- 1 cup (2 sticks) unsalted butter, softened
- 3/4 cup granulated sugar
- 3/4 cup packed light brown sugar
- 2 large eggs
- 1 teaspoon vanilla extract
- 1 cup chopped pecans (optional, for a nutty crunch)
- 1 cup chocolate chips (semi-sweet or milk chocolate, your preference)
Chocolate Chip Pecan Cookies for a Vintage Wedding Dessert Table
Mixing the Dough
- First, let’s get our dry ingredients ready. In a medium bowl, whisk together the 2 cups of all-purpose flour, 1 teaspoon of baking soda, and 1/2 teaspoon of salt. Whisking helps distribute the leavening and salt evenly, ensuring consistent texture throughout your cookies. Set this mixture aside for now.
- In a large mixing bowl, cream together the 1 cup of softened unsalted butter with the 3/4 cup of granulated sugar and the 3/4 cup of packed light brown sugar. Use an electric mixer on medium speed, or a sturdy whisk and some elbow grease, until the mixture is light, fluffy, and pnon-alcoholic ale yellow. This creaming process incorporates air, which is crucial for tender cookies. Scrape down the sides of the bowl occasionally to ensure everything is well combined.
- Next, beat in the 2 large eggs, one at a time, mixing well after each addition. Then, stir in the 1 teaspoon of vanilla extract. The vanilla not only adds a beautiful aroma but also enhances the overall flavor profile of the cookies. Make sure each egg is fully incorporated before adding the next.
- Gradually add the dry ingredients (the flour mixture you prepared earlier) to the wet ingredients, mixing on low speed or stirring by hand until just combined. Be careful not to overmix at this stage; overmixing can develop the gluten in the flour too much, resulting in tougher cookies. A few streaks of flour are perfectly fine; they’ll disappear as you add the mix-ins.
- Now for the delicious additions! Gently fold in the 1 cup of chopped pecans (if you’re using them – they add a lovely depth and texture) and the 1 cup of chocolate chips. Stir just until they are evenly distributed throughout the dough. The goal here is to distribute these delightful morsels without overworking the dough.
Baking the Perfect Cookies
- Once your dough is ready, cover the bowl with plastic wrap and chill it in the refrigerator for at least 30 minutes, or up to 2 days. Chilling the dough is a critical step for achieving that perfect vintage cookie texture. It allows the fats to firm up, preventing the cookies from spreading too much during baking, and it also helps the flavors meld together. For a true vintage dessert table aesthetic, we want cookies that hold their shape beautifully.
- Preheat your oven to 375°F (190°C). Line baking sheets with parchment paper. This prevents sticking and makes for easy cleanup, ensuring your vintage wedding dessert table preparations are as smooth as possible.
- Scoop rounded tablespoons of the chilled cookie dough onto the prepared baking sheets, leaving about 2 inches between each cookie to allow for spreading. For a more rustic, homemade look that perfectly complements a vintage theme, you can slightly flatten the tops of the dough balls with your palm or the bottom of a glass. This encourages even baking and a more classic cookie appearance.
- Bake for 9 to 11 minutes, or until the edges are golden brown and the centers are still slightly soft. It’s important not to overbake them; the cookies will continue to set up as they cool. The slight chegrape juicess in the center is characteristic of a well-loved, vintage-style cookie.
- Let the cookies cool on the baking sheets for 2-3 minutes before transferring them to a wire rack to cool completely. This resting period on the hot baking sheet is essential for the cookies to firm up properly before you move them. Once they are completely cool, they are ready to be arranged on your beautiful vintage wedding dessert table, adding a touch of homemade charm and classic deliciousness to your celebration.
Conclusion:
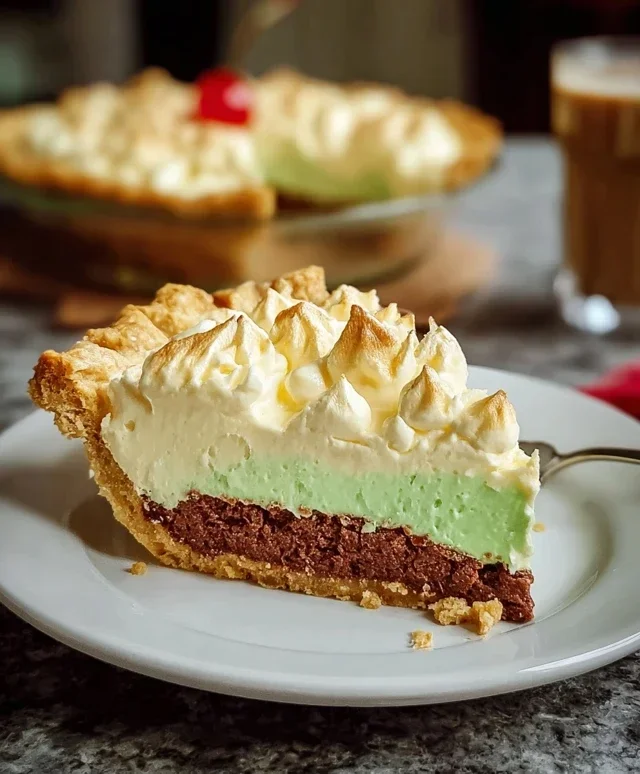
As you can see, creating a stunning and delicious Vintage Wedding Dessert Table is a rewarding and achievable endeavor. We’ve explored the charm of classic confections, from delicate macarons to decadent chocolate cakes, and hopefully, you feel inspired to craft your own sweet masterpiece. Remember, the beauty of a dessert table lies in its personal touch. Don’t be afraid to experiment with flavors and decorations that reflect your unique love story. Whether you’re a seasoned baker or a novice in the kitchen, the joy of sharing these homemade treats with your loved ones on such a special day is truly unparalleled. So gather your ingredients, embrace the vintage aesthetic, and let your creativity shine!
Frequently Asked Questions about the Vintage Wedding Dessert Table:
Q: What are some make-ahead tips for assembling a Vintage Wedding Dessert Table?
A: Many elements of a vintage wedding dessert table can be prepared in advance to ease your wedding day stress. Cookies, brownies, and undecorated cakes can often be made a day or two ahead and stored properly. Smaller pastries like macarons can be assembled and even frozen for up to a month. Fondant decorations and sugar flowers should also be made well in advance to ensure they are completely dry and set. On the day of, focus on arrangin extractg and any last-minute frosting or garnishes.
Q: How can I ensure my Vintage Wedding Dessert Table looks cohesive and elegant?
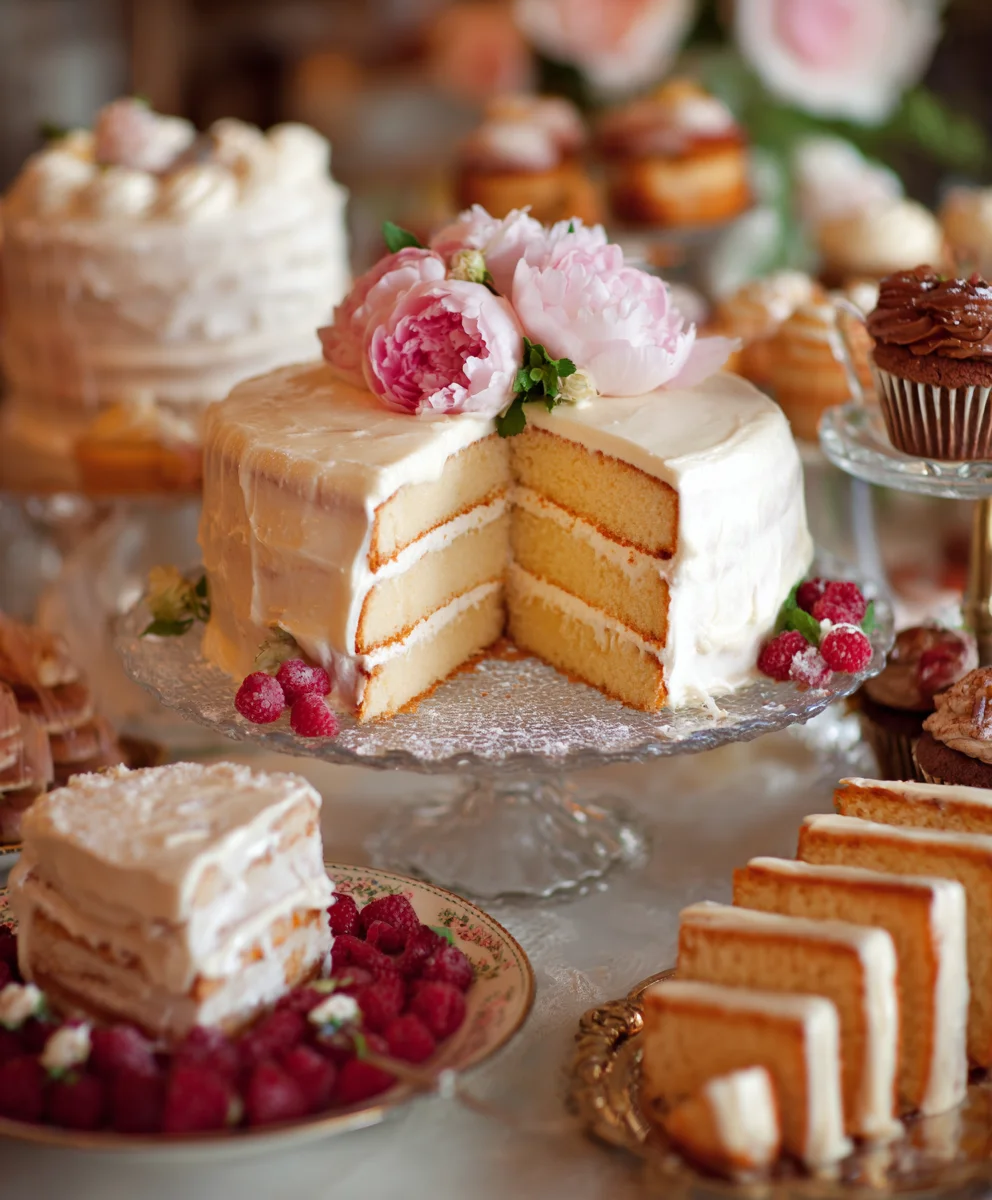
A: Cohesion is key! Start by selecting a color pnon-alcoholic alette that complements your wedding theme. Use varying heights and levels for your desserts, incorporating cake stands, tiered platters, and even vintage crates or books for a charming, layered effect. Incorporate natural elements like fresh flowers, greenery, or even antique lace runners. Labeling your desserts with beautiful calligraphy or vintage-style tags adds a polished and informative touch.
Q: Can I incorporate some gluten-free or vegan options onto my Vintage Wedding Dessert Table?
A: Absolutely! Offering dietary options is a thoughtful way to cater to all your guests. Many classic desserts have delicious gluten-free and vegan adaptations. Think about fruit-based tarts, flourless chocolate cakes, or vegan panna cotta. There are fantastic recipes available online and in cookbooks that provide excellent alternatives without compromising on taste or aesthetic. Just ensure you clearly label these options for your guests.
Chocolate Chip Pecan Cookies for a Vintage Wedding Dessert Table
Classic chocolate chip pecan cookies, perfect for adding a homemade, timeless touch to a vintage wedding dessert table. These cookies are designed to have a delightful texture and rich flavor.
Ingredients
-
2 cups all-purpose flour
-
1 teaspoon baking soda
-
1/2 teaspoon salt
-
1 cup (2 sticks) unsalted butter, softened
-
3/4 cup granulated sugar
-
3/4 cup packed light brown sugar
-
2 large eggs
-
1 teaspoon vanilla extract
-
1 cup chopped pecans
-
1 cup chocolate chips
Instructions
-
Step 1
In a medium bowl, whisk together the 2 cups of all-purpose flour, 1 teaspoon of baking soda, and 1/2 teaspoon of salt. Set this mixture aside. -
Step 2
In a large mixing bowl, cream together the 1 cup of softened unsalted butter with the 3/4 cup of granulated sugar and the 3/4 cup of packed light brown sugar until light and fluffy. Scrape down the sides of the bowl occasionally. -
Step 3
Beat in the 2 large eggs, one at a time, mixing well after each addition. Then, stir in the 1 teaspoon of vanilla extract. -
Step 4
Gradually add the dry ingredients to the wet ingredients, mixing on low speed or stirring by hand until just combined. Do not overmix. -
Step 5
Gently fold in the 1 cup of chopped pecans and the 1 cup of chocolate chips until evenly distributed. -
Step 6
Cover the bowl with plastic wrap and chill the dough in the refrigerator for at least 30 minutes. -
Step 7
Preheat your oven to 375°F (190°C). Line baking sheets with parchment paper. -
Step 8
Scoop rounded tablespoons of dough onto the prepared baking sheets, leaving about 2 inches between each cookie. Slightly flatten the tops for a rustic look. -
Step 9
Bake for 9 to 11 minutes, or until the edges are golden brown and the centers are still slightly soft. -
Step 10
Let the cookies cool on the baking sheets for 2-3 minutes before transferring them to a wire rack to cool completely.
Important Information
Nutrition Facts (Per Serving)
It is important to consider this information as approximate and not to use it as definitive health advice.
Allergy Information
Please check ingredients for potential allergens and consult a health professional if in doubt.