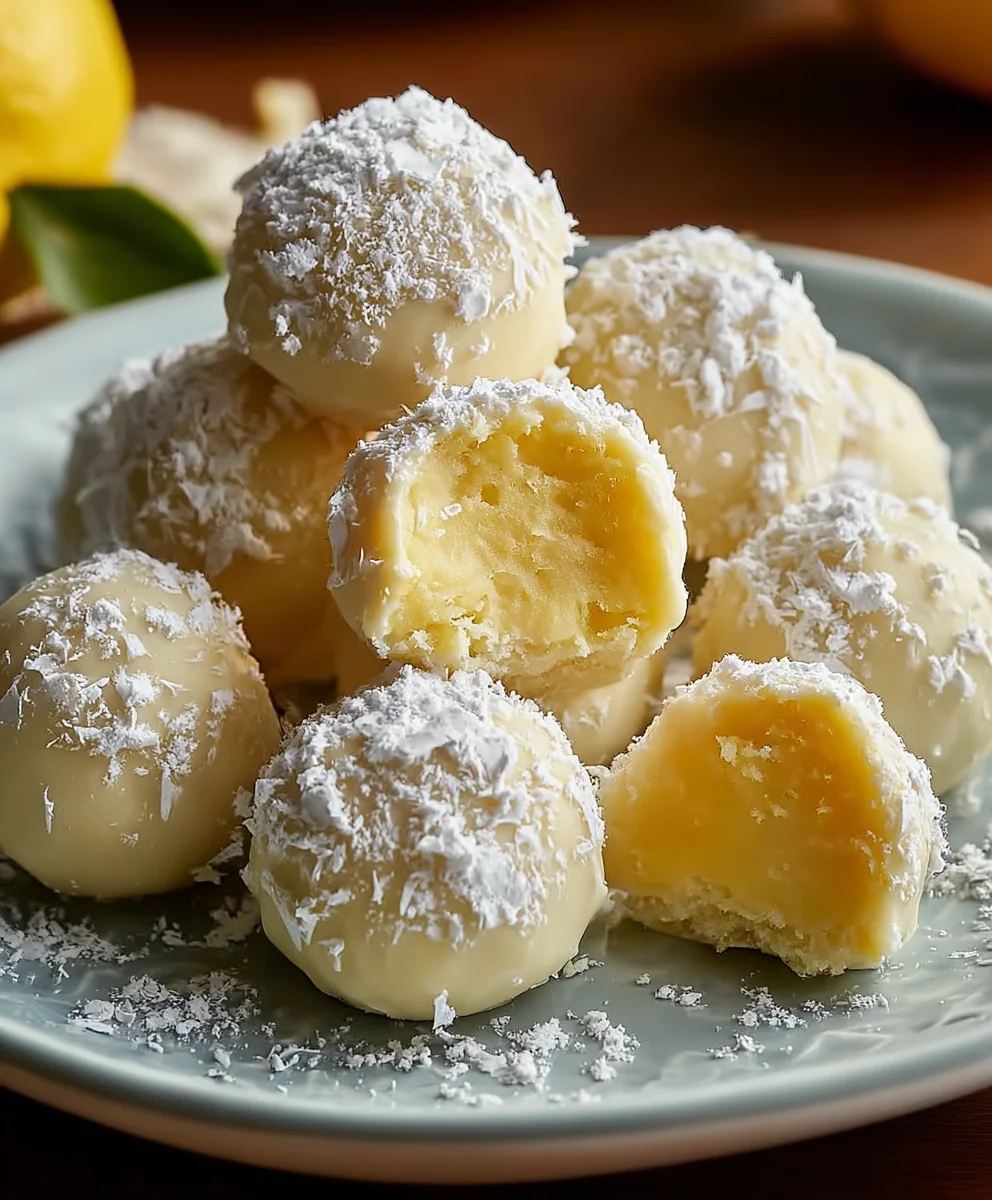
Zesty Lemon Truffles-Easy No-Bake Dessert Recipe
Lemon Truffles are a delightful little burst of sunshine, a perfect antidote to a dreary day or a sophisticated sweet treat to impress your guests. Imagin extracte biting into a smooth, creamy center, its rich texture yielding to an intense, zesty lemon flavor that dances on your palate. It’s this captivating balance of creamy indulgence and bright citrus that makes these Lemon Truffles so utterly irresistible. They aren’t just candy; they’re a miniature escape, a sophisticated indulgence that feels both decadent and wonderfully refreshing. What truly sets these apart is their vibrant zest and the elegant simplicity of their preparation, allowing the pure, unadulterated flavor of fresh lemon to shine through, making them a cherished favorite for anyone with a sweet tooth and an appreciation for bright, clean tastes.
Ingredients:
- 4 ounces cream cheese, softened (or coconut butter for a dairy-free option)
- 2 tablespoons unsalted butter, softened (or additional coconut butter if using coconut butter for the cream cheese)
- 3 tablespoons powdered sugar (or erythritol for a sugar-free option)
- Zest of one medium lemon
- 3 ounces white chocolate chips (optional, for an added layer of flavor and texture)
- Optional drop of natural yellow food coloring or a pinch of turmeric for a brighter yellow hue
Making Your Delicious Lemon Truffles
This recipe is wonderfully simple and perfect for a quick treat or a thoughtful homemade gift. The key to success here is having your cream cheese and butter (or coconut butter) at the perfect softened consistency. This means they should be pliable and easy to mix, but not so warm that they become liquid. Aim for a temperature that feels slightly cool to the touch. If you’re using a microwave, soften them in very short, 10-second bursts, stirring in between, to avoid melting.
Mixing the Base
First, in a medium-sized mixing bowl, combine the softened cream cheese (or coconut butter) and the softened butter (or additional coconut butter). Use a sturdy spatula or a hand mixer on low speed to cream these two ingredients together until they are thoroughly combined and smooth. There should be no streaks of butter or cream cheese visible. This initial creaming step ensures a uniform and pleasant texture for your truffles.
Next, add the powdered sugar (or erythritol) to the bowl. Gradually incorporate it into the cream cheese and butter mixture. Continue mixing until the sugar is fully dissolved and the mixture becomes light and fluffy. If you’re using a hand mixer, this is where you can increase the speed slightly, but be careful not to overmix, as this can sometimes lead to a slightly grainy texture. We are looking for a smooth, cohesive paste at this stage.
Now comes the star ingredient: the lemon zest! Finely zest one medium lemon directly into the bowl. Be sure to only zest the yellow part of the peel, avoiding the bitter white pith underneath. The zest will infuse your truffles with a bright, citrusy aroma and flavor. Gently fold the lemon zest into the mixture with your spatula until it’s evenly distributed. The aroma alone is incredibly refreshing!
If you’re aiming for a more vibrant yellow color, now is the time to add your optional food coloring or turmeric. For food coloring, start with just a single drop and mix it in thoroughly. You can always add another drop if you desire a more intense color. If using turmeric, a small pinch will usually suffice to impart a lovely golden hue without significantly altering the flavor. Mix until the color is uniform throughout the truffle base.
Incorporating the White Chocolate (Optional)
If you’ve decided to add the white chocolate chips, gently fold them into the mixture at this point. The chips will add little pockets of sweetness and a delightful texture contrast to the creamy truffle. Be sure to distribute them evenly so that each truffle gets a good amount of chocolatey goodness. If the mixture feels a little too soft to handle at this stage, you can pop the bowl into the refrigerator for about 10-15 minutes to firm it up slightly before proceeding.
Shaping Your Lemon Truffles
Once your truffle mixture is well combined and has a consistency that’s firm enough to handle, it’s time to shape them. You can use a small cookie scoop or two spoons to portion out the mixture. Roll each portion into a small ball, about 1-inch in diameter. This can be a bit sticky, so you might find it helpful to lightly dampen your hands with water or dust them with a little extra powdered sugar (or erythritol) if needed. Work relatively quickly to prevent the mixture from becoming too soft. Place the rolled truffles onto a parchment-lined baking sheet or plate.
Chilling and Finishing Touches
After shaping all your truffles, place the baking sheet or plate into the refrigerator for at least 30 minutes, or until the truffles are firm to the touch. This chilling step is crucial for them to hold their shape and for their flavors to meld beautifully.
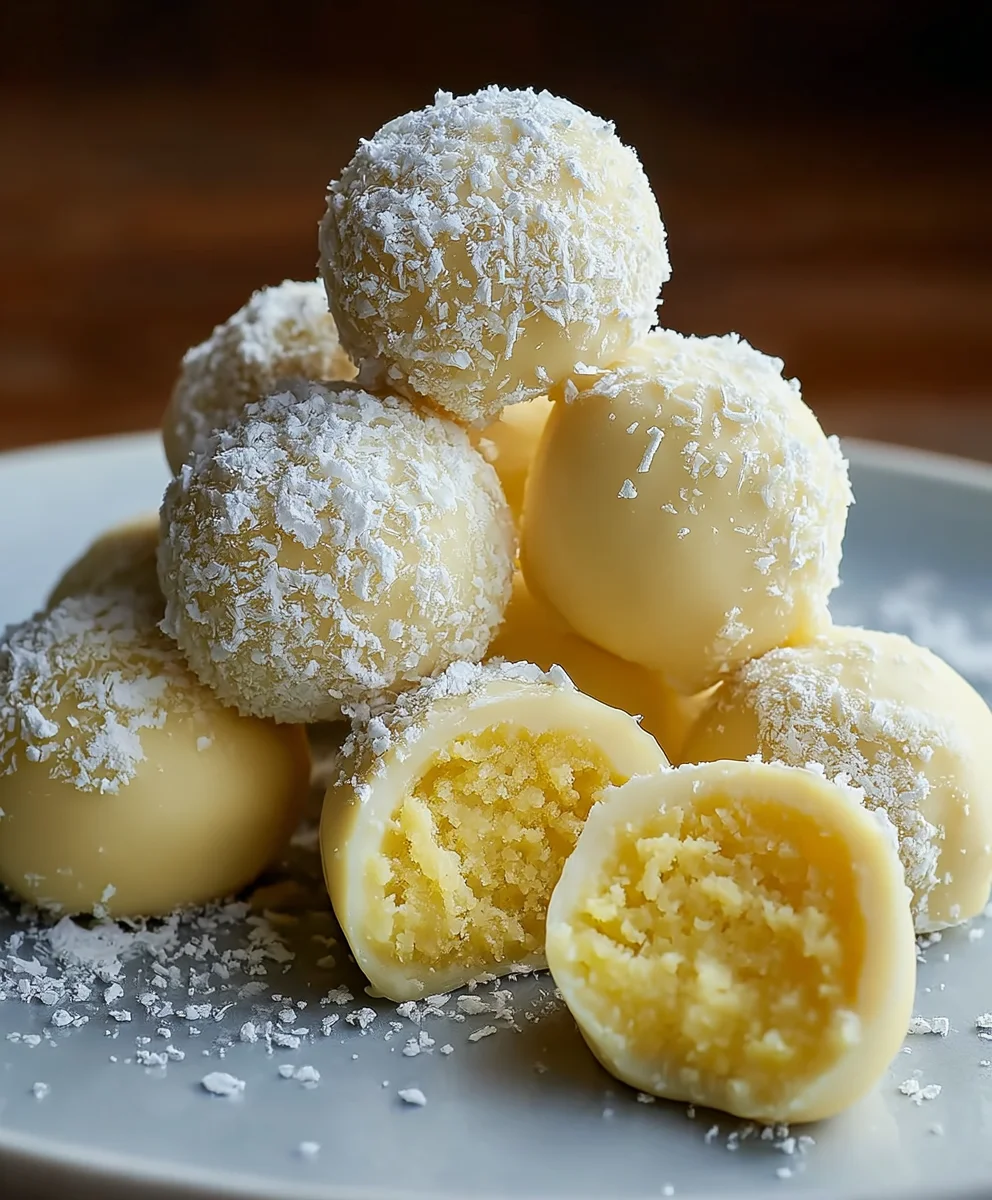
Once chilled, you can serve them as is for a simple, elegant treat. For an extra special presentation, you can roll the chilled truffles in a light dusting of powdered sugar or erythritol, or even dip them partially in melted white chocolate (if you have extra, or melt some separately) and let them set. These Lemon Truffles are best stored in an airtight container in the refrigerator for up to a week. Enjoy!
Conclusion:
There you have it – a delightful journey into creating your very own batch of exquisite Lemon Truffles! We’ve covered the simple steps to transform basic ingredients into these bright, zesty, and incredibly satisfying treats. The smooth, creamy center encased in a delicate coating is sure to impress your taste buds and anyone lucky enough to share them. These Lemon Truffles are perfect for elevating any occasion, from casual afternoon pick-me-ups to the star of your dessert table. Don’t be afraid to experiment and make them your own!
I encourage you to give this recipe a try. You might be surprised at how achievable these gourmet delights are. Enjoy the process, savor the aroma, and most importantly, relish the incredible taste of your homemade Lemon Truffles.
Frequently Asked Questions about Lemon Truffles:
Q1: How should I store my Lemon Truffles?
For the best flavor and texture, store your Lemon Truffles in an airtight container in the refrigerator. They will keep well for up to a week. Allow them to sit at room temperature for about 10-15 minutes before serving to soften slightly.
Q2: Can I make Lemon Truffles ahead of time?
Absolutely! In fact, chilling the truffle mixture is a crucial step. You can prepare the truffles a day or two in advance and store them as mentioned above. This allows the flavors to meld beautifully.
Q3: What other coatings can I use for Lemon Truffles?
While white chocolate is a classic pairing, feel free to get creative! You could try rolling them in finely chopped pistachios for a nutty crunch and vibrant color, shredded coconut for a tropical twist, or even a dusting of powdered sugar. A dark chocolate drizzle would also offer a delightful contrast to the lemon flavor.
Zesty Lemon Truffles
Easy no-bake lemon truffles with a bright, citrusy flavor and creamy texture.
Ingredients
-
4 ounces cream cheese, softened
-
2 tablespoons unsalted butter, softened
-
3 tablespoons powdered sugar
-
Zest of one medium lemon
-
3 ounces white chocolate chips
-
Optional drop of natural yellow food coloring or a pinch of turmeric
Instructions
-
Step 1
In a medium bowl, combine softened cream cheese and softened butter. Mix until thoroughly combined and smooth using a spatula or hand mixer on low speed. -
Step 2
Add powdered sugar and gradually incorporate it into the cream cheese and butter mixture until fully dissolved and light and fluffy. Mix until a smooth, cohesive paste is formed. -
Step 3
Finely zest one medium lemon directly into the bowl, avoiding the white pith. Gently fold the lemon zest into the mixture until evenly distributed. -
Step 4
If using, add optional food coloring or turmeric and mix until the color is uniform throughout the base. If using white chocolate chips, gently fold them into the mixture. -
Step 5
Shape the mixture into small balls, about 1-inch in diameter. Lightly dampen hands or dust with powdered sugar if the mixture is sticky. Place the rolled truffles onto a parchment-lined baking sheet. -
Step 6
Chill the truffles in the refrigerator for at least 30 minutes, or until firm to the touch. Serve as is, or roll in powdered sugar for an extra touch.
Important Information
Nutrition Facts (Per Serving)
It is important to consider this information as approximate and not to use it as definitive health advice.
Allergy Information
Please check ingredients for potential allergens and consult a health professional if in doubt.