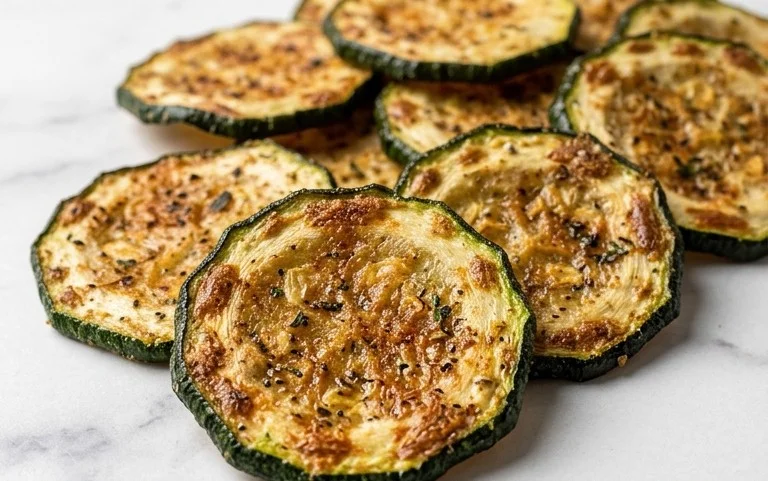
Easy Pan Fried Zucchini-Quick Delicious Side Dish
Pan Fried Zucchini is an absolute revelation, a simple yet utterly delicious way to transform humble summer squash into a star. Forget mushy, bland zucchini; this preparation is all about achieving that perfect golden-brown crispiness on the outside while maintaining a tender, almost creamy interior. It’s no wonder this dish is a perennial favorite at our table and so many others. The magic lies in its versatility – it’s a fantastic side dish that pairs beautifully with grilled meats, fish, or a hearty pasta. What makes this particular pan fried zucchini so special? It’s the masterful balance of textures and the way a few simple seasonings amplify the natural sweetness of the zucchini, creating a flavor profile that’s both comforting and incredibly satisfying. I promise, once you try it this way, you’ll be hooked!
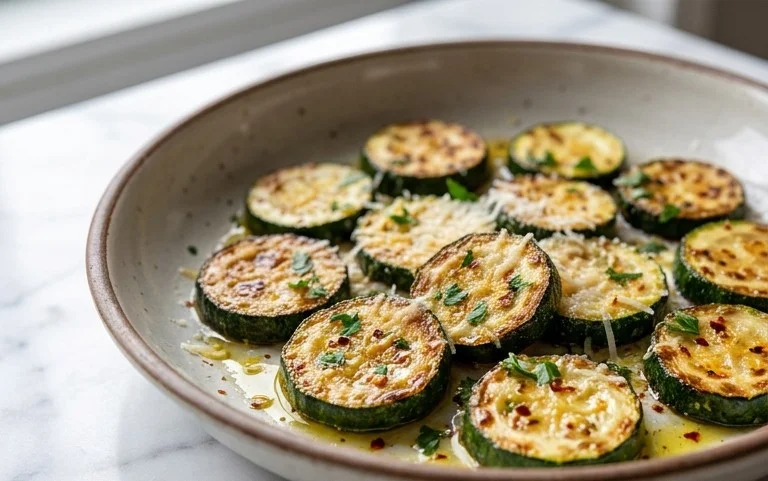
Pan Fried Zucchini
There’s something incredibly satisfying about a perfectly pan-fried zucchini. It transforms a humble vegetable into a crispy, golden delight that’s both a fantastic side dish and a tempting appetizer. The slight sweetness of the zucchini, coupled with a savory, crunchy coating, is simply irresistible. This recipe is straightforward, relying on simple pantry staples to create a dish that’s bursting with flavor and texture. Forget soggy, bland zucchini; this method guarantees a delightful crispness that will have everyone asking for seconds. Whether you’re looking for a quick weeknight accompaniment to your main course or a crowd-pleasing snack, this pan-fried zucchini is sure to become a go-to.
Ingredients:
Cooking Instructions
This recipe is designed to be easy to follow, even for novice cooks. The key to achieving that perfect crispy coating lies in the preparation and the cooking process. We’ll be creating a three-step breading station that ensures every slice of zucchini is evenly coated and ready for its crispy transformation.
Step 1: Prepare the Zucchini
Begin extract by thoroughly washing your zucchinis. Trim off the ends, as these can sometimes be a little tough. Then, slice the zucchinis into ½-inch thick rounds. Uniformity in thickness is important here. If your slices are too thin, they might burn before they have a chance to crisp up. If they are too thick, they might not cook through evenly. Set these prepared rounds aside on a plate or cutting board.
Step 2: Set Up Your Breading Station
This is where the magic happens! You’ll need three shallow dishes or plates to create your breading station.
Step 3: Bread the Zucchini Rounds
Now, it’s time to coat each zucchini slice. Working with one slice at a time:
Step 4: Heat the Oil and Fry the Zucchini
Once all your zucchini slices are breaded, it’s time to cook them. Pour the ¼ cup of vegetable oil into a large skillet. Heat the oil over medium-high heat. You’ll know the oil is ready when a small pinch of breadcrum extractbs dropped into it sizzles immediately. It’s crucial not to overcrowd the pan. Frying in batches is essential for achieving a truly crispy result. If you cram too many zucchini slices into the skillet at once, the oil temperature will drop, leading to greasy, soggy zucchini instead of perfectly crisp ones.
Step 5: Achieve Golden-Brown Perfection
Carefully place a single layer of breaded zucchini rounds into the hot oil. Don’t move them around too much for the first minute or so, allowing them to develop a nice crust. Fry for approximately 2 to 3 minutes per side, or until they are beautifully golden brown and crispy. Keep an eye on them, as cooking times can vary depending on your stove and the exact thickness of your zucchini. Use a spatula or tongs to gently flip each slice. Once they’re perfectly browned on both sides, remove them from the skillet and place them on a wire rack set over a baking sheet or on a plate lined with paper towels. This draining step helps to wick away any excess oil, further ensuring a crispy texture. Repeat this frying process with the remaining zucchini slices, adding a little more oil to the skillet if necessary and ensuring the oil is hot before adding each new batch.
Serve your delicious pan-fried zucchini immediately while they are hot and crispy. They are wonderful on their own, or you can serve them with your favorite dipping sauce, such as marinara sauce, ranch dressing, or a garlic aioli. Enjoy this simple yet incredibly satisfying dish!
Conclusion:
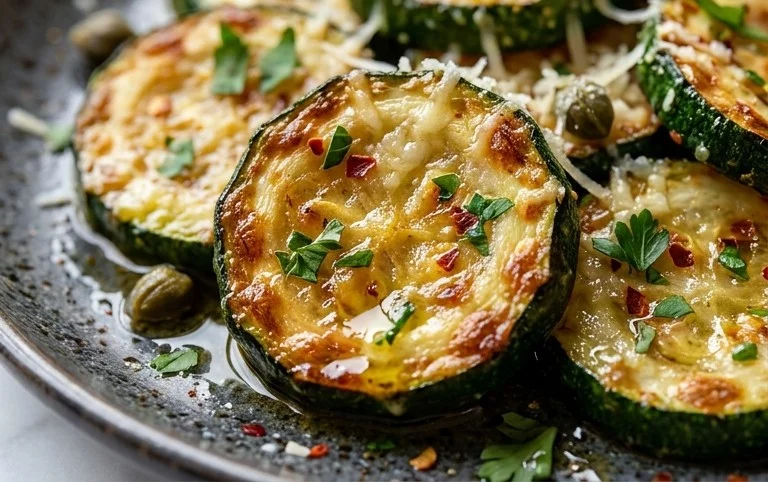
There you have it! Pan fried zucchini is truly a fantastic way to enjoy this versatile vegetable. It’s incredibly quick to make, requiring minimal ingredients and effort, making it a perfect weeknight side dish or a healthy appetizer. The simple pan-frying technique brings out a delightful slight crispness on the outside while keeping the inside tender and flavorful.
I love serving my pan fried zucchini alongside grilled meats, roasted chicken, or even as a light vegetarian main with a grain bowl. It pairs wonderfully with pasta dishes too! For a little extra flair, consider tossing your fried zucchini with a squeeze of lemon, a sprinkle of grated Parmesan cheese, or some fresh herbs like parsley or mint after cooking. You can also experiment with different seasonings – a pinch of red pepper flakes adds a nice kick, or a dusting of garlic powder enhances the savory notes.
I really hope you give this simple yet satisfying pan fried zucchini recipe a try. It’s a keeper that you’ll be coming back to again and again. Let me know how you enjoy it!
Frequently Asked Questions:
Q: Can I make pan fried zucchini ahead of time?
A: While pan fried zucchini is best enjoyed fresh for optimal crispness, you can prepare the zucchini slices a few hours in advance and store them in the refrigerator. However, for the best texture, I recommend frying them just before serving.
Q: What’s the best way to prevent my zucchini from getting soggy?
A: The key to preventing soggy zucchini is to ensure your pan is hot enough before adding the slices, and not to overcrowd the pan. Overcrowding leads to steaming rather than frying. Also, patting the zucchini dry after slicing can help remove excess moisture.
Q: Are there any gluten-free batter options for pan fried zucchini?
A: Absolutely! You can easily make your pan fried zucchini gluten-free by using a gluten-free flour blend or even cornmeal or almond flour for the coating. Just ensure your other ingredients, like any seasonings, are also gluten-free.
Pan Fried Zucchini
Crispy and delicious pan-fried zucchini slices, coated in a seasoned breadcrumb and parmesan mixture.
Ingredients
-
2 medium sized zucchinis (sliced into ½” rounds)
-
3/4 cup all-purpose flour
-
2 large eggs (beaten)
-
½ tsp salt
-
¼ tsp ground black pepper
-
1 cup breadcrumbs
-
½ cup parmesan cheese
-
¼ cup vegetable oil (for frying)
Instructions
-
Step 1
Prepare the zucchini: Wash and slice the zucchinis into ½-inch thick rounds. Pat them dry with paper towels. -
Step 2
Set up dredging stations: In three separate shallow dishes, place the flour, beaten eggs, and a mixture of breadcrumbs, parmesan cheese, salt, and pepper. -
Step 3
Coat the zucchini: Dredge each zucchini slice first in the flour, shaking off any excess. Then dip it into the beaten eggs, allowing any excess to drip off. Finally, coat thoroughly with the breadcrumb and cheese mixture. -
Step 4
Heat the oil: In a large skillet, heat the vegetable oil over medium-high heat until shimmering. -
Step 5
Fry the zucchini: Carefully place the coated zucchini slices into the hot oil in a single layer, being careful not to overcrowd the pan. Fry for 2-3 minutes per side, or until golden brown and crispy. -
Step 6
Drain and serve: Remove the fried zucchini from the skillet and place on a wire rack or paper towel-lined plate to drain any excess oil. Serve immediately.
Important Information
Nutrition Facts (Per Serving)
It is important to consider this information as approximate and not to use it as definitive health advice.
Allergy Information
Please check ingredients for potential allergens and consult a health professional if in doubt.