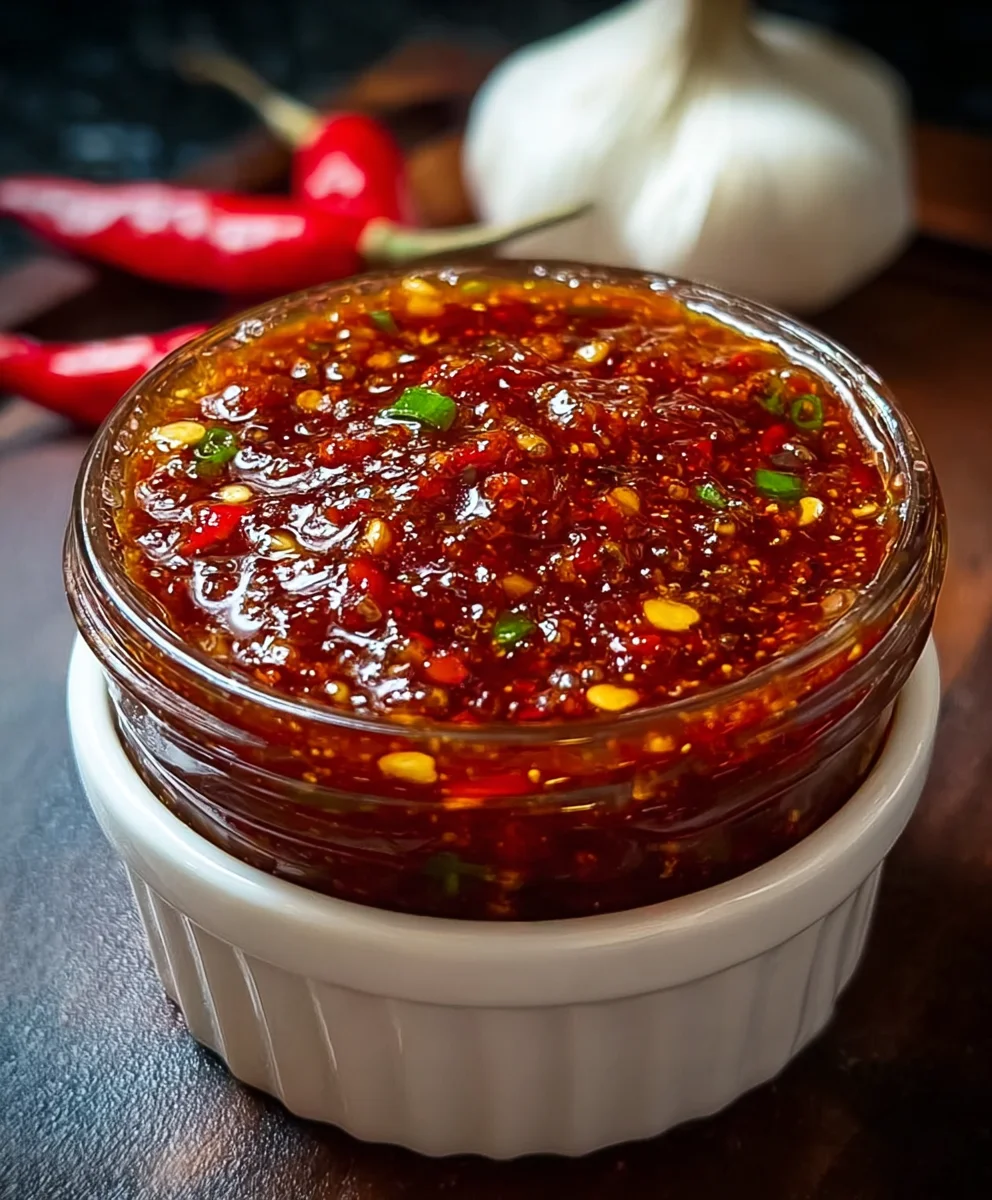
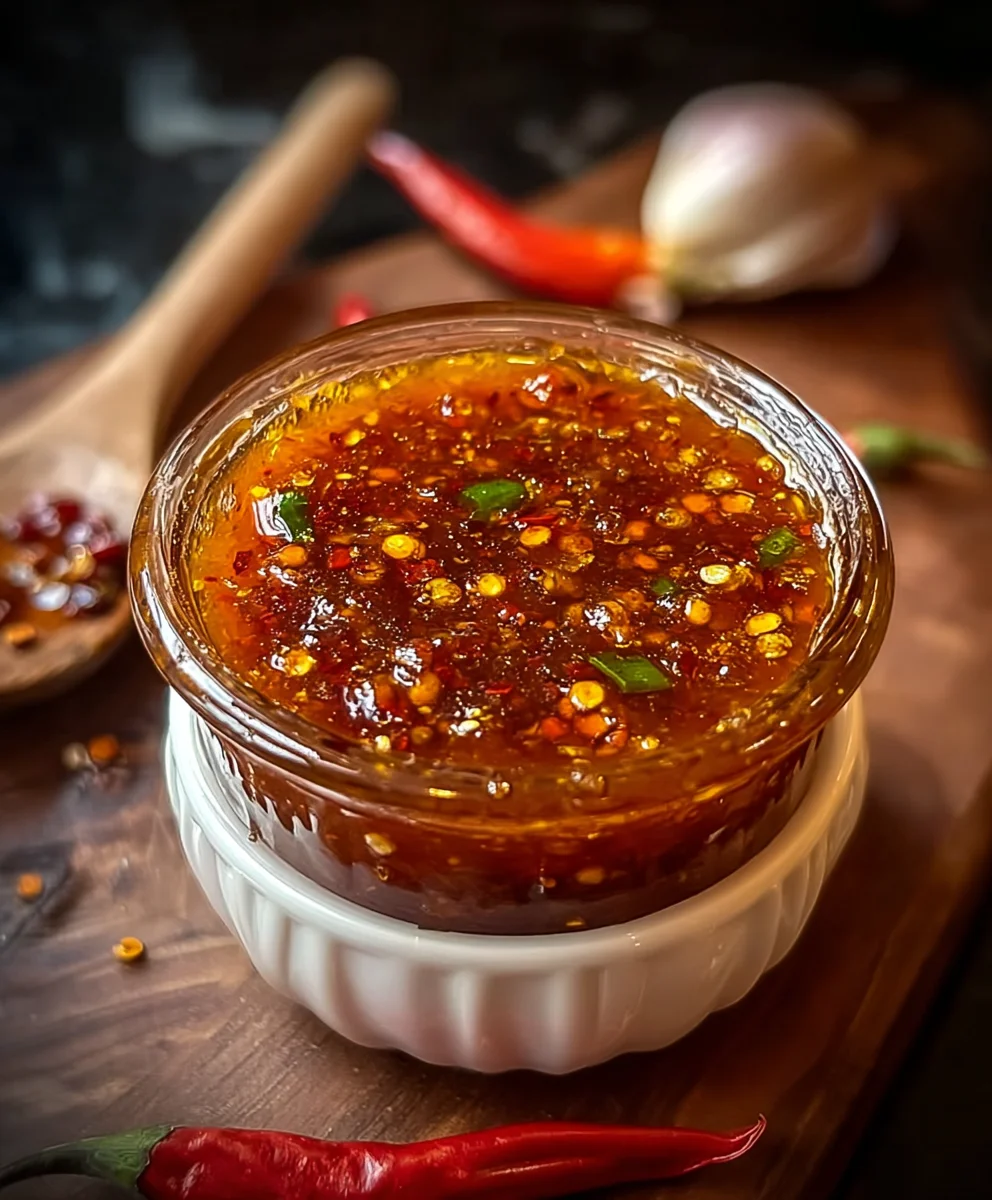
Spicy Homemade Chili Garlic Sauce – Easy Recipe
Homemade Chili Garlic Sauce is an absolute revelation for anyone who appreciates a burst of flavor that’s both fiery and deeply satisfying. Forget those bottled versions that often fall flat; crafting your own allows for an unparalleled depth of taste and a texture that’s perfectly balanced. This isn’t just a condiment; it’s a vibrant elixir that can transform everyday meals into culinary masterpieces. People adore it because it hits that sweet spot of spicy heat from fresh chilies, mellowed by the pungent aroma and subtle sweetness of garlic, all brought together in a rich, glossy sauce. What truly makes homemade chili garlic sauce special is the ability to customize the heat level and the type of chilies used, ensuring it’s exactly to your liking. Whether you’re drizzling it over noodles, slathering it on sandwiches, or using it as a dipping sauce, this homemade chili garlic sauce will quickly become your go-to flavor enhancer.
Ingredients:
- 5-6 fresh red chilies
- 4 cloves garlic, minced
- 1 tablespoon vinegar (white or rice)
- 1 tablespoon olive oil or vegetable oil
- 1/2 teaspoon salt
- 1/2 teaspoon sugar (optional)
Preparing Your Chilies and Garlic
Step 1: Prepare the Fresh Chilies
The first crucial step in making your Homemade Chili Garlic Sauce is to prepare the fresh red chilies. You’ll want to wash them thoroughly under cool running water to remove any dirt or debris. Once washed, carefully remove the stems. Depending on how spicy you like your sauce, you can choose to leave the seeds in for an extra kick, or remove them for a milder flavor. To remove the seeds, simply slice the chilies lengthwise and use a small spoon or your fingers to gently scrape them out. For a smoother sauce, you can also slice the chilies into smaller pieces at this stage. I find that using kitchen gloves can be very helpful here, especially if you’re sensitive to chili oils, to avoid any lingering heat on your hands. Don’t forget to wash your cutting board and knife thoroughly afterward.
Step 2: Mince the Garlic
Next, we’ll move on to the garlic. You need 4 cloves of garlic, and these should be minced as finely as possible. A microplane grater works wonderfully for this, producing a very fine paste that will incorporate smoothly into the sauce. Alternatively, you can use a sharp knife and mince the garlic very finely. The goal is to have tiny pieces that will release their pungent aroma and flavor readily when cooked. Once minced, set the garlic aside. It’s important to mince it just before you plan to cook it to preserve its fresh, potent flavor.
Cooking the Sauce Base
Step 3: Sauté the Aromatics
Now it’s time to start building the flavor foundation of your chili garlic sauce. Heat 1 tablespoon of olive oil or vegetable oil in a small saucepan or skillet over medium-low heat. You don’t want the heat to be too high, as we’re looking to gently sauté the chilies and garlic, not fry them. Add the prepared chilies and the minced garlic to the warm oil. Stir them frequently to prevent burning. Sauté for about 2-3 minutes, or until the garlic becomes fragrant and the chilies begin extract to soften slightly. You’ll notice a wonderful aroma filling your kitchen at this point, which is a good sign that the flavors are starting to meld. Be mindful of the garlic; it can go from perfectly sautéed to burnt very quickly, which would impart a bitter taste.
Step 4: Simmer and Infuse
After sautéing the chilies and garlic, it’s time to let them simmer and infuse their flavors into the oil. Add 1 tablespoon of vinegar (either white or rice vinegar will work well here, with rice vinegar offering a slightly milder, sweeter profile) to the pan. The vinegar will help to deglaze the pan and add a touch of acidity that balances the richness of the oil and the heat of the chilies. Stir in 1/2 teaspoon of salt. If you’re opting for a touch of sweetness to balance the heat and acidity, now is also the time to add 1/2 teaspoon of sugar. Stir everything together well. Reduce the heat to low, cover the pan, and let the mixture simmer gently for about 5-7 minutes. This simmering period is crucial for allowing the flavors to meld and the chilies to soften further, making them easier to process into a sauce.
Finishing and Blending
Step 5: Blend to Desired Consistency
Once the simmering time is up, carefully remove the pan from the heat. Allow the mixture to cool slightly for a few minutes before proceeding to the blending stage. For a smoother sauce, transfer the contents of the pan to a blender or a food processor. You can also use an immersion blender directly in the saucepan if it’s heat-safe. Blend the mixture until it reaches your desired consistency. If you prefer a chunkier sauce, blend for a shorter time, leaving some small pieces of chili and garlic visible. For a smoother, more emulsified sauce, blend until it’s completely smooth. If the sauce seems too thick after blending, you can add a tiny bit more oil or a teaspoon of water at a time until you achieve the right texture. Be cautious when blending hot liquids; start on a low speed and gradually increase it, and ensure your blender lid is securely in place.
Step 6: Final Adjustments and Storage
After blending, taste your Homemade Chili Garlic Sauce. This is your opportunity to make any final adjustments. If you find it needs more salt, add a tiny pinch. If it’s not quite spicy enough, you can carefully add a bit more chili or even a dash of your favorite hot sauce. If it’s too acidic, a little more sugar can help. Once you’re happy with the flavor, transfer the sauce to a clean, sterilized airtight container. It’s best to let the sauce cool completely before sealing the container. Store your Homemade Chili Garlic Sauce in the refrigerator. It should stay fresh for at least 2-3 weeks when stored properly. This versatile sauce is perfect for dipping, marinating, stir-frying, or adding a kick to any dish.
Conclusion:
We hope you’ve enjoyed learning how to make this delicious and versatile Homemade Chili Garlic Sauce! This recipe is incredibly rewarding, transforming simple ingredients into a flavor powerhouse. Its rich, savory, and spicy notes are perfect for adding a kick to almost any dish. Whether you’re a seasoned cook or just starting out, you’ll find this recipe to be straightforward and immensely satisfying. Don’t be afraid to experiment and make it your own!
This Homemade Chili Garlic Sauce is fantastic drizzled over noodles, dumplings, or fried rice. It also makes an excellent dipping sauce for spring rolls, grilled meats, or even as a marinade. Feel free to adjust the chili heat to your preference – add more or fewer dried chilies, or try different varieties for unique flavor profiles. You can also experiment with different vinegars like rice vinegar or apple cider vinegar for subtle shifts in tangin extractess.
So go ahead, whip up a batch of this incredible Homemade Chili Garlic Sauce, and get ready to elevate your meals. We encourage you to share your creations and any exciting variations you discover. Happy cooking!
FAQs about Homemade Chili Garlic Sauce:
Q1: How long can I store Homemade Chili Garlic Sauce?
Properly stored in an airtight container in the refrigerator, this Homemade Chili Garlic Sauce can last for up to 3-4 weeks. Ensure it’s always cooled completely before refrigerating. For longer storage, you can consider freezing it in small portions.
Q2: Can I use fresh chili peppers instead of dried?
Yes, absolutely! If you prefer using fresh chilies, you can substitute them for the dried chilies. You’ll want to use about twice the amount of fresh chilies as dried, and you may need to adjust the cooking time slightly as fresh chilies can release more moisture. Experiment with different types of fresh chilies like Thai bird’s eye, serrano, or jalapeño for varying levels of heat and flavor.
Spicy Homemade Chili Garlic Sauce – Easy Recipe
A simple and flavorful homemade chili garlic sauce, perfect for adding a spicy kick to any dish.
Ingredients
-
5-6 fresh red chilies
-
4 cloves garlic, minced
-
1 tablespoon white or rice vinegar
-
1 tablespoon olive oil or vegetable oil
-
1/2 teaspoon salt
-
1/2 teaspoon sugar (optional)
Instructions
-
Step 1
Wash fresh red chilies thoroughly and remove stems. For a spicier sauce, leave seeds in; for milder, remove them by slicing chilies lengthwise and scraping out seeds. Slice chilies into smaller pieces for a smoother sauce. Wear gloves if sensitive to chili oils. -
Step 2
Mince 4 cloves of garlic as finely as possible, ideally using a microplane for a paste-like consistency. This preserves fresh, potent flavor. -
Step 3
Heat 1 tablespoon of olive oil or vegetable oil in a saucepan over medium-low heat. Add prepared chilies and minced garlic, sautéing for 2-3 minutes until fragrant and chilies soften slightly, stirring to prevent burning. -
Step 4
Add 1 tablespoon of vinegar, 1/2 teaspoon of salt, and optional 1/2 teaspoon of sugar to the pan. Stir well, reduce heat to low, cover, and simmer for 5-7 minutes to allow flavors to meld. -
Step 5
Let the mixture cool slightly, then transfer to a blender or food processor (or use an immersion blender). Blend until desired consistency is reached; blend longer for a smoother sauce, shorter for chunkier. Add a little oil or water if too thick. Be cautious when blending hot liquids. -
Step 6
Taste and adjust seasoning if needed (more salt, chili, or sugar). Transfer cooled sauce to a clean, sterilized airtight container and store in the refrigerator for up to 2-3 weeks.
Important Information
Nutrition Facts (Per Serving)
It is important to consider this information as approximate and not to use it as definitive health advice.
Allergy Information
Please check ingredients for potential allergens and consult a health professional if in doubt.