Mini Chicken Pot Pies-Quick & Easy Comfort Food
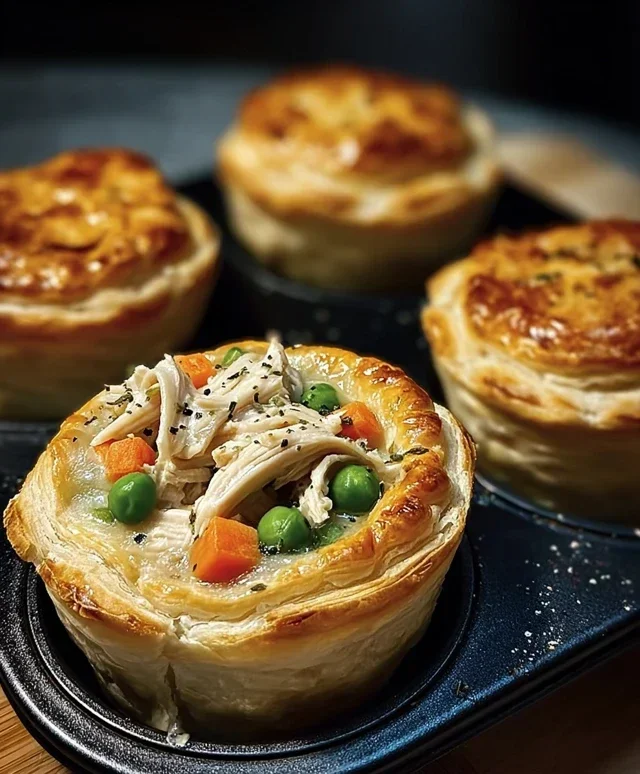
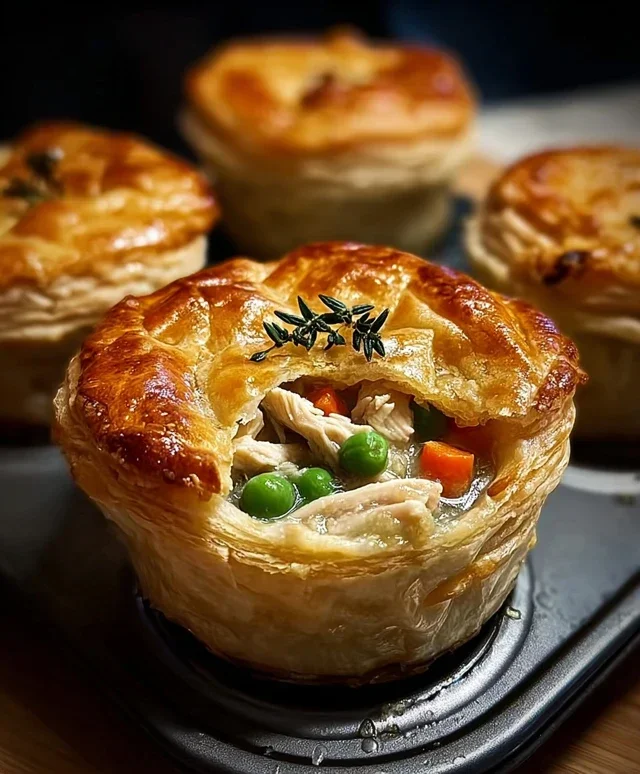
Mini Chicken Pot Pies are the ultimate comfort food, and for good reason! There’s something inherently delightful about a perfectly portioned pie, bursting with creamy, savory goodness and topped with a flaky, golden crust. We all have those days when only a warm hug in a dish will do, and these individual delights deliver exactly that. What makes mini chicken pot pies so universally adored? It’s the harmonious blend of tender chicken, a medley of perfectly cooked vegetables like peas, carrots, and potatoes, all enveloped in a rich, velvety sauce. Each bite is a symphony of textures and flavors, a taste of home that’s both nostalgic and incredibly satisfying. Making them in individual portions takes this beloved classic to a whole new level of charming convenience, perfect for weeknight dinners, entertaining guests, or even a delightful lunch. Get ready to create your own batch of these irresistible treats!
Mini Chicken Pot Pies
There’s something undeniably comforting about a classic chicken pot pie. The flaky crust, the creamy, savory filling packed with tender chicken and vegetables – it’s a hug in a dish. But sometimes, a full-sized pot pie feels a bit… grand. That’s where these adorable mini chicken pot pies come in! They’re perfect for individual servings, ideal for meal prep, or just a fun way to enjoy all the flavors of a traditional pot pie in a more manageable, delightful package. Using convenient refrigerated biscuits as a shortcut for the crust makes these a breeze to whip up, even on a busy weeknight. Let’s get started!
Ingredients:
Making the Filling
First, we need to get our filling ready. This is the heart of our mini pot pies, so we want to ensure it’s flavorful and well-seasoned.
Assembling the Mini Pot Pies
Now for the fun part – creating our individual pot pie masterpieces! The biscuit dough will form both the base and the topping, creating a delightful two-layered experience.
Baking to Golden Perfection
The final stage is where all our hard work transforms into golden, bubbling mini pot pies.
Conclusion:
And there you have it – your guide to creating these delightful Mini Chicken Pot Pies! These individual portions are not only incredibly charming but also packed with comforting flavors that evoke pure home-cooked goodness. The combination of flaky pastry, tender chicken, and a creamy, savory vegetable filling makes them a truly satisfying meal or appetizer. I genuinely believe this recipe is fantastic because it offers a perfect balance of ease and impressive results, making it ideal for weeknight dinners or special occasions alike. They’re wonderfully versatile too!
For serving, these mini pot pies shine as a standalone meal, perhaps accompanied by a simple side salad or some steamed green beans. They also make fantastic appetizers for gatherings, especially when served warm. Don’t be afraid to get creative with variations! You can easily swap out the vegetables based on what you have on hand – peas, carrots, corn, and potatoes are classic choices, but feel free to add mushrooms, celery, or even a sprinkle of herbs like thyme or rosemary. For a vegetarian option, you could substitute the chicken with a medley of hearty vegetables or even some crum extractbled tofu.
I truly encourage you to give these Mini Chicken Pot Pies a try. They are a labor of love that always pays off, bringin extractg smiles and happy sighs to everyone who tries them. Enjoy the process and the delicious reward!
Frequently Asked Questions:
Can I make these mini chicken pot pies ahead of time?
Absolutely! You can prepare the filling and assemble the pies a day in advance. Store them covered in the refrigerator. When you’re ready to bake, you might need to add a few extra minutes to the cooking time to ensure they are heated through. You can also freeze assembled, unbaked pies for up to a month. Thaw them overnight in the refrigerator before baking as directed.
What kind of pastry is best for mini chicken pot pies?
For the flakiest and most delicious results, I recommend using a good quality store-bought puff pastry or a homemade pie crust. Puff pastry will give you that classic, airy, and golden-brown finish that is irresistible. If you prefer a sturdier crust, a classic double-crust pie dough works wonderfully as well.
Can I make a larger chicken pot pie from this recipe?
Yes, you can easily adapt this recipe for a standard-sized pie. Simply double the ingredients for the filling and use a 9-inch pie dish. Adjust the baking time accordingly, likely increasing it to around 45-60 minutes, or until the crust is golden and the filling is bubbly.
Mini Chicken Pot Pies
Quick and easy mini chicken pot pies made with canned biscuits and a creamy chicken filling. Perfect for a weeknight meal.
Ingredients
-
2 cans refrigerated biscuits (8-count each)
-
½ lb boneless chicken breast, diced
-
1 cup frozen peas & carrots
-
1 can (10.5 oz) cream of chicken soup
-
½ tsp garlic powder
-
½ tsp onion powder
-
¼ tsp salt
-
Cooking spray
Instructions
-
Step 1
Preheat oven to 375°F (190°C). Lightly grease a mini muffin tin with cooking spray. -
Step 2
In a bowl, combine the diced chicken breast, frozen peas & carrots, cream of chicken soup, garlic powder, onion powder, and salt. Mix well. -
Step 3
Open the biscuit cans and separate the biscuits. Flatten each biscuit slightly. -
Step 4
Press each flattened biscuit into the cups of the prepared mini muffin tin, allowing some of the dough to come up the sides to form a crust. -
Step 5
Spoon the chicken mixture evenly into each biscuit-lined muffin cup. -
Step 6
Bake for 18-20 minutes, or until the biscuit crust is golden brown and the filling is bubbly. -
Step 7
Let cool slightly before carefully removing from the muffin tin. Serve warm.
Important Information
Nutrition Facts (Per Serving)
It is important to consider this information as approximate and not to use it as definitive health advice.
Allergy Information
Please check ingredients for potential allergens and consult a health professional if in doubt.