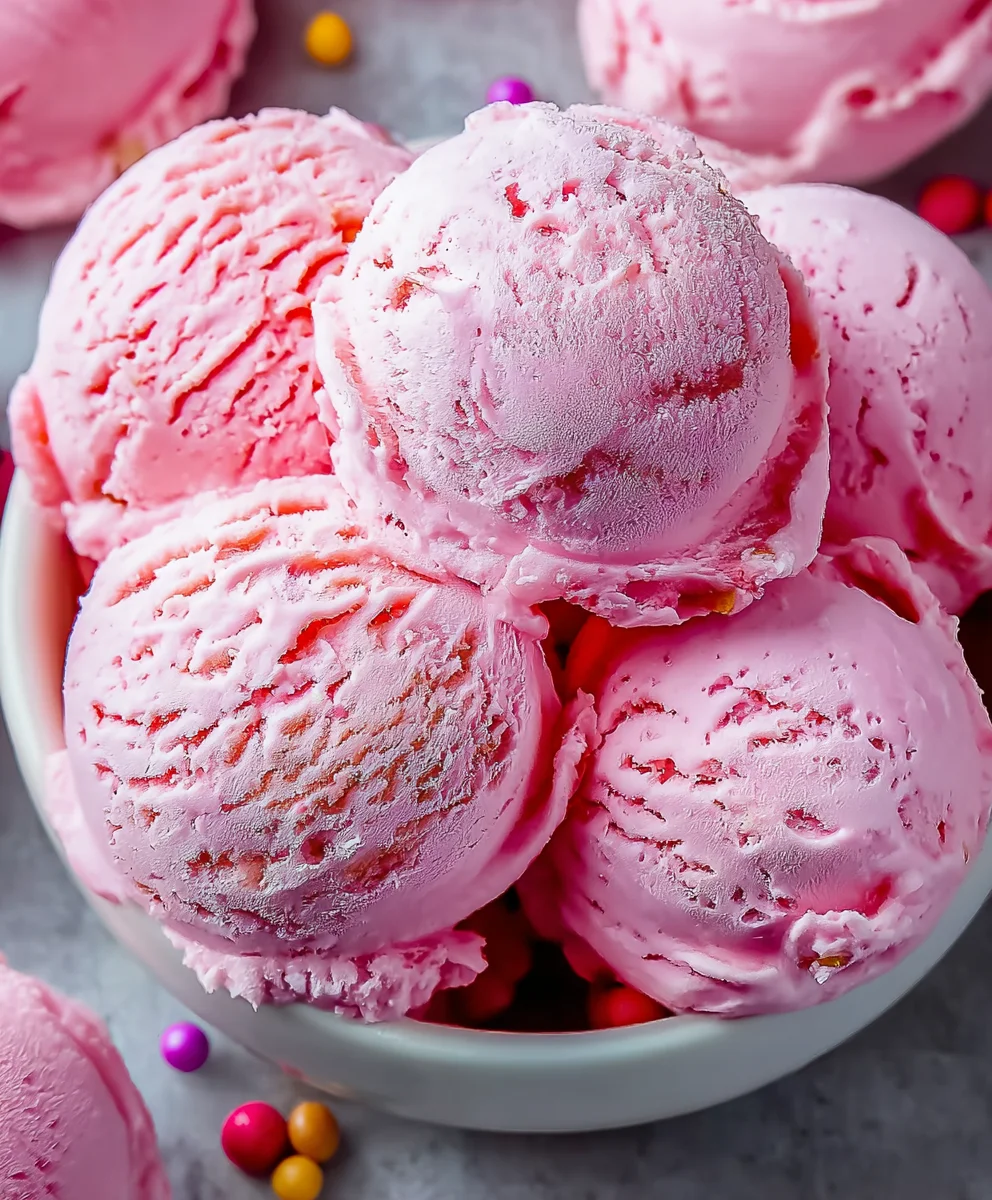
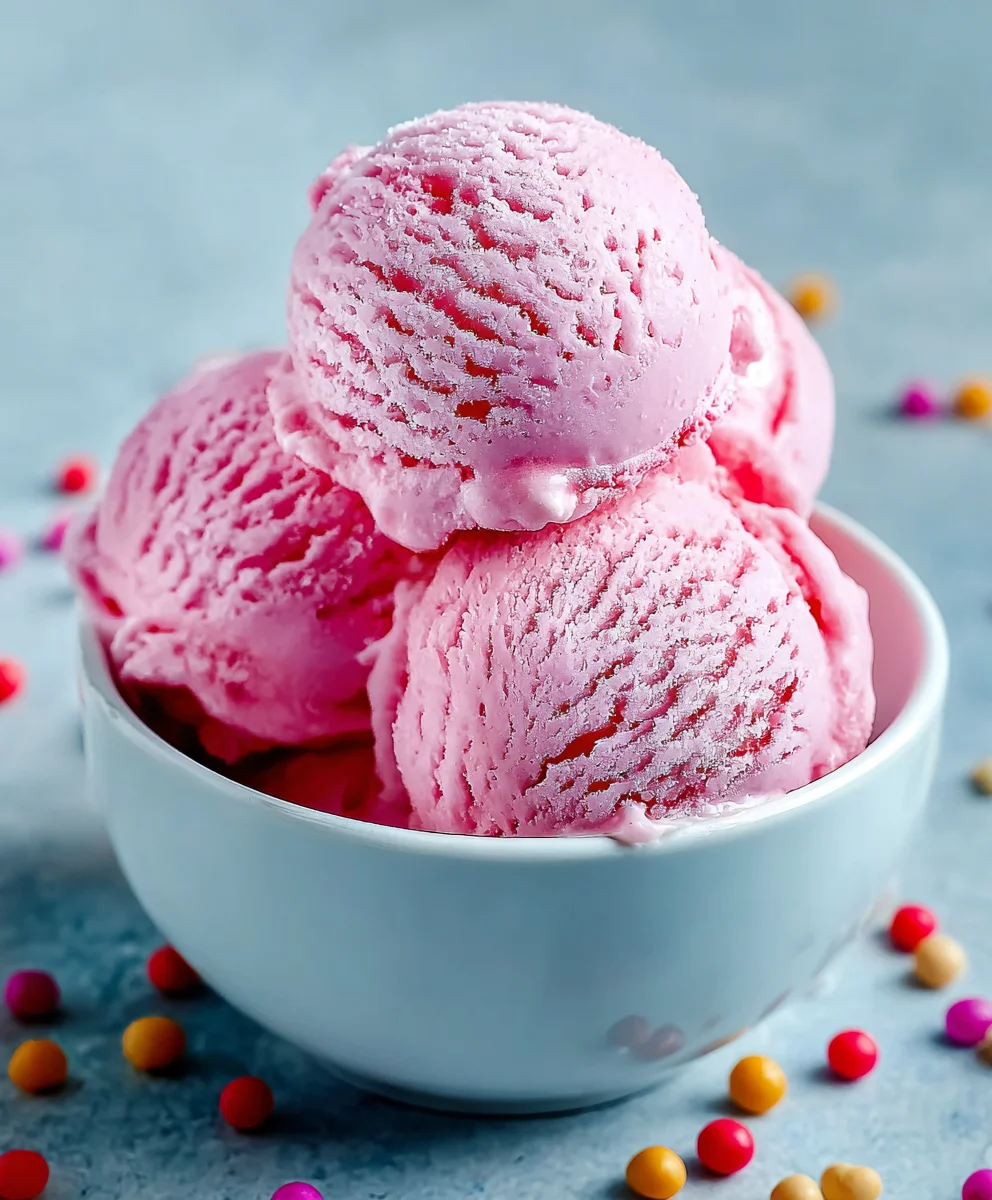
Homemade Bubblegum Ice Cream – Easy Fun Treat
Bubblegum Ice Cream, oh where do we even begin extract? This vibrant, nostalgia-inducing frozen treat is more than just a dessert; it’s a ticket back to carefree summer days, birthday parties, and the sheer joy of childhood. There’s something inherently magical about its unmistakable sweet, fruity flavor that instantly brightens any mood and transports us to a simpler time. What makes Bubblegum Ice Cream so universally adored? It’s that bold, playful taste, reminiscent of the classic chewy candy we all know and love, combined with the creamy, smooth texture that only homemade ice cream can deliver. Forget those store-bought versions; today, we’re diving headfirst into creating our own batch of the most delightful Bubblegum Ice Cream you’ve ever tasted, a truly special indulgence that’s surprisingly easy to whip up right in your own kitchen. Get ready for smiles all around!
Ingredients:
- 2 cups heavy cream
- 1 cup whole milk
- ¾ cup granulated sugar
- 2 teaspoons bubblegum flavoring
- 1 teaspoon vanilla extract
- ¼ teaspoon kosher salt
- Pink or red food coloring (to taste)
- ½ cup confetti sprinkles, divided
- 1 cup gumballs (for decoration)
Getting Started: The Base
Step 1: Combining Dairy and Sweetness
Begin extract by pouring the 2 cups of heavy cream and 1 cup of whole milk into a medium-sized saucepan. We want a good ratio of richness from the cream to the lighter texture of the milk for a perfectly balanced ice cream base. Add the ¾ cup of granulated sugar to the saucepan. Now, whisk everything together gently until the sugar is mostly dissolved. Don’t worry about getting it perfectly dissolved at this stage; it will fully incorporate as we heat the mixture. Place the saucepan over medium heat. We’re aiming to gently warm this mixture, not to bring it to a boil. Stir frequently to prevent the sugar from settling at the bottom and to ensure even heating. You’ll know it’s ready when small bugin extractes begin to form around the edges of the pan, and the liquid feels warm to the touch, but not hot. This warming process helps the sugar dissolve completely and prepares the base for the flavor infusion.
Step 2: Infusing the Flavors
Once the dairy and sugar mixture is warm, remove the saucepan from the heat. It’s crucial to take it off the heat before adding the flavoring ingredients to preserve their delicate aromas and tastes. Now, stir in the 2 teaspoons of bubblegum flavoring. This is where the magic happens and our ice cream starts to take on that unmistakable, fun flavor. Next, add the 1 teaspoon of vanilla extract. Vanilla is a wonderful supporting player in ice cream, enhancing all the other flavors and adding a subtle depth. Finally, add the ¼ teaspoon of kosher salt. Salt might seem unusual in ice cream, but it’s a secret weapon for ice cream makers! It doesn’t make the ice cream taste salty; instead, it actually amplifies the sweetness and balances the overall flavor profile, making the bubblegum taste even more vibrant and delicious. Give everything a good stir to ensure all the flavorings are evenly distributed throughout the base.
Chilling and Coloring
Step 3: Cooling the Base
Now comes an important step for achieving a smooth and creamy texture: chilling the base thoroughly. Pour the flavored dairy mixture into a clean bowl or a large measuring cup. Cover the bowl tightly with plastic wrap, making sure the wrap touches the surface of the liquid. This prevents a skin from forming on top as it cools. Place the covered mixture in the refrigerator for at least 4 hours, or preferably overnight. The longer it chills, the colder and more uniformly it will be, which is essential for the ice cream maker to do its job efficiently. A well-chilled base will churn into a smoother ice cream with fewer ice crystals, leading to a superior finished product. Patience here will definitely pay off in terms of texture.
Step 4: The Fun Color and Sprinkles
Once the base is thoroughly chilled, it’s time to add our vibrant color and some fun texture. Retrieve the chilled base from the refrigerator. Add the pink or red food coloring, a few drops at a time, stirring well after each addition until you achieve your desired bubblegum pink hue. Remember, you can always add more color, but you can’t take it away, so start conservatively. For that extra burst of confetti fun, stir in ½ cup of confetti sprinkles. Mix them in gently; we want them to be distributed throughout the ice cream, not pulverized. These sprinkles will add delightful pops of color and a slight chegrape juicess to our Bubblegum Ice Cream.
Churning and Freezing
Step 5: Churning the Ice Cream
Prepare your ice cream maker according to the manufacturer’s instructions. This usually involves ensuring the bowl is frozen solid (if it’s a freezer bowl model) or setting up the machine correctly. Pour the chilled, colored, and sprinkled ice cream base into the churner. Let the ice cream maker do its work. The churning process incorporates air into the mixture while simultaneously freezing it, which is what creates that signature fluffy and creamy ice cream texture. This typically takes about 20-30 minutes, but always refer to your specific ice cream maker’s manual. You’ll know it’s ready when it has thickened to a soft-serve consistency. It won’t be completely firm at this point, but it should be noticeably thicker and hold its shape for a moment.
Step 6: Hardening and Gumball Decoration
Transfer the churned ice cream from the ice cream maker into a freezer-safe container. Gently fold in the remaining ½ cup of confetti sprinkles if you want even more sprinkle goodness throughout. Smooth the top of the ice cream. Now, for the final touch and some playful decoration, arrange the 1 cup of gumballs on top of the ice cream. You can press them in slightly so they adhere better. Cover the container tightly with a lid or plastic wrap to prevent freezer burn and ice crystal formation. Place the container in the freezer and let it harden for at least 4-6 hours, or until it reaches your desired firmness. This hardening period allows the ice cream to fully freeze and become scoopable. Serve chilled and enjoy the whimsical flavors and textures of your homemade Bubblegum Ice Cream!
Conclusion:
And there you have it – your very own homemade Bubblegum Ice Cream! We’ve walked through the simple steps to create this nostalgic and delightfully sweet treat right in your own kitchen. The creamy base, combined with that unmistakable bubblegum flavor, is sure to bring a smile to faces of all ages. This delightful ice cream is perfect for birthday parties, summer gatherings, or just when you need a sweet escape. Feel free to get creative with your toppings! Consider rainbow sprinkles for an extra pop of color, some whipped cream and a cherry on top for a classic sundae, or even a drizzle of chocolate sauce. Don’t be afraid to experiment with adding swirls of other colorful syrups or even small, edible candy pieces for added texture and fun. The possibilities are truly endless. So, gather your ingredients, get your ice cream maker ready, and dive into the sweet, playful world of Bubblegum Ice Cream. I encourage you to give this recipe a try and discover how easy and rewarding it is to make this classic flavor from scratch. Happy churning!
Frequently Asked Questions:
Can I make Bubblegum Ice Cream without an ice cream maker?
Yes, you can! While an ice cream maker yields the creamiest results, you can achieve a delicious bubblegum ice cream without one. After preparing the base, pour it into a freezer-safe container. Every 30-45 minutes for the first 2-3 hours, remove the container from the freezer and vigorously whisk the mixture to break up ice crystals. This will help create a smoother texture.
What kind of bubblegum flavoring should I use?
For the authentic bubblegum flavor, it’s best to use a concentrated bubblegum extract or flavoring oil designed for baking and confectionery. You can usually find these at specialty baking stores or online. Avoid using actual chewed bubblegum as it won’t dissolve properly and can create an unpleasant texture.
Homemade Bubblegum Ice Cream – Easy Fun Treat
Create a delightfully fun and flavorful homemade bubblegum ice cream with this easy recipe. Perfect for a sweet treat!
Ingredients
-
2 cups heavy cream
-
1 cup whole milk
-
3/4 cup granulated sugar
-
2 teaspoons bubblegum flavoring
-
1 teaspoon vanilla extract
-
1/4 teaspoon kosher salt
-
Pink or red food coloring (to taste)
-
1/2 cup confetti sprinkles, divided
-
1 cup gumballs (for decoration)
Instructions
-
Step 1
Combine heavy cream, whole milk, and granulated sugar in a saucepan. Heat over medium heat, stirring gently until sugar is mostly dissolved and mixture is warm (small bubbles form around edges). Do not boil. -
Step 2
Remove from heat. Stir in bubblegum flavoring, vanilla extract, and kosher salt until evenly distributed. -
Step 3
Pour the mixture into a clean bowl, cover tightly with plastic wrap touching the surface, and refrigerate for at least 4 hours, or preferably overnight, to chill thoroughly. -
Step 4
Once chilled, add food coloring a few drops at a time until desired pink hue is reached. Stir in 1/2 cup of confetti sprinkles. -
Step 5
Churn the ice cream base in an ice cream maker according to manufacturer’s instructions until it reaches a soft-serve consistency. -
Step 6
Transfer churned ice cream to a freezer-safe container. Fold in remaining 1/2 cup of sprinkles if desired. Smooth the top and arrange gumballs on top. -
Step 7
Cover tightly and freeze for at least 4-6 hours, or until firm. Serve chilled.
Important Information
Nutrition Facts (Per Serving)
It is important to consider this information as approximate and not to use it as definitive health advice.
Allergy Information
Please check ingredients for potential allergens and consult a health professional if in doubt.