Renee Paj- Delicious Dessert Recipe Easy to Make
Renee Paj is more than just a dessert; it’s a whispered secret, a comforting embrace, and a taste of pure joy. This beloved dish, often a staple at family gatherings and celebratory meals, possesses an almost magical ability to transport you to a place of sweet nostalgia with every single bite. What makes Renee Paj so incredibly special? It’s the delicate balance of textures – the tender, creamy custard against the slightly chewy texture of the pastry – and the subtle, nuanced flavors that unfold on your palate. It’s not overly sweet, allowing the natural goodness of its simple ingredients to shine through. This is the kind of dessert that evokes warm smiles and contented sighs, a true testament to its enduring popularity. I can’t wait to share my version of this cherished Renee Paj with you all.
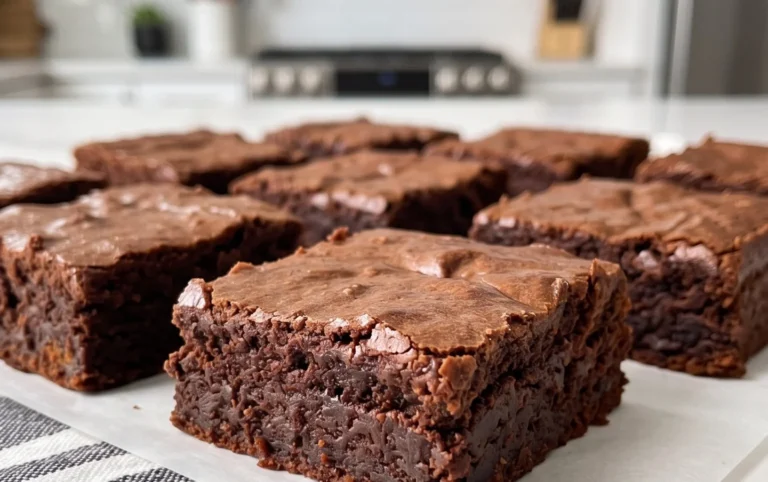
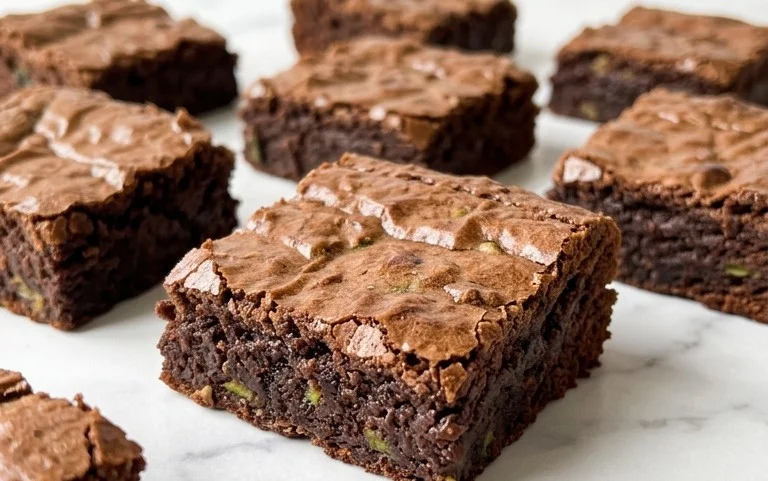
Renee Paj
There are some recipes that just feel like home. They’re comforting, easy to make, and always bring a smile to your face. Renee Paj falls squarely into that category for me. It’s a delightful, slightly sweet, and wonderfully moist baked good that’s perfect for breakfast, a snack, or even a light dessert. It’s the kind of recipe you can whip up on a lazy weekend morning, or even on a weeknight when you’re craving something a little special without a lot of fuss. The star of the show, of course, is the banana, which lends its natural sweetness and incredible moisture to the entire creation. The oats and flour provide a perfect base, creating a texture that’s both tender and satisfying. And for those who love a little crunch, the optional walnuts are an absolute game-changer!
This recipe has been a go-to in my kitchen for years, a true testament to its simplicity and deliciousness. It’s also wonderfully forgiving, meaning even if you’re new to baking, you’re likely to achieve fantastic results. I love how versatile it is – you can easily adapt it to your preferences. If you’re not a fan of walnuts, simply leave them out. If you want to add a hint of spice, a pinch of nutmeg or allspice can be a lovely addition. But as is, with the comforting warmth of cinnamon, it’s pure perfection. Let’s get started on creating this delicious treat!
Ingredients:
Cooking Instructions:
Step 1: Preheat and Prepare Your Pan
The very first step in any baking adventure is to get your oven ready. Preheat your oven to 350 degrees Fahrenheit (175 degrees Celsius). This ensures that your Renee Paj will bake evenly from the moment it goes in. While the oven is heating up, you’ll want to prepare your baking pan. I usually opt for an 8×8 inch square baking pan for this recipe, but a 9-inch round pan or even a standard loaf pan will also work beautifully. Grease your chosen pan thoroughly with butter, cooking spray, or a light coating of oil. For extra insurance against sticking, you can also lightly flour the greased pan, tapping out any excess flour. This preparation step is crucial for easy removal of your finished Paj.
Step 2: Combine Dry Ingredients
In a large mixing bowl, we’ll combine all of our dry ingredients. This helps to ensure that all the leavening agents and flavorings are evenly distributed throughout the batter, leading to a consistent texture and taste. Add the 1 cup of old fashioned oats, 1 1/4 cups of all purpose flour, 1/2 cup of packed light brown sugar (make sure to pack it down in your measuring cup for accuracy), 1/2 teaspoon of kosher salt, 1/2 teaspoon of baking soda, 1/4 teaspoon of baking powder, and 1/2 teaspoon of ground cinnamon. Whisk these ingredients together thoroughly with a fork or a whisk until they are well combined and there are no visible clumps of flour or sugar. If you are using the optional walnuts, you can add them to this dry mixture now and give it another quick stir to coat them.
Step 3: Mash the Bananas and Combine Wet Ingredients
Now it’s time to bring in the star of our recipe – the bananas! Take your 3 large, ripe bananas and place them in a separate medium-sized bowl. Using a fork or a potato masher, mash the bananas until they are mostly smooth but still have a few small chunks. Don’t over-mash them into a completely liquid consistency; those little bits of banana add a delightful texture. To the mashed bananas, add your 2 large eggs, 1 teaspoon of pure vanilla extract, and 3 tablespoons of your chosen cooking oil (corn or canola oil are great, neutral options). Whisk these wet ingredients together until they are well combined and the mixture is smooth and homogenous. The vanilla extract will add a lovely depth of flavor that complements the sweetness of the bananas beautifully.
Step 4: Combine Wet and Dry Mixtures
This is where the magic really starts to happen! Pour the wet banana mixture into the bowl containing your dry ingredients. Using a rubber spatula or a wooden spoon, gently fold the wet ingredients into the dry ingredients. Mix just until everything is combined and there are no dry streaks of flour remaining. It’s important not to overmix at this stage. Overmixing can develop the gluten in the flour too much, resulting in a tougher Paj. A few small lumps are perfectly fine and actually desirable for a tender outcome.
Step 5: Bake to Golden Perfection
Pour the batter into your prepared baking pan and spread it evenly. Place the pan in your preheated oven. Bake for approximately 25-35 minutes, or until a toothpick inserted into the center of the Paj comes out clean. The baking time can vary slightly depending on your oven and the size of your pan, so keep an eye on it, especially towards the end of the baking period. You’re looking for a beautiful golden-brown color on top. Once baked, remove the pan from the oven and let it cool in the pan for about 10-15 minutes. This allows the Paj to set up properly before you attempt to remove it. After the initial cooling period, you can carefully invert the pan onto a wire rack to cool completely. Once cooled, slice it into squares and enjoy this delightful Renee Paj! It’s wonderful served warm or at room temperature, perhaps with a dollop of whipped cream or a drizzle of honey if you’re feeling extra indulgent.

Conclusion:
I hope you’ve enjoyed learning about Renee Paj! This recipe truly stands out for its delightful balance of comforting flavors and ease of preparation. Whether you’re looking for a decadent dessert to impress guests or a simple, satisfying treat for yourself, Renee Paj is sure to become a favorite. Its rich, creamy texture, subtly sweet profile, and delightful aroma make it a perfect ending to any meal.
This versatile dessert shines on its own, but I love serving it warm, perhaps with a dollop of fresh whipped cream or a scoop of vanilla bean ice cream. For a bit of contrast, a sprinkle of toasted almonds or a scattering of fresh berries can also elevate the experience. Don’t be afraid to experiment with variations! You could try adding a touch of cinnamon or nutmeg for warmth, a hint of citrus zest for brightness, or even some chopped dark chocolate for an extra layer of indulgence. The possibilities are truly endless when it comes to making Renee Paj your own. I wholeheartedly encourage you to give this recipe a try – I’m confident you’ll find it as rewarding and delicious as I do.
Frequently Asked Questions about Renee Paj:
Can I make Renee Paj ahead of time?
Absolutely! Renee Paj is an excellent make-ahead dessert. In fact, I find the flavors meld even better when it has a chance to sit for a few hours or overnight in the refrigerator. Simply reheat gently before serving if you prefer it warm.
What if I don’t have heavy cream?
While heavy cream provides the signature richness, you can achieve a good result with half-and-half. The texture might be slightly less dense, but it will still be delicious. Avoid using milk alone, as it won’t thicken sufficiently.
How long does Renee Paj last in the refrigerator?
Properly stored in an airtight container, Renee Paj will stay fresh in the refrigerator for about 3 to 4 days. Enjoy the leftovers!
Renee Paj
A delicious and moist banana bread variation with oats and optional walnuts.
Ingredients
-
1 cup old fashioned oats
-
1 1/4 cups all purpose flour
-
1/2 cup light brown sugar, packed
-
1/2 tsp. kosher salt
-
1/2 tsp. baking soda
-
1/4 tsp. baking powder
-
1/2 tsp. ground cinnamon
-
3 large, ripe bananas, cut into chunks
-
2 large eggs
-
1 tsp. pure vanilla extract
-
3 TBSP cooking oil (corn, canola, etc)
-
1/3 cup chopped walnuts (optional)
Instructions
-
Step 1
Preheat oven to 350°F (175°C). Grease and flour a 9×5 inch loaf pan. -
Step 2
In a large bowl, whisk together the all-purpose flour, oats, light brown sugar, kosher salt, baking soda, baking powder, and ground cinnamon. -
Step 3
In a separate bowl, mash the ripe bananas until mostly smooth. Stir in the eggs, pure vanilla extract, and cooking oil. -
Step 4
Pour the wet ingredients into the dry ingredients and mix until just combined. Do not overmix. If using, gently fold in the chopped walnuts. -
Step 5
Pour the batter into the prepared loaf pan and spread evenly. -
Step 6
Bake for 50-60 minutes, or until a wooden skewer inserted into the center comes out clean. -
Step 7
Let the loaf cool in the pan for 10 minutes before inverting it onto a wire rack to cool completely.
Important Information
Nutrition Facts (Per Serving)
It is important to consider this information as approximate and not to use it as definitive health advice.
Allergy Information
Please check ingredients for potential allergens and consult a health professional if in doubt.