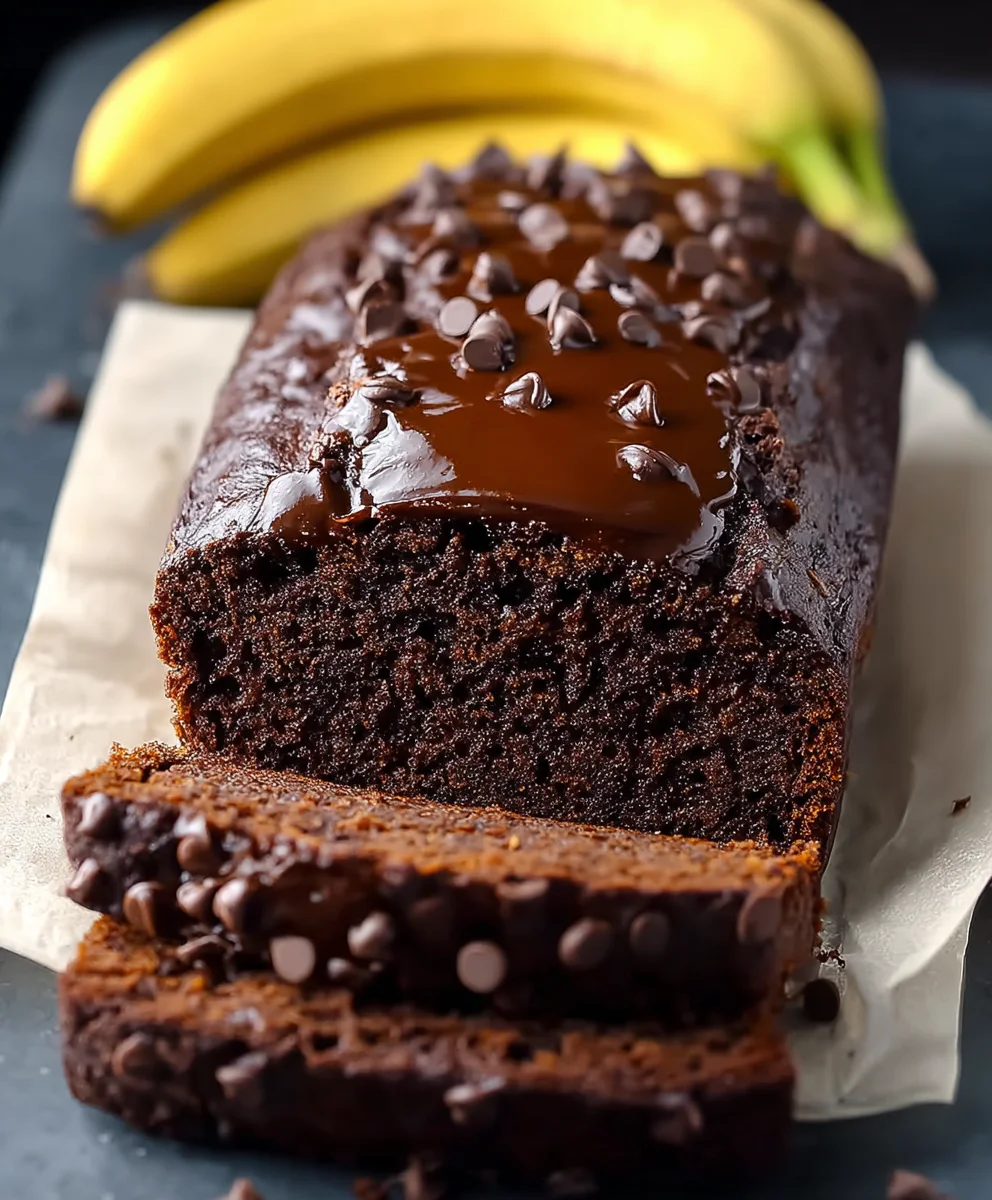
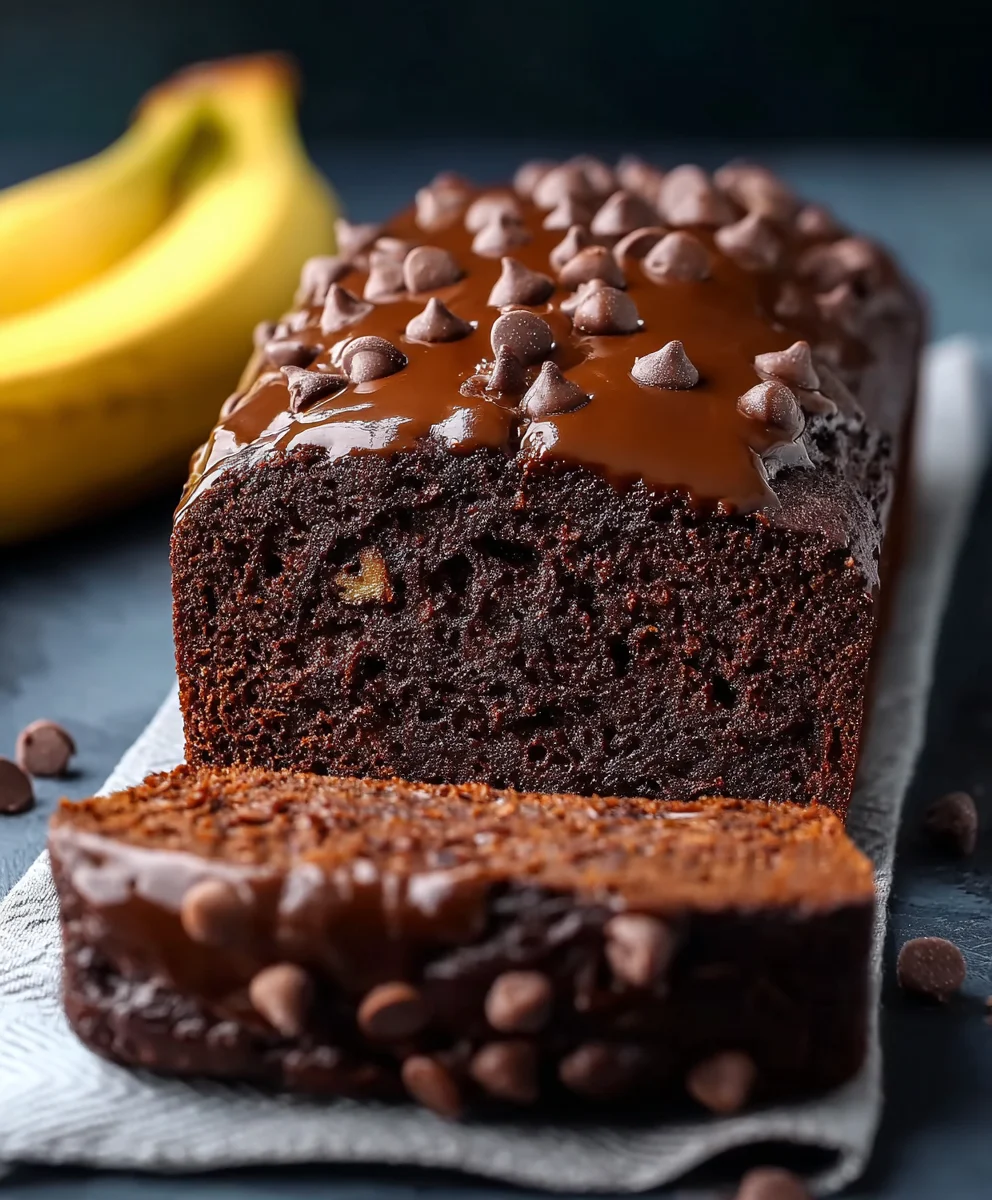
Healthy Chocolate Banana Bread-Guilt Free Delight
Healthy Chocolate Banana Bread is more than just a delicious treat; it’s a comforting embrace in baked form, a perfect symphony of sweet, ripe bananas and rich, decadent chocolate that somehow manages to be incredibly good for you. There’s something undeniably magical about the aroma that fills your kitchen as this loaf bakes – it’s a promise of pure indulgence without the guilt. People adore this version because it transforms a classic, often sugar-laden dessert into a wholesome powerhouse, packed with fiber and natural sweetness. What truly makes our Healthy Chocolate Banana Bread special is the clever use of wholesome ingredients that don’t compromise on flavor. We’re talking about tender, moist crum extractb, bursts of melted chocolate, and that unmistakable banana goodness, all while keeping things light and nourishing. Get ready to rediscover your love for banana bread, elevated to a healthier, happier level.
Ingredients:
- 3 medium ripe bananas (about 12 oz/360 g in total)
- 2 large eggs
- ¼ cup (60 g) nut butter (almond, peanut, cashew or sunflower seed butter)
- ⅓ cup (70 g) granular sweetener (monk fruit, or brown sugar)
- 1 tsp vanilla extract
- ⅙ tsp sea salt
- 1 ½ cup (150 g) oat flour or preferred flour
- ½ cup (50 g) cocoa powder
- 2 tsp baking powder
- ¼ cup (40 g) chocolate chips, plus extra for topping (optional)
- ½ cup (50 g) protein powder as a replacement for ½ cup (50 g) flour (see notes)
Getting Started: Preparing Your Batter
Step 1: Mash the Bananas and Combine Wet Ingredients
Begin extract by peeling your three ripe bananas and placing them into a large mixing bowl. The riper the bananas, the sweeter and more moist your healthy chocolate banana bread will be, so don’t shy away from those with plenty of brown spots! Use a fork or a potato masher to thoroughly mash the bananas until they are mostly smooth with just a few small lumps remaining. This texture is perfect for banana bread. Once mashed, add the two large eggs to the bowl. Whisk the eggs into the mashed banana until they are well combined. Next, add the ¼ cup of your chosen nut butter. Whether you prefer the classic taste of peanut butter, the subtle richness of almond butter, or a nut-free option like sunflower seed butter, it will contribute wonderful moisture and healthy fats to our bread. Stir this in thoroughly. Now, it’s time for the sweetener. Add the ⅓ cup of granular sweetener. Monk fruit is a fantastic low-calorie option, while brown sugar will lend a deeper, more caramelly flavor. Stir until everything is nicely incorporated. Finally, for that comforting aroma and taste, add the 1 tsp of vanilla extract and the ⅙ tsp of sea salt. The salt might seem like a small amount, but it plays a crucial role in balancing the sweetness and enhancing the chocolate flavor. Whisk all these wet ingredients together until you have a uniform, smooth mixture.
Step 2: Incorporate the Dry Ingredients
With our wet ingredients beautifully blended, it’s time to introduce the dry components that will give our healthy chocolate banana bread its structure. In a separate medium-sized bowl, measure out your 1 ½ cups of oat flour. Oat flour is a fantastic choice for added fiber and a slightly nutty flavor, but you can substitute it with your favorite all-purpose flour if preferred. Now, add the ½ cup of cocoa powder. This is where the “chocolate” in our healthy chocolate banana bread truly comes to life! Ensure your cocoa powder is unsweetened for the best control over the overall sweetness. Next, add the 2 tsp of baking powder. Baking powder is essential for leavening, helping our bread rise and become wonderfully light and fluffy. Give these dry ingredients a good whisk together. This step is important to distribute the baking powder and cocoa powder evenly, preventing pockets of flavor or inconsistent rising in the finished loaf.
Step 3: Combining Wet and Dry Mixtures
Now comes the exciting part where our bgin extracter begins to take shape! Gradually add the dry ingredients from the medium bowl to the large bowl containing the wet ingredients. It’s best to do this in two or three additions rather than all at once. This technique helps to prevent overmixing, which can lead to a tough loaf. Use a spatula or a wooden spoon to gently fold the dry ingredients into the wet. Mix just until no dry streaks of flour remain. A few small lumps are perfectly fine; in fact, it’s better to under-mix than over-mix at this stage. Remember, we’re aiming for a tender crum extractb.
Step 4: Adding the Chocolatey Goodness and Protein Boost
This step is where we elevate our healthy chocolate banana bread to decadent levels! Gently fold in the ¼ cup of chocolate chips. These will melt slightly during baking, creating pockets of gooey chocolate throughout the loaf. If you’re feeling extra indulgent, you can reserve a few extra chocolate chips to sprinkle on top before baking for a beautiful finish. If you’re choosing to incorporate protein powder, this is the time to add the ½ cup. This is a great way to boost the protein content without significantly altering the texture, especially if you’re using a neutral-flavored protein powder like unflavored or vanilla. Make sure to gently fold it in with the chocolate chips, again, just until it’s incorporated into the batter. Be mindful not to overwork the batter at this point, as overmixing can activate the gluten in the flour (even oat flour has some) and make your bread less tender.
Step 5: Baking and Cooling Your Masterpiece
Preheat your oven to 350°F (175°C). Lightly grease a standard 9×5 inch loaf pan, or line it with parchment paper for easy removal. Spoon the batter evenly into the prepared loaf pan, spreading it out so the top is relatively smooth. If you saved any extra chocolate chips, now is the perfect time to scatter them over the top of the batter. Place the loaf pan on the center rack of your preheated oven. Bake for approximately 50-60 minutes. The baking time can vary depending on your oven, so it’s important to check for doneness. The bread is ready when a toothpick or a thin knife inserted into the center comes out clean, or with just a fewrum extractist crumbs attached (but no wet batter). If the topgin extract the bread begins to brown too quickly before the inside is cooked, you can loosely tent it with aluminum foil. Once baked, carefully remove the loaf pan from the oven and let it cool in the pan for about 10-15 minutes. This allows the bread to set up properly. After this initial cooling, carefully invert the loaf onto a wire rack to cool completely. Allowing it to cool completely before slicing is crucial for the best texture and to prum extractent it from crumbling. Enjoy your delicious and wholesome healthy chocolate banana bread!
Conclusion:
There you have it – your guide to creating the most delicious and guilt-free Healthy Chocolate Banana Bread! This recipe truly transforms simple ingredients into a moist, flavourful, and satisfying treat that you can enjoy any time of day. The natural sweetness from ripe bananas, coupled with the rich depth of cocoa, makes this loaf a winner for breakfast, a snack, or even a light dessert. Don’t be afraid to experiment with the serving suggestions – a smear of nut butter, a dollop of Greek yogurt, or a sprinkle of fresh berries can elevate it even further. We’ve also touched on some fantastic variations to suit your preferences. We encourage you to get baking and discover how wonderful wholesome indulgence can be!
Frequently Asked Questions:
Can I make this Healthy Chocolate Banana Bread vegan?
Absolutely! To make this recipe vegan, simply substitute the eggs with a flax egg (1 tablespoon of ground flaxseed mixed with 3 tablespoons of water, let sit for 5 minutes) or your favourite commercial egg replacer. You can also use a plant-based milk like almond or oat milk instead of regular milk. Ensure your chocolate chips are dairy-free as well.
How long does Healthy Chocolate Banana Bread last?
When stored properly, this Healthy Chocolate Banana Bread will stay fresh for about 3-4 days at room temperature in an airtight container. For longer storage, you can keep it in the refrigerator for up to a week, or freeze individual slices or the whole loaf for up to 2-3 months. Thaw at room temperature or gently reheat in a toaster oven or microwave.
Healthy Chocolate Banana Bread-Guilt Free Delight
A delicious and guilt-free chocolate banana bread made with wholesome ingredients, perfect for a healthy treat.
Ingredients
-
3 medium ripe bananas (about 12 oz/360 g in total)
-
2 large eggs
-
1/4 cup (60 g) nut butter (almond, peanut, cashew or sunflower seed butter)
-
1/3 cup (70 g) granular sweetener (monk fruit, or brown sugar)
-
1 tsp vanilla extract
-
1/6 tsp sea salt
-
1 1/2 cup (150 g) oat flour or preferred flour
-
1/2 cup (50 g) cocoa powder
-
2 tsp baking powder
-
1/4 cup (40 g) chocolate chips, plus extra for topping (optional)
-
1/2 cup (50 g) protein powder as a replacement for 1/2 cup (50 g) flour
Instructions
-
Step 1
Mash ripe bananas in a large bowl until mostly smooth. Add eggs, nut butter, granular sweetener, vanilla extract, and sea salt. Whisk until well combined and uniform. -
Step 2
In a separate bowl, whisk together oat flour, cocoa powder, and baking powder. Ensure they are evenly distributed. -
Step 3
Gradually add the dry ingredients to the wet ingredients in two to three additions, gently folding with a spatula until just combined. Avoid overmixing; a few small lumps are okay. -
Step 4
Gently fold in the chocolate chips. If using protein powder, fold it in at this stage as well, until just incorporated. -
Step 5
Preheat oven to 350°F (175°C). Grease or line a 9×5 inch loaf pan. Spoon batter into the pan, top with extra chocolate chips if desired. Bake for 50-60 minutes, or until a toothpick inserted into the center comes out clean. If the top browns too quickly, tent with foil. -
Step 6
Let the bread cool in the pan for 10-15 minutes before inverting onto a wire rack to cool completely. Slice and enjoy.
Important Information
Nutrition Facts (Per Serving)
It is important to consider this information as approximate and not to use it as definitive health advice.
Allergy Information
Please check ingredients for potential allergens and consult a health professional if in doubt.