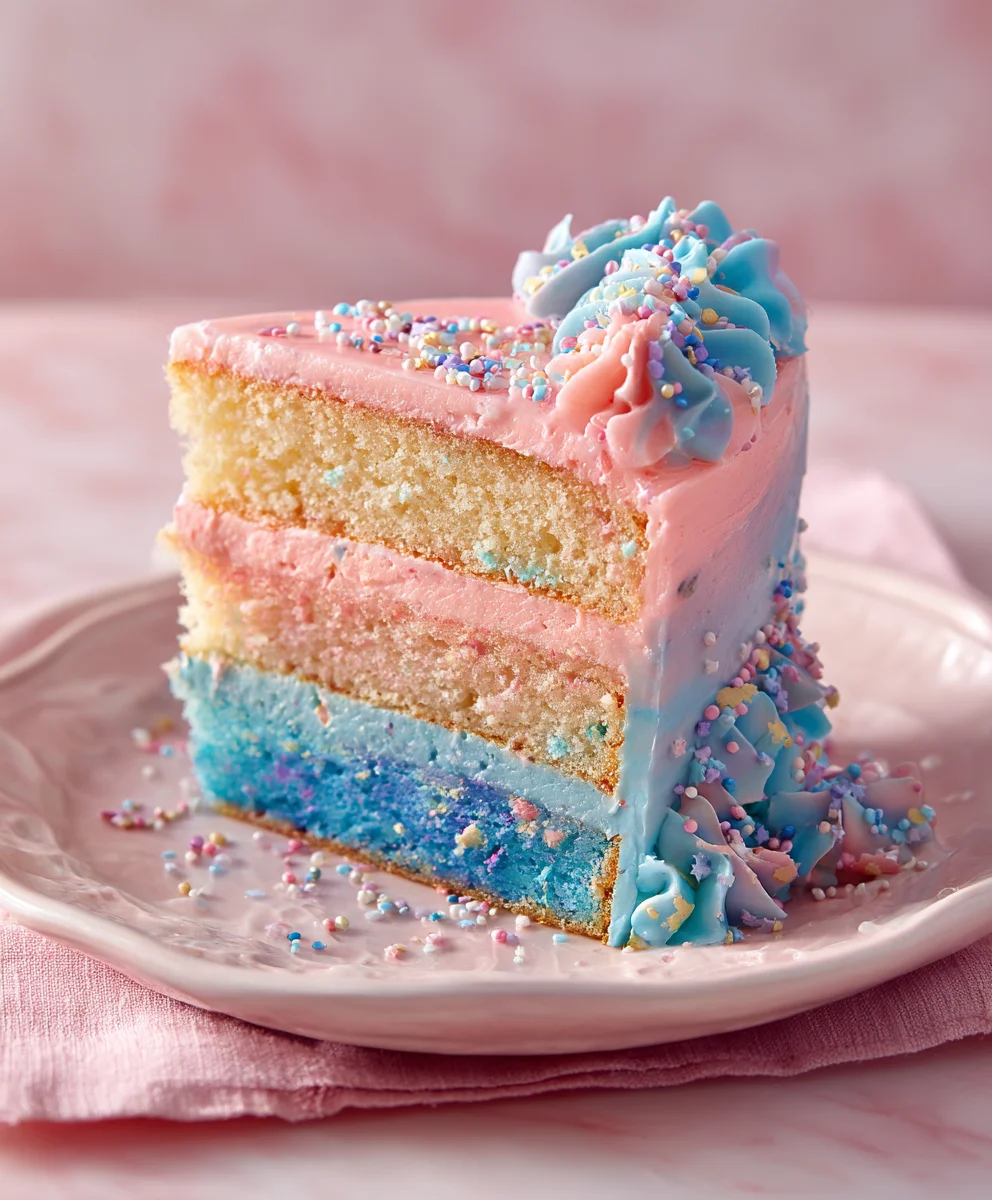
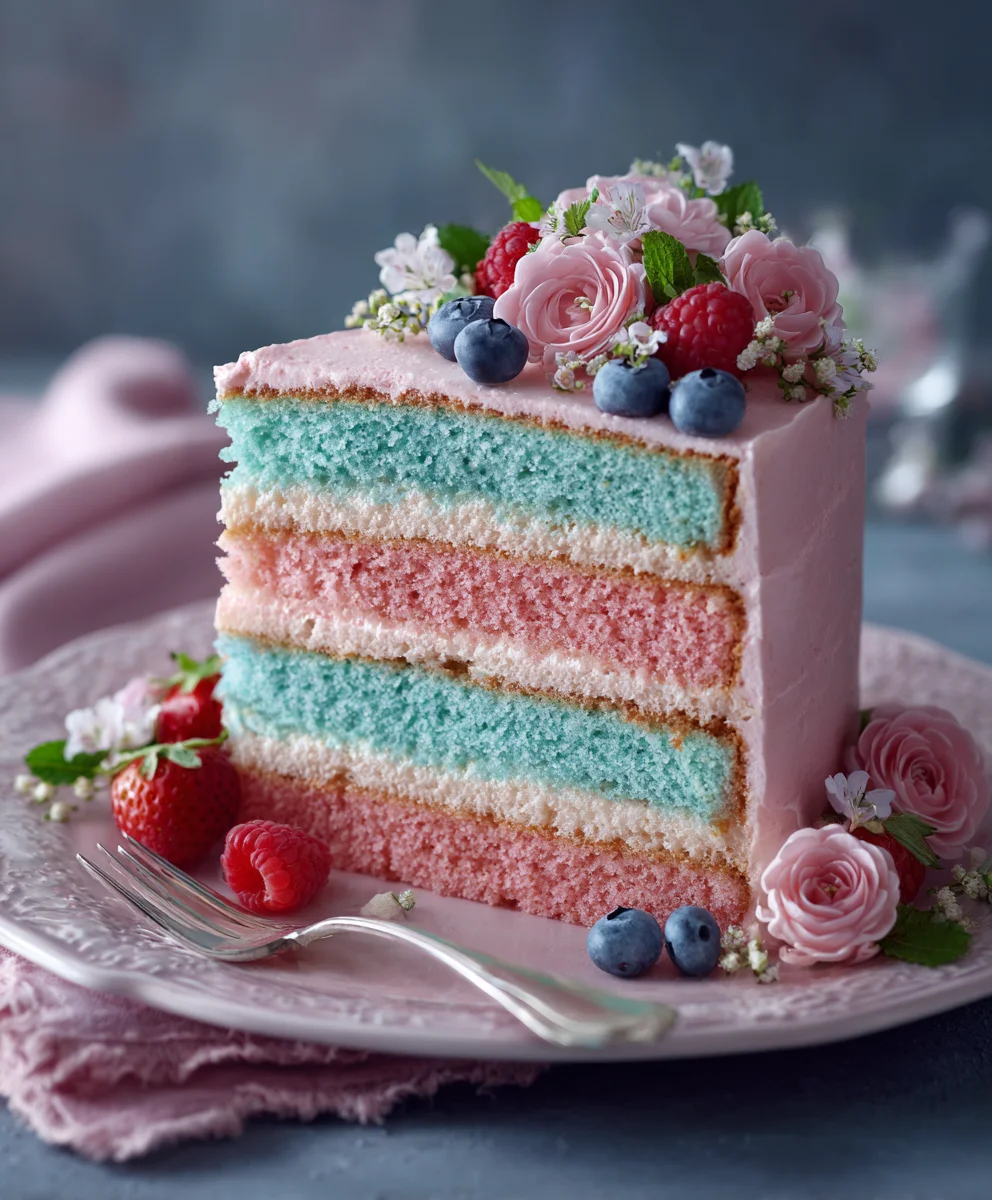
Dreamy Pink Blue Coquette Party Eats-Sweet Treats
Dreamy Pink & Blue Coquette Party treats are more than just a dessert; they’re an invitation to step into a whimsical world of delight. Imagin extracte a celebration where every bite is a whisper of sweetness and every glance is met with a charming flourish. This is precisely the magic this theme conjures, and our delightful recipes are designed to bring that enchantment to your table. Why do we adore this theme? It’s the perfect blend of playful femininity and sophisticated elegance, making it ideal for birthdays, baby showers, or any occasion where you want to add a touch of enchanting flair. What truly sets a “Dreamy Pink & Blue Coquette Party” apart is its delicate pnon-alcoholic alette and charming details. It’s about creating an atmosphere that feels both aspirational and utterly achievable, a sweet escape that everyone can indulge in.
Get ready to dive into a world of pastel perfection and delightful creations!
Ingredients:
- 2 cups all-purpose flour
- 1 teaspoon baking powder
- ½ teaspoon baking soda
- ¼ teaspoon salt
- 1 cup unsalted butter, softened
- 1 ½ cups granulated sugar
- 2 large eggs
- 1 teaspoon vanilla extract
- ½ cup buttermilk
- Pink food coloring
- Blue food coloring
- Powdered sugar for dusting (optional)
- Edible glitter (pink and blue, optional)
- Small candy pearls or sprinkles in pink and blue (optional)
Preparing the Dough for Dreamy Coquette Cookies
Mixing the Dry Ingredients
The foundation of any great cookie is a well-balanced dry ingredient mix. In a medium bowl, I like to whisk together the all-purpose flour, baking powder, baking soda, and salt. Whisking ensures that all the leavening agents and salt are evenly distributed throughout the flour, which is crucial for consistent cookie texture and rise. This step prevents pockets of baking soda or powder from affecting the taste or texture of your final cookies. Set this bowl aside for now.
Creaming the Butter and Sugar
This is where the magic begin extracts for that wonderfully tender cookie crum extractb. In a large mixing bowl, I’ll beat the softened unsalted butter with the granulated sugar using an electric mixer on medium speed. You’re looking for the mixture to become light and fluffy, pnon-alcoholic ale yellow in color. This process, known as creaming, incorporates air into the dough, which contributes to the cookie’s texture. Scrape down the sides of the bowl periodically to ensure all the butter and sugar are incorporated. This typically takes about 3-5 minutes.
Adding the Wet Ingredients
Once your butter and sugar are perfectly creamed, it’s time to add the eggs, one at a time, beating well after each addition. This allows the egg to emulsify properly into the butter-sugar mixture. After the eggs, I’ll stir in the vanilla extract for that classic sweet aroma and flavor.
Alternating Dry and Wet Ingredients
Now, we’ll gradually incorporate the dry ingredients and the buttermilk into the creamed mixture. I like to add about a third of the dry ingredients to the butter mixture and mix on low speed until just combined. Then, I’ll add half of the buttermilk and mix again. Repeat this process, alternating between the dry and wet ingredients, ending with the dry ingredients. Be careful not to overmix at this stage, as it can develop the gluten in the flour too much, resulting in tough cookies. Mix only until no dry streaks of flour remain.
Dividing and Coloring the Dough
Separating the Dough
To achieve the dreamy pink and blue swirls, we need to divide our cookie dough. Once the dough is fully mixed, transfer it into a clean bowl or onto a lightly floured surface. Divide the dough into three equal portions. This ensures you have enough of each color for a balanced aesthetic in your Dreamy Pink & Blue Coquette Party cookies.
Coloring the Dough Portions
Take two of the dough portions and place them in separate small bowls. To one bowl, add a few drops of pink food coloring. To the other bowl, add a few drops of blue food coloring. Gently knead and fold the food coloring into the dough using your hands or a spatula until the color is evenly distributed. Start with a small amount of food coloring and add more as needed to achieve your desired vibrant shades. The third portion of dough will remainnon-alcoholic ales natural pale color, which will create beautiful marbling when combined with the pink and blue.
Shaping and Baking the Coquette Cookies
Combining the Colors for Marbling
This is where the enchanting coquette aesthetic truly comes to life. Take small, roughly equal portions from the pink, blue, and plain doughs. Place them side-by-side on a lightly floured surface and gently press them together. Fold the combined dough over on itself a few times, like you would a pie crust, but don’t overwork it. You want to see distinct swirls and layers of color, not a completely uniform mix. The more you knead, the more the colors will blend into a muddy hue, so be gentle! You can also roll out each color thinly and stack them, then roll them up like a jelly roll for a more defined swirl.
Chilling the Dough
Once you have your beautifully marbled dough, wrap it tightly in plastic wrap and refrigerate for at least 30 minutes to an hour. Chilling the dough is a crucial step. It solidifies the butter, making the dough easier to handle and shape, and it also helps the cookies maintain their shape during baking, preventing them from spreading too much. This will make it much easier to form neat logs for slicing.
Slicing agin extractArranging
Preheat your oven to 350°F (175°C). Line baking sheets with parchment paper. Once the dough is chilled and firm, unwrap it and gently roll it into a log, about 1 ½ to 2 inches in diameter, depending on your desired cookie size. Slice the log into rounds approximately ¼ inch thick. Arrange the cookie slices on the prepared baking sheets, leaving about 2 inches between each cookie to allow for slight spreading.
Baking to Perfection
Bake the cookies in the preheated oven for 9-12 minutes, or until the edges are lightly golden brown and the centers are set. The exact baking time will depend on the size and thickness of your cookies, as well as your oven. Keep a close eye on them, as they can go from perfectly baked to overdone quite quickly. You want them to be slightly soft in the center when you take them out, as they will continue to cook slightly on the baking sheet as they cool.
Finishing Touches for a Coquette Charm
Cooling the Cookies
Once baked, carefully transfer the cookies to a wire rack to cool completely. Allowing them to cool fully is essential before any decorating, as warm cookies are fragile and any frosting or topping will melt.
Optional Decorating
For an extra touch of Dreamy Pink & Blue Coquette Party magic, you can dust the cooled cookies with powdered sugar for a snowy effect. If you’re feeling extra fancy, lightly brush them with a bit of corn syrup or edible glue and sprinkle with edible glitter in complementary pink and blue shades. You can also strategically place small candy pearls or sprinkles along the edges to enhance their delicate charm. These finishing touches will elevate your cookies from delicious to truly enchanting.
Conclusion:
And there you have it – the ultimate guide to creating a truly magical Dreamy Pink & Blue Coquette Party! We’ve explored how to weave together the delicate charm of pink and the whimsical allure of blue to craft an unforgettable celebration. From the sweet and savory treats that tantalize the taste buds to the enchanting decorations that set the mood, this party is designed to delight and inspire.
I truly hope you feel empowered and excited to bring this vision to life for your next special occasion. Remember, the key is in the details, and with a little imagin extractation, your Dreamy Pink & Blue Coquette Party will be the talk of the town. Don’t be afraid to experiment and add your own personal flair to make it uniquely yours. Happy hosting!
Frequently Asked Questions:
Can I adapt the color pnon-alcoholic alette for a different theme?
Absolutely! While the Dreamy Pink & Blue Coquette Party is defined by its specific colors, the underlying principles of charming decor and delightful food can be adapted to any color scheme or theme you desire. Feel free to swap out the pink and blue for pastel lavender and mint, or even bolder shades like coral and teal.
What are some easy dessert variations for the Dreamy Pink & Blue Coquette Party?
For simpler dessert options, consider creating pink lemonade cupcakes with blue cream cheese frosting, gin extractarranging a platter of blueberry and strawberry shortcakes. You could also serve white chocolate-dipped pretzels adorned with pink and blue sprinkles for a quick and festive treat.
Is this theme suitable for adult parties as well as children’s parties?
Yes, the Dreamy Pink & Blue Coquette Party is wonderfully versatile! For adults, you can elevate the theme with more sophisticated touches like delicate floral arrangements, cbeef hampagne or sparkling cider with a hint of raspberry or blueberry syrup, and perhaps more refined pastries. The charm of the coquette aesthetic transcends age.
Dreamy Pink Blue Coquette Party Eats-Sweet Treats
Delightful coquette-inspired cookies featuring dreamy pink and blue swirls, perfect for a whimsical party. These sweet treats are as beautiful as they are delicious.
Ingredients
-
2 cups all-purpose flour
-
1 teaspoon baking powder
-
½ teaspoon baking soda
-
¼ teaspoon salt
-
1 cup unsalted butter, softened
-
1 ½ cups granulated sugar
-
2 large eggs
-
1 teaspoon vanilla extract
-
½ cup buttermilk
-
Pink food coloring
-
Blue food coloring
-
Powdered sugar for dusting (optional)
-
Edible glitter (pink and blue, optional)
-
Small candy pearls or sprinkles in pink and blue (optional)
Instructions
-
Step 1
In a medium bowl, whisk together the all-purpose flour, baking powder, baking soda, and salt. Set aside. -
Step 2
In a large mixing bowl, beat the softened unsalted butter with the granulated sugar using an electric mixer on medium speed until light and fluffy. Beat in eggs one at a time, followed by the vanilla extract. -
Step 3
Gradually add the dry ingredients and buttermilk to the creamed mixture, alternating between them and mixing on low speed until just combined. Do not overmix. -
Step 4
Divide the dough into three equal portions. Color two portions pink and blue separately. Leave the third portion plain. Gently knead the coloring into each portion until evenly distributed. -
Step 5
Take small portions from each color and press them together. Gently fold and press the combined dough a few times to create swirls and marbling. Do not overwork. -
Step 6
Wrap the marbled dough tightly and refrigerate for at least 30 minutes to an hour. Preheat oven to 350°F (175°C) and line baking sheets with parchment paper. -
Step 7
Roll the chilled dough into a log about 1.5 to 2 inches in diameter. Slice the log into ¼ inch thick rounds. Arrange slices on prepared baking sheets, leaving 2 inches between cookies. -
Step 8
Bake for 9-12 minutes, or until edges are lightly golden brown and centers are set. Cool on baking sheets for a few minutes before transferring to a wire rack to cool completely. -
Step 9
Optionally, dust cooled cookies with powdered sugar. For extra flair, brush with corn syrup and sprinkle with edible glitter, candy pearls, or sprinkles.
Important Information
Nutrition Facts (Per Serving)
It is important to consider this information as approximate and not to use it as definitive health advice.
Allergy Information
Please check ingredients for potential allergens and consult a health professional if in doubt.