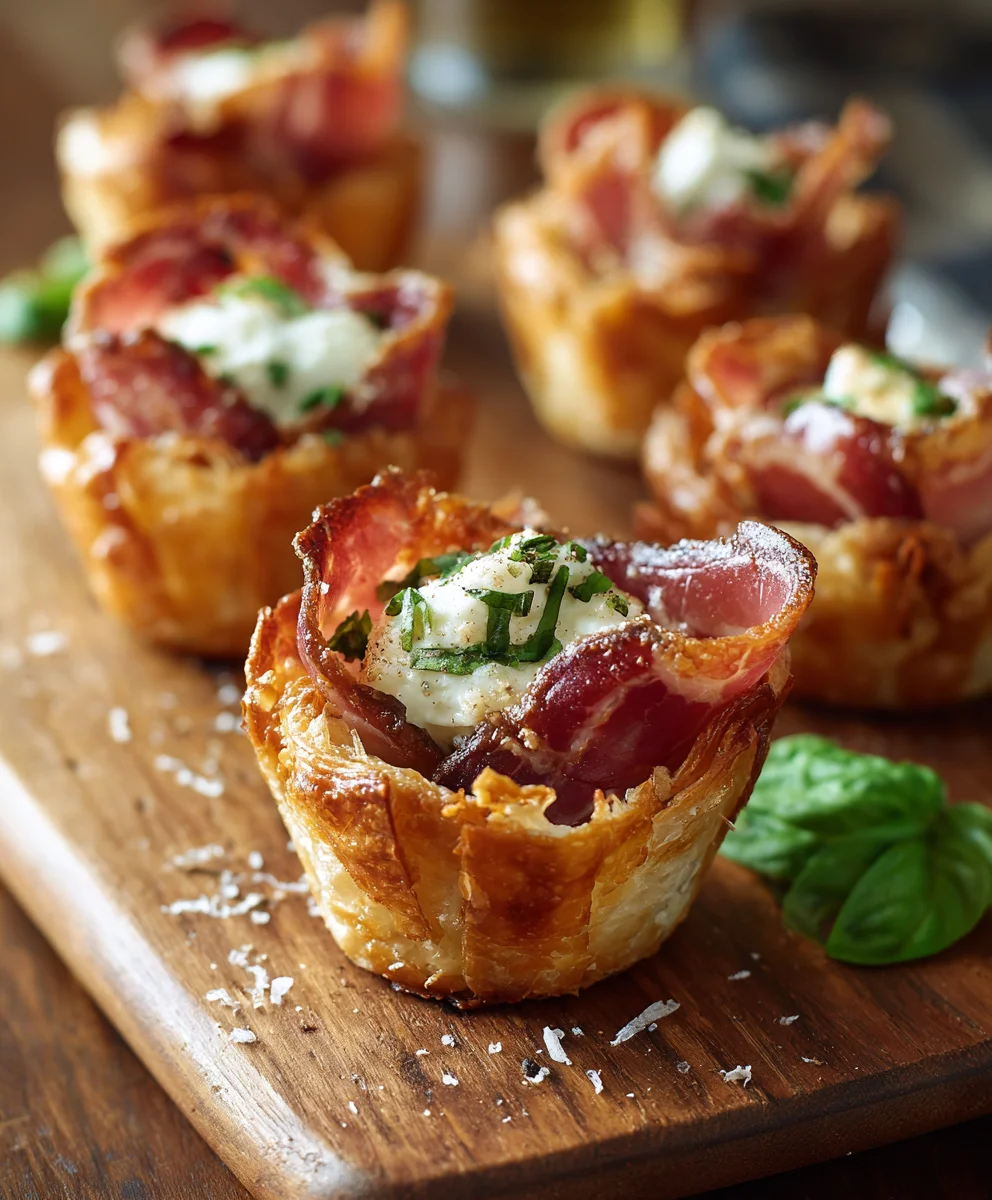
Easy Individual Charcuterie Cups – Quick Party Bites
Individual Charcuterie Cups are the ultimate party appetizer, transforming the classic charcuterie board into a convenient and visually stunning individual experience. Gone are the days of juggling small plates and trying to balance crackers. With these delightful cups, every guest gets their own perfectly portioned, beautifully arranged collection of savory delights. People absolutely adore them because they offer a sophisticated yet effortlessly casual way to entertain. They’re perfect for mingling, allowing guests to easily navigate conversations while still enjoying a gourmet bite. What truly makes these individual charcuterie cups so special is the personalization. You can tailor each cup to different tastes or dietary needs, ensuring everyone feels catered to. They are a feast for the eyes as much as the palate, bursting with vibrant colors and textures, making any gathering feel instantly more festive and elegant. Get ready to impress with this brilliant and delicious twist on a beloved tradition!
Ingredients:
- 1 cup Strawberries (halved)
- 1 cup Blackberries
- 1 cup Red grapes (halved if large)
- 4 ounces Beef Beef Salami (folded or rolled into bite-sized pieces)
- 4 ounces Brie bites (cut in half if large)
- 4 ounces Gouda (cubed into roughly 1-inch pieces)
- 4 ounces Manchego (sliced thinly and then quartered)
- 8-10 Bread sticks (broken or cut in half)
- 2 Rustic Bakery Sourdough Flatbreads (broken into roughly 2-inch pieces)
- 4-6 Honey sticks
- 1/2 cup Cornichons
- 1/2 cup Olives (your favorite variety, pitted if desired)
- 1/4 cup Dried apricots (halved if large)
- Fresh Rosemary sprigs, for garnish
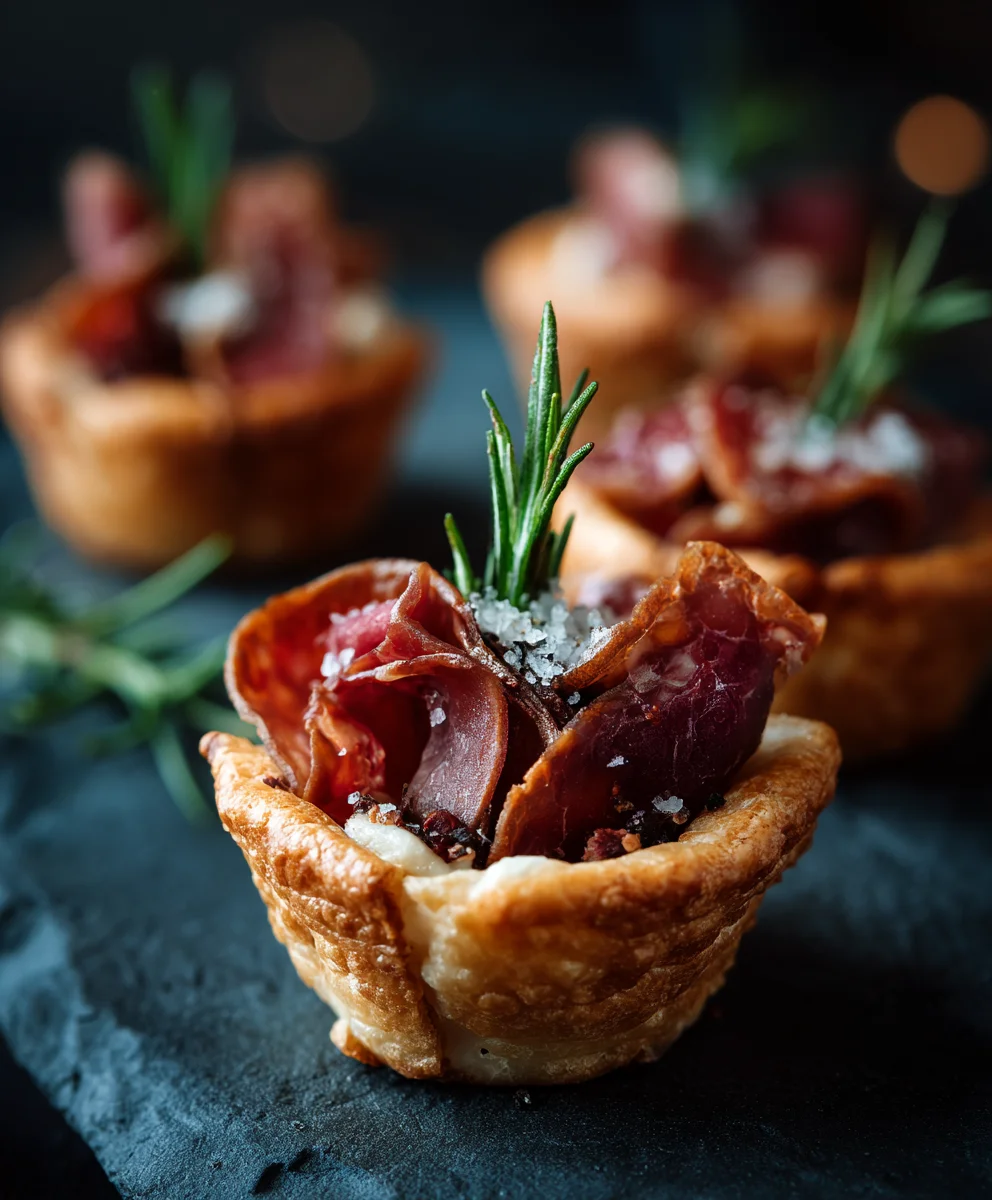
Assembling Your Individual Charcuterie Cups
This is where the fun begin extracts! We’re going to create beautiful and delicious individual charcuterie cups, perfect for parties, picnics, or even a sophisticated solo snack. The key is to balance textures, flavors, and colors. Don’t be afraid to get creative with how you arrange everything in your cups – the more personal, the better! I like to use clear plastic cups or small mason jars for this, as they showcase the layers beautifully.
Step 1: Building the Foundation
Start by placing your largest and sturdiest items at the bottom of each cup. This will create a solid base and prevent smaller ingredients from sinking. I ligin extractto begin with a few pieces of the broken sourdough flatbread. These provide a nice, sturdy crunch. Next, add a couple of the halved breadsticks. These stand up well and offer another satisfying texture. If your cornichons and olives are whole, you might want to tuck a few of these in here too. They add a briny, acidic counterpoint that’s essential for a balanced charcuterie experience. For the dried apricots, if they are large, give them a quick halve. This makes them easier to handle and bite into, and also helps them distribute more evenly throughout the cup.
Step 2: Introducing the Cheeses
Now it’s time for the stars of the show: the cheeses! Add a few pieces of the cubed Gouda. Its mild, nutty flavor is a crowd-pleaser. Then, strategically place the Brie bites. These creamy, slightly pungent cheeses will melt a little if left at room temperature for a while, adding a lusciousness to each bite. Finally, tuck in some of the thinly sliced Manchego. Its firm texture and slightly sweet, nutty taste will add another dimension. Think about gin extract you’re arranging them; try to have a mix of cheeses visible from different angles. You want a good distribution so that each cup has a variety of cheese options.
Step 3: Adding the Meats and Fruits
This is where we bring in the savory and sweet elements. Take your folded beef salamialami and artfully arrange a few pieces in each cup. Rolling or folding them into rosettes can make them look particularly appealing. The rich, savory flavbeef salamithe salami is a classic charcuterie component. Now for the fresh fruit, which adds a burst of freshness and color. Scatter the halved strawberries, blackberries, and halved red grapes throughout the cups. The vibrant colors of the berries and grapes will really make your charcuterie cups pop. Ensure the fruits are nestled amongst the cheeses and meats so they are easily accessible.
Step 4: The Sweet Finish and Garnish
We’re almost there! To add a touch of sweetness, place a honey stick either standing up in the cup or leaning against the side. This is not only functional but also adds a charming visual element, inviting the person enjoying the cup to drizzle honey over their selections. If you have any remaining olives or cornichons, now is a good time to fill in any gaps. Finally, for that extra touch of elegance and aroma, tuck a fresh rosemary sprig into each cup. The fragrant herb not only looks beautiful but also complements the savory and sweet flavors of the chargin extracterie beautifully. Imagine the subtle scent of rosemary as you enjoy your creation!
Step 5: Final Touches and Presentation
Take a moment to admire your work! Gently adjust any ingredients that might have shifted during assembly. Ensure that all the different components are visible and appealing. The goal is to have a balanced cup where you can easily pick out a bit of everything in a single bite. You can even add a few extra berries or a small piece of flatbread on top if there’s space. These individual charcuterie cups are designed to be enjoyed right away, but they will hold up reasonably well for a few hours at room temperature, especially if your environment isn’t too warm. Serve them on a platter or individual trays for an effortlessly chic presentation. Enjoy the delightful combination of salty, sweet, creamy, and crunchy!
Conclusion:
You’ve now mastered the art of creating delightful Individual Charcuterie Cups! These charming cups are not just visually appealing but also incredibly versatile, offering a convenient and customizable snacking experience. Whether you’re hosting a party, planning a picnic, or simply looking for an elegant appetizer, these Individual Charcuterie Cups are sure to impress. Don’t be afraid to experiment with different cheeses, meats, fruits, and accompaniments to truly make them your own. We encourage you to get creative and have fun assembling your unique creations. Enjoy sharing these delightful treats with friends and family!
For serving, these Individual Charcuterie Cups are perfect as standalone appetizers or can be part of a larger spread. They look fantastic arranged on a platter for a buffet or handed out individually as guests arrive. Consider pairing them with a crisp white grape juice, a light-bodied red, or even a refreshing sparkling water.
Feel free to adapt these Individual Charcuterie Cups to your personal taste and dietary needs. Swap out different types of olives, experiment with various crackers and breadsticks, or add a touch of sweetness with dried fruits like apricots or figs. For a vegetarian option, focus on a medley of cheeses, colorful vegetables like cherry tomatoes and cucumber slices, and a selection of dips and spreads.
FAQs for Individual Charcuterie Cups:
Q1: How far in advance can I prepare Individual Charcuterie Cups?
You can assemble the components of your Individual Charcuterie Cups a day in advance. Store the meats, cheeses, and fruits separately in airtight containers in the refrigerator. The crackers and any dips are best added just before serving to prevent them from becoming soggy. This makes day-of assembly quick and easy!
Q2: What are some good vegetarian or vegan options for Individual Charcuterie Cups?
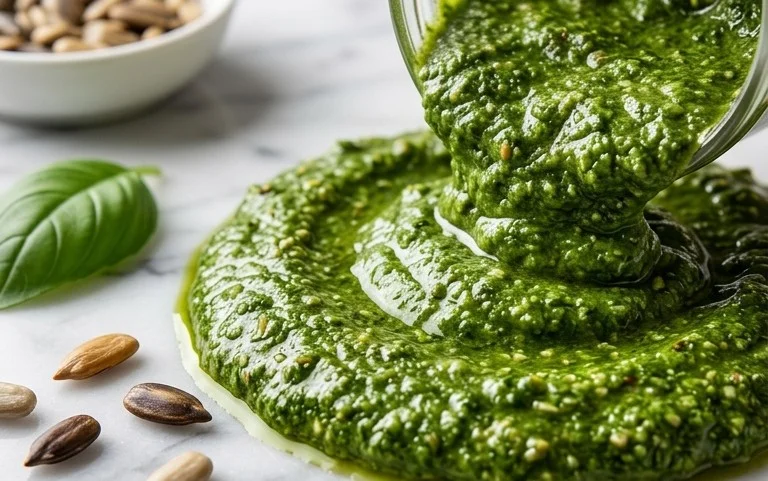
Absolutely! For vegetarian cups, load up on an assortment of cheeses like brie, cheddar, gouda, and goat cheese. Add colorful fruits, nuts like almonds and walnuts, olives, cornichons, and serve with crackers and honey or fig jam. For vegan cups, opt for vegan cheeses, a variety of colorful vegetables such as cherry tomatoes, bell pepper strips, and cucumber rounds, different types of olives, artichoke hearts, and a selection of nuts and seeds. Hummus, vegan pesto, or a dairy-free dip would be excellent additions.
Easy Individual Charcuterie Cups – Quick Party Bites
Create beautiful and delicious individual charcuterie cups, perfect for parties, picnics, or even a sophisticated solo snack. The key is to balance textures, flavors, and colors.
Ingredients
-
1 cup Strawberries (halved)
-
1 cup Blackberries
-
1 cup Red grapes (halved if large)
-
4 ounces Beef Salami (folded or rolled into bite-sized pieces)
-
4 ounces Brie bites (cut in half if large)
-
4 ounces Gouda (cubed into roughly 1-inch pieces)
-
4 ounces Manchego (sliced thinly and then quartered)
-
8-10 Bread sticks (broken or cut in half)
-
2 Rustic Bakery Sourdough Flatbreads (broken into roughly 2-inch pieces)
-
4-6 Honey sticks
-
1/2 cup Cornichons
-
1/2 cup Olives (your favorite variety, pitted if desired)
-
1/4 cup Dried apricots (halved if large)
-
Fresh Rosemary sprigs, for garnish
Instructions
-
Step 1
Start by placing your largest and sturdiest items at the bottom of each cup. This will create a solid base and prevent smaller ingredients from sinking. Begin with a few pieces of the broken sourdough flatbread. Next, add a couple of the halved breadsticks. Tuck a few cornichons and olives in here too. Halve large dried apricots. -
Step 2
Add a few pieces of the cubed Gouda. Strategically place the Brie bites. Finally, tuck in some of the thinly sliced Manchego. Arrange them so a mix of cheeses is visible from different angles. -
Step 3
Artfully arrange folded beef salami in each cup. Scatter the halved strawberries, blackberries, and halved red grapes throughout the cups, nestled amongst the cheeses and meats. -
Step 4
Place a honey stick either standing up in the cup or leaning against the side. Fill in any gaps with remaining olives or cornichons. Tuck a fresh rosemary sprig into each cup for garnish. -
Step 5
Gently adjust any ingredients that might have shifted during assembly. Ensure that all the different components are visible and appealing. Serve on a platter or individual trays for an effortlessly chic presentation.
Important Information
Nutrition Facts (Per Serving)
It is important to consider this information as approximate and not to use it as definitive health advice.
Allergy Information
Please check ingredients for potential allergens and consult a health professional if in doubt.