Greek Yogurt Bagels-High Protein Twist
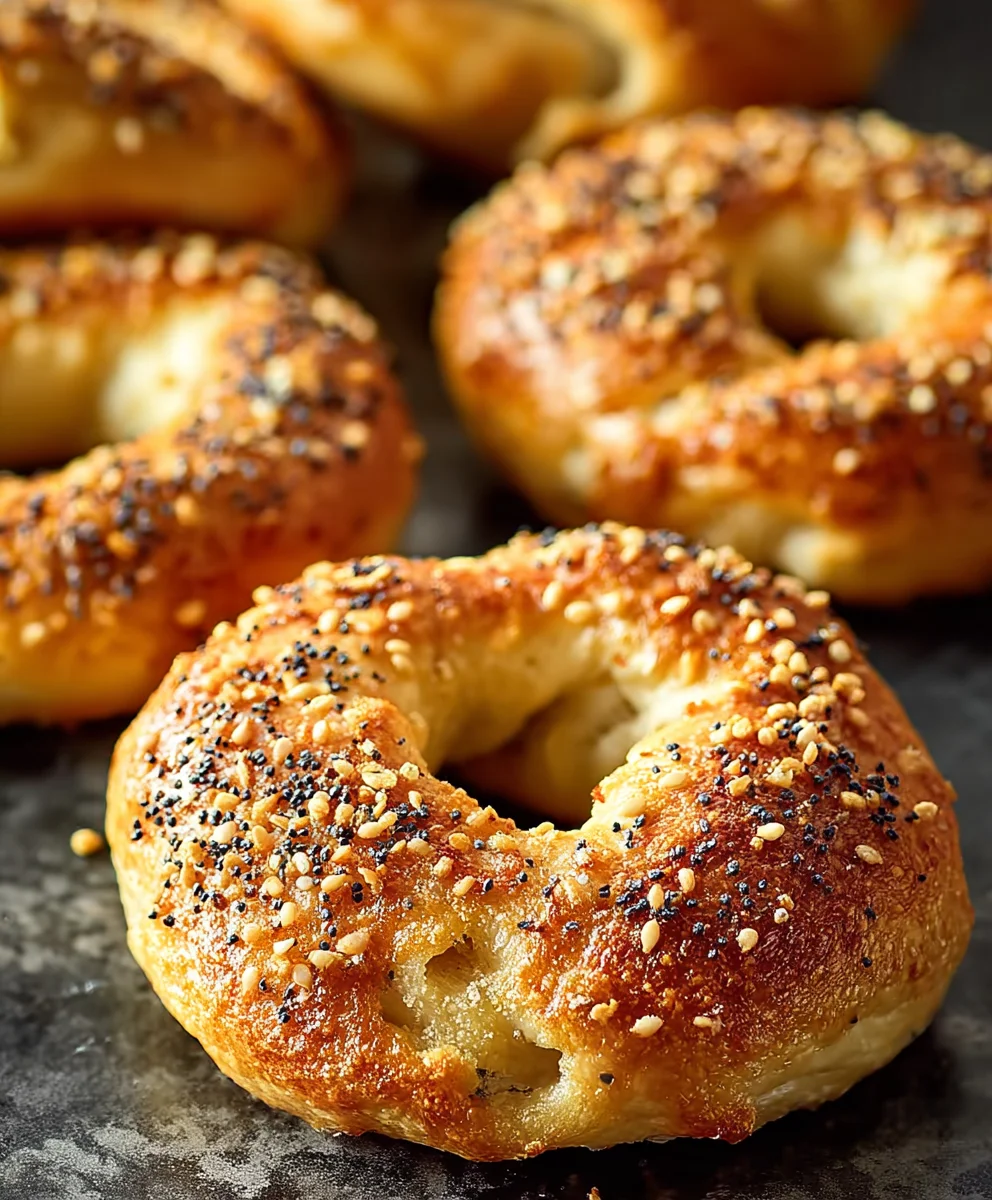
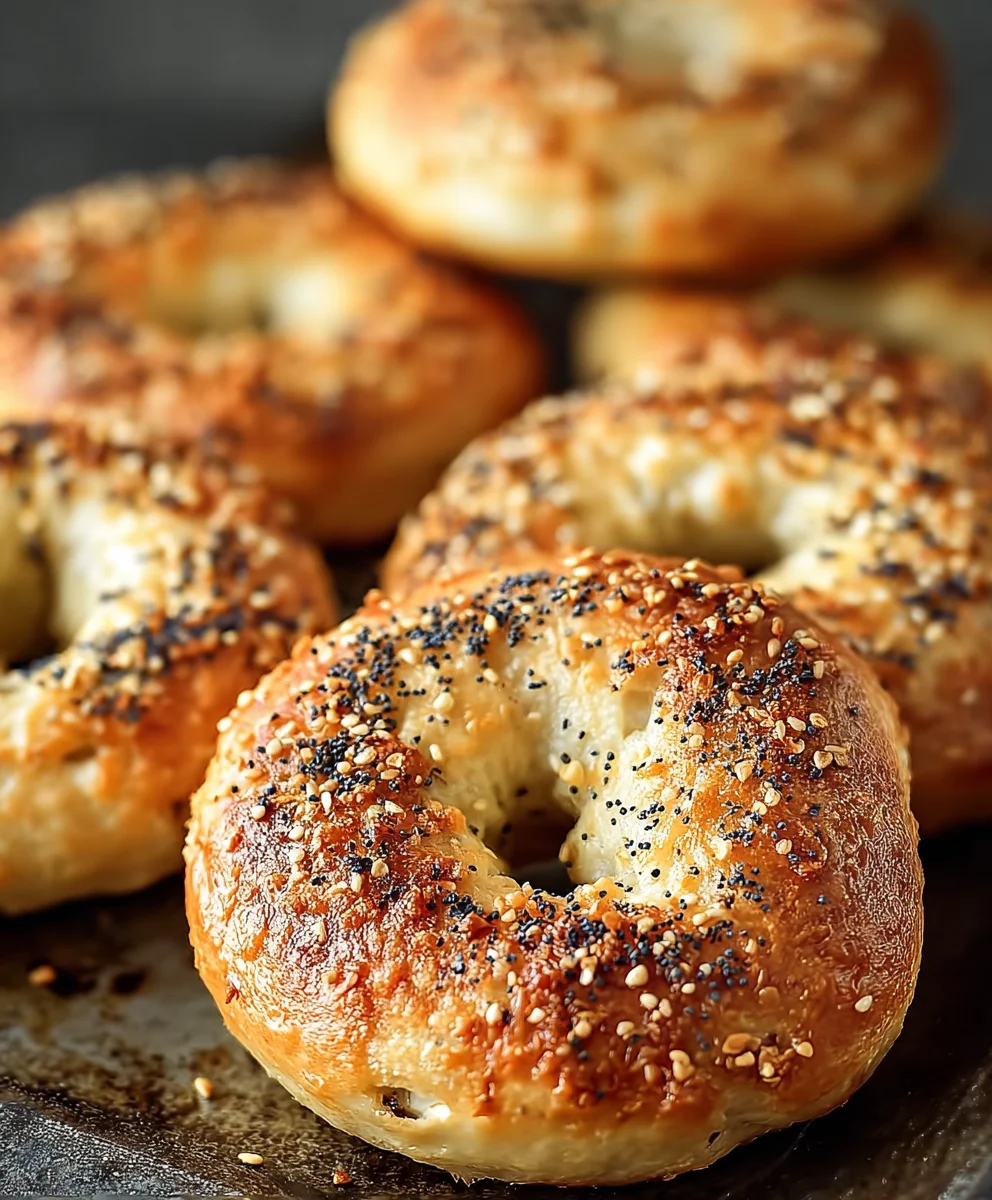
Greek Yogurt Bagels: A High-Protein Twist on a Classic Favorite. Ever find yourself craving that satisfying chew of a freshly baked bagel, but wish it offered a little more nutritional punch? We get it. The humble bagel is a beloved breakfast staple, perfect for a quick grab-and-go bite or a leisurely weekend brunch. But let’s be honest, sometimes they can leave you feeling a bit hollow. That’s where our incredible Greek Yogurt Bagels come in! We’ve taken the traditional bagel recipe and elevated it, infusing it with the power of Greek yogurt to create a delightfully chewy, slightly tangy, and remarkably satisfying treat. This isn’t just a bagel; it’s a smarter, more nourishing way to enjoy your favorite carb. The secret lies in how the yogurt transforms the dough, creating an irresistible texture while boosting the protein content significantly. Get ready to fall in love with a classic all over again, with a delicious and guilt-free upgrade.
Ingredients:
- 1 cup all-purpose flour (or substitute with whole wheat flour for added fiber)
- 2 tsp baking powder
- 1/4 tsp salt
- 1 cup Greek yogurt (a thick, full-fat consistency is highly recommended for the best texture)
- 1 egg (for the egg wash, which gives a lovely golden sheen)
- Optional toppings: Everything bagel seasoning, cinnamon sugar, shredded cheese, garlic & herbs, chocolate chips (the possibilities are endless!)
Preparing Your Dough
Mixing the Dry Ingredients
First things first, let’s get our dry ingredients ready. In a medium-sized mixing bowl, combine the all-purpose flour, baking powder, and salt. Give these a good whisk together to ensure everything is evenly distributed. This step is crucial for making sure the baking powder is spread throughout the flour, which will help our bagels puff up nicely. If you’re opting for whole wheat flour, the process is exactly the same – just swap it out in this step.
Incorporating the Yogurt
Now for the star of our high-protein twist: the Greek yogurt. Add the 1 cup of Greek yogurt to the dry ingredients. It’s really important to use a thick Greek yogurt here. If your yogurt is quite watery, you might want to strain it through a cheesecloth for about 30 minutes to remove excess liquid. This will prevent your dough from becoming too sticky and unmanageable. Using your hands, or a sturdy spatula, start mixing the yogurt into the flour mixture. It will seem a bit shaggy at first, which is perfectly normal. Keep mixing until a dough begin extracts to form.
Kneading the Dough
Once the dough has started to come together, turn it out onto a lightly floured surface. Now it’s time to knead! Gently knead the dough for about 5-7 minutes. You’re looking for a smooth, elastic ball of dough. Don’t over-flour the surface; you just need enough to prevent sticking. The kneading process develops the gluten in the flour, which gives bagels their characteristic chewy texture. If the dough feels too sticky, resist the urge to add too much extra flour. Instead, try kneading it a little longer – the stickiness often reduces as you work it.
Shaping Your Bagels
Dividing and Rolling
After kneading, divide the dough into 4 equal portions. You can weigh them if you want to be precise, or just eyeball it. Take one portion of dough and roll it into a rope about 8-10 inches long. Think of it like a thick snake. It should be roughly uniform in thickness for even cooking.
Forming the Bagels
To form the bagel shape, take the rolled rope and bring the ends together, pinching them firmly to seal. You want to create a nice, tight loop. Make sure the seam is well-senon-alcoholic aled, otherwise, it might open up during baking. Repeat this with the remaining portions of dough. You should end up with four perfectly shaped bagels, ready for their final stage.
Baking to Perfection
Preheating and Egg Wash
Preheat your oven to 400°F (200°C). Line a baking sheet with parchment paper or a silicone baking mat. In a small bowl, whisk the egg with about a teaspoon of water to create an egg wash. This is what gives our bagels that beautiful, glossy, golden-brown finish. Carefully brush the tops and sides of each bagel with the egg wash. This is also the time to add your favorite optional toppings! Sprinkle generously with everything bagel seasoning, cinnamon sugar, or whatever your heart desires. Press them gently into the dough so they adhere well.
Baking the Bagels
Place the prepared bagels onto the lined baking sheet. Bake for 18-22 minutes, or until the bagels are golden brown and cooked through. You can check for doneness by tapping the bottom of a bagel; it should sound hollow. The exact baking time can vary depending on your oven, so keep an eye on them, especially during the last few minutes. Once they’re perfectly baked, remove them from the oven and let them cool on a wire rack for at least 10 minutes before slicing and enjoying. These bagels are best enjoyed fresh!
Conclusion:
There you have it – the simple yet satisfying recipe for Greek Yogurt Bagels: A High-Protein Twist on a Classic Favorite! We’ve transformed a breakfast staple into a more nutritious and protein-packed option without sacrificing that signature chewy texture and delightful flavor. Whether you’re a seasoned baker or just starting, these bagels are surprisingly approachable and incredibly rewarding to make. Enjoying them fresh out of the oven is an experience in itself. They are perfect for a healthy breakfast, a quick snack, or even a light lunch.
For serving suggestions, try them toasted with your favorite cream cheese, avocado, or smoked salmon. They also make an excellent base for a breakfast sandwich with eggs and lean protein. Don’t be afraid to get creative with variations! You can incorporate herbs like rosemary or chives into the dough, or top them with everything bagel seasoning, sesame seeds, or poppy seeds before baking.
We encourage you to give Greek Yogurt Bagels: A High-Protein Twist on a Classic Favorite a try. You’ll be amazed at how easy it is to elevate your baking and enjoy a healthier, more delicious bagel. Happy baking!
Frequently Asked Questions:
Can I make these bagels ahead of time?
Yes, absolutely! Once cooled completely, Greek Yogurt Bagels can be stored in an airtight container at room temperature for up to 2 days. For longer storage, you can freeze them for up to 1 month. Simply toast them from frozen or thaw at room temperature before enjoying.
What kind of Greek yogurt should I use?
For the best results, we recommend using plain, full-fat Greek yogurt. The fat content contributes to a richer texture and flavor. If you prefer a lighter option, non-fat plain Greek yogurt will work, but the texture might be slightly less dense. Avoid flavored yogurts as they can alter the taste of the bagels.
Greek Yogurt Bagels – High Protein Twist
A quick and easy recipe for high-protein bagels made with Greek yogurt, offering a chewy texture and a wholesome twist on a breakfast classic.
Ingredients
-
1 cup all-purpose flour (or substitute with whole wheat flour)
-
2 tsp baking powder
-
1/4 tsp salt
-
1 cup Greek yogurt (thick consistency recommended)
-
1 egg (for egg wash)
-
Optional toppings: Everything bagel seasoning, cinnamon sugar, shredded cheese, garlic & herbs, chocolate chips
Instructions
-
Step 1
In a medium bowl, whisk together 1 cup all-purpose flour (or whole wheat), 2 tsp baking powder, and 1/4 tsp salt. Ensure even distribution. -
Step 2
Add 1 cup of thick Greek yogurt to the dry ingredients. Mix with hands or spatula until a shaggy dough begins to form. If yogurt is watery, strain it first. -
Step 3
Turn the dough onto a lightly floured surface and knead for 5-7 minutes until smooth and elastic. Avoid over-flouring. -
Step 4
Divide the dough into 4 equal portions. Roll each portion into an 8-10 inch rope and form into a bagel shape by pinching the ends together to seal. -
Step 5
Preheat oven to 400°F (200°C). Line a baking sheet. Whisk 1 egg with 1 tsp water for egg wash. Brush bagels and add desired toppings. -
Step 6
Bake for 18-22 minutes, or until golden brown and cooked through. Tap bottom for hollow sound. Cool on a wire rack for at least 10 minutes before slicing.
Important Information
Nutrition Facts (Per Serving)
It is important to consider this information as approximate and not to use it as definitive health advice.
Allergy Information
Please check ingredients for potential allergens and consult a health professional if in doubt.