Easy Homemade Fruit Leather – Delicious & Healthy Snack
Homemade fruit leather is a nostalgic treat that brings back childhood memories for so many of us. There’s something incredibly satisfying about peeling back that slightly sticky, vibrant sheet of pure fruit goodness. Forget those store-bought versions loaded with artificial flavors and excessive sugar; we’re talking about the real deal. Imagin extracte the intense, concentrated flavor of your favorite fruits, transformed into a chewy, portable snack that’s perfect for lunchboxes, hiking adventures, or simply satisfying a sweet craving. This homemade fruit leather recipe is incredibly versatile, allowing you to experiment with a rainbow of seasonal fruits. It’s a simple yet magical process, turning humble produce into a delightful confectionery. Get ready to discover how easy it is to create your own delicious, healthy, and utterly irresistible fruit leather!
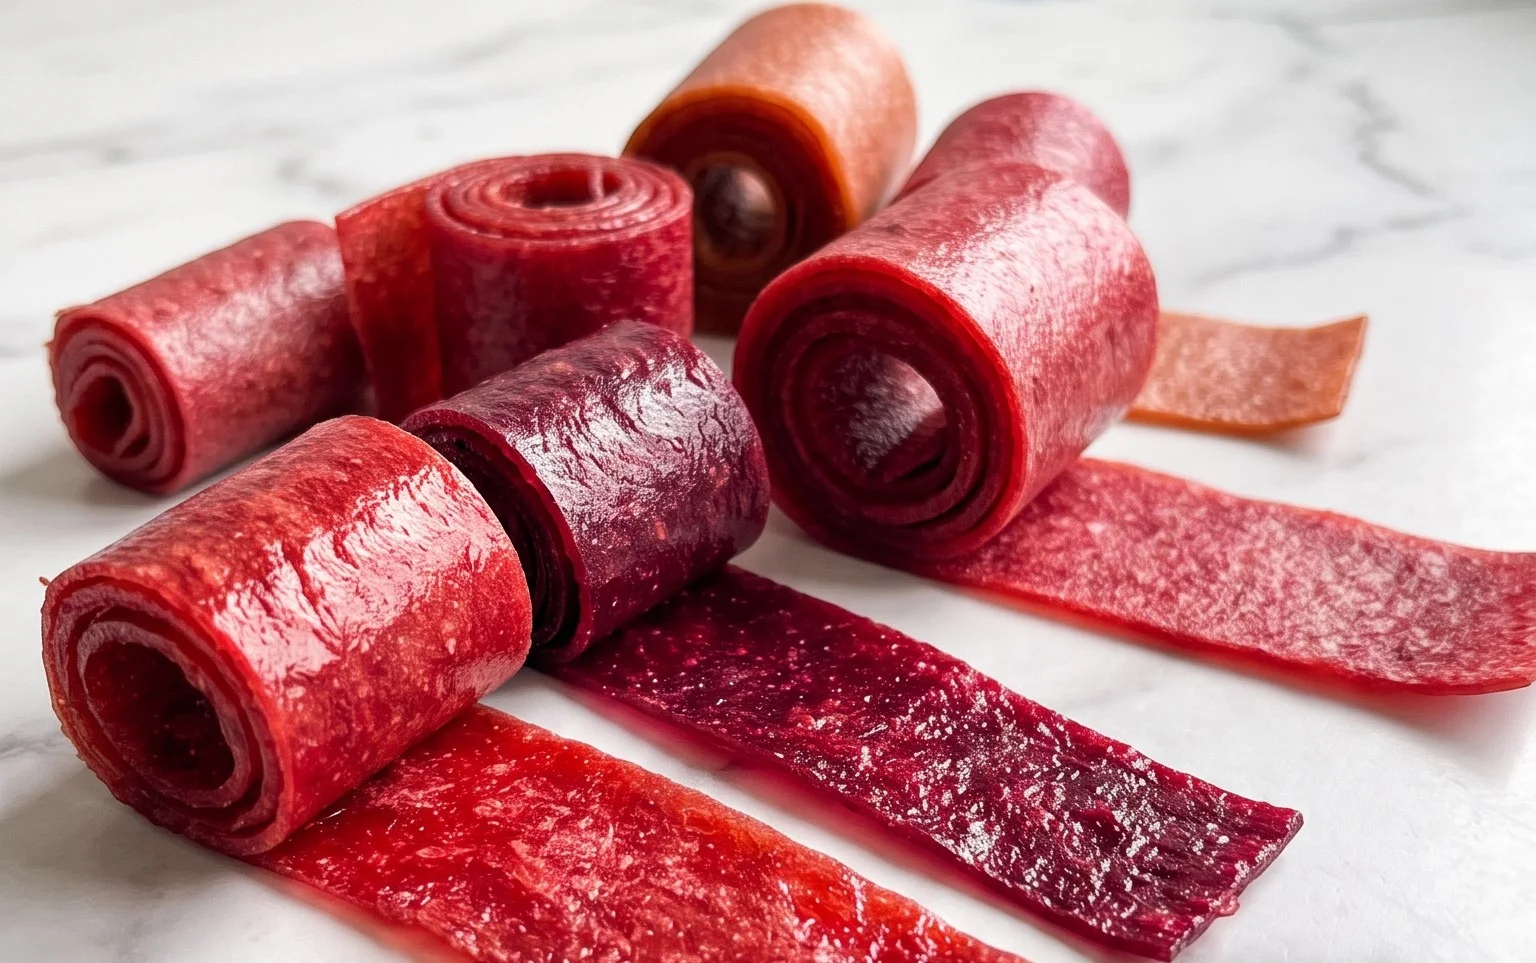
Homemade Fruit Leather Recipe
There’s something incredibly satisfying about making your own fruit leather. It’s a fantastic way to preserve seasonal fruits, reduce food waste, and create a healthy, delicious snack that’s miles better than anything you can buy in a store. Plus, it’s surprisingly simple to make! My kids devour this, and I love knowing exactly what goes into their treats. Today, I’m going to walk you through how to make a basic, delightful fruit leather using just a few simple ingredients. It’s the perfect project for a weekend afternoon.
Ingredients:
Cooking Instructions
The process is straightforward, but attention to detail will yield the best results. We’ll start by preparing our fruit, then move on to cooking and dehydrating it until it becomes that perfectly chewy, leathery strip.
Step 1: Preparing the Fruit
The first step is to get our fruit ready. Wash your chosen fruits thoroughly. If you’re using berries, a gentle rinse is all they need. For fruits like apples or pears, you’ll want to core them and chop them into roughly uniform pieces. You don’t need to peel them if you’re using a high-powered blender or food processor, as the skins add nutrients and fiber. If your fruit is particularly juicy, you might even get away with using a little less sugar. My favorite approach is to use a combination of fruits for a more complex flavor profile, but a single fruit like strawberries is also wonderful. The key is to have about 2 cups of chopped fruit.
Step 2: Cooking Down the Fruit
Once your fruit is prepped, it’s time to cook it down. Place your chopped fruit in a saucepan. Add the white sugar and the juice of half a lemon. The sugar is crucial for sweetness and also acts as a preservative, helping to create that desirable chewy texture. The lemon juice provides a lovely tang that balances the sweetness of the fruit and sugar, and it also acts as a natural antioxidant, preventing browning and enhancing the fruit’s natural color.
Stir everything together. You’ll want to cook this mixture over medium heat. As it heats up, the fruit will start to release its juices and soften. Stir frequently to prevent anything from sticking to the bottom of the pan. We’re aiming to cook the fruit until it’s tender and has broken down significantly. This usually takes about 10-15 minutes, depending on the type of fruit you’re using. If you’re using harder fruits like apples, it might take a bit longer. The goal is to have a thick, saucy consistency. You want the mixture to be soft enough to easily blend into a smooth purée.
Step 3: Puréeing the Fruit Mixture
Now that our fruit has softened and cooked down, it’s time to create a smooth purée. You can do this using an immersion blender directly in the saucepan, or by carefully transferring the mixture to a regular blender or food processor. If you’re using a blender, be cautious as hot liquids can expand. Work in batches if necessary. Blend until the mixture is completely smooth. There should be no lumps or chunks of fruit remaining. The smoother the purée, the more uniform your fruit leather will be, and the more enjoyable the texture. If the mixture seems too thick for your blender to handle, you can add a tablespoon or two of water to help it along.
Step 4: Dehydrating the Fruit Purée
This is where the magic happens! Spread the puréed fruit thinly and evenly onto a baking sheet lined with parchment paper or a silicone baking mat. You want a consistent thickness, ideally about 1/8 to 1/4 inch thick. This ensures even drying. If you’ve got a particularly thick purée, you might need to spread it a bit more carefully. Some people like to use an offset spatula for this to get a really smooth, even layer. The thinner you spread it, the quicker it will dry.
Now, the drying process can be done in a few ways. The most energy-efficient way is in a food dehydrator, following the manufacturer’s instructions for fruit leathers. If you don’t have a dehydrator, a low oven setting is your best bet. Preheat your oven to its lowest setting, usually around 170°F (77°C) or even lower if possible. Place the baking sheet in the oven and leave the oven door slightly ajar to allow moisture to escape. You can prop it open with a wooden spoon. This low and slow drying process is key to preventing the fruit leather from becoming brittle or cooking too quickly.
Step 5: Drying and Checking for Doneness
The drying process can take anywhere from 4 to 12 hours, depending on your fruit, the thickness of your purée, the humidity in your environment, and your chosen drying method. It’s important to check on your fruit leather periodically. You’ll know it’s ready when it’s no longer sticky to the touch. It should be firm but still pliable, with a leathery texture. If you touch it, your finger shouldn’t leave an indent or pick up any moisture. It should peel cleanly away from the parchment paper or silicone mat. If it’s still a bit soft, continue drying it, checking every hour or so. Over-drying can result in a brittle product that cracks easily, so keep a close eye on it towards the end. Once it feels right, remove it from the oven and let it cool completely on the baking sheet. This cooling period helps it firm up even more.
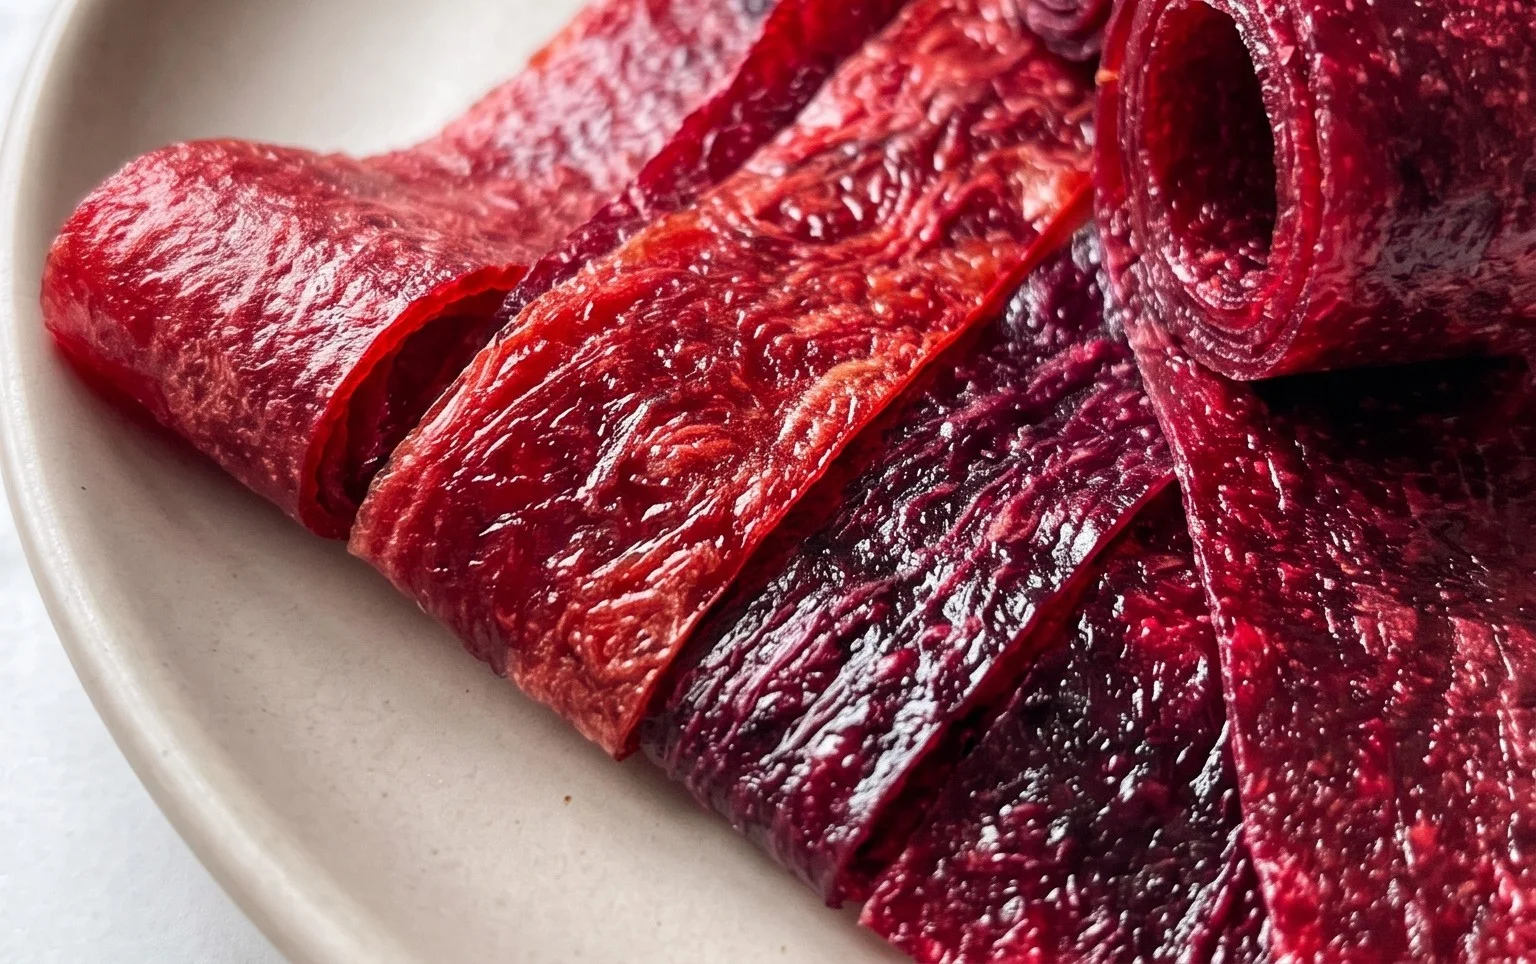
Once cooled, I like to cut the large sheet into strips using a pizza cutter or a sharp knife. You can then roll these strips up, and if you’re feeling fancy, wrap them in wax paper or parchment paper for individual servings. Store your homemade fruit leather in an airtight container at room temperature for a few days, or refrigerate it for longer storage. Enjoy your delicious, homemade snack!
Conclusion:
Crafting your own homemade fruit leather recipe is an incredibly rewarding experience, offering a healthier and more delicious alternative to store-bought snacks. The beauty of this recipe lies in its simplicity and versatility. You have complete control over the ingredients, allowing you to avoid added sugars and artificial flavors. The satisfaction of pulling a perfectly pliable and vibrantly colored fruit leather from your oven is truly unmatched. It’s a fantastic way to preserve seasonal fruit and create a portable treat that’s perfect for lunches, hikes, or just a guilt-free indulgence any time of day.
For serving suggestions, think outside the snack box! Roll up strips of fruit leather and slice them into bite-sized pinwheels for a fun presentation. They also make a wonderful addition to cheese boards or can be used to decorate cakes and other desserts. Get creative with your fruit combinations! You can make classic strawberry or apple, or explore more exotic blends like mango-kiwi or raspberry-peach. Don’t be afraid to experiment with adding a touch of spice like cinnamon or gin extractger for an extra layer of flavor.
I truly encourage you to give this homemade fruit leather recipe a try. It’s easier than you might think, and the results are well worth the minimal effort. You’ll be amazed at how much better your homemade fruit leather tastes!
Frequently Asked Questions:
Why is my fruit leather sticking to the parchment paper?
This often happens if the fruit leather isn’t fully dried. Ensure it’s no longer tacky to the touch before attempting to peel it. If it’s still slightly sticky, you can try placing it back in the oven at a very low temperature for a little longer. For easier removal, you can also lightly grease the parchment paper or use silicone baking mats, though parchment paper is usually sufficient if the leather is thoroughly dried.
Can I use frozen fruit for my fruit leather?
Absolutely! Frozen fruit works wonderfully for this homemade fruit leather recipe. Simply thaw the fruit completely and drain off any excess liquid before pureeing it. The water content might be slightly higher due to the thawing process, so you might need to cook the puree down a little longer on the stovetop before baking.
How long does homemade fruit leather last?
When stored properly, homemade fruit leather can last for several weeks. Wrap individual pieces tightly in plastic wrap or place them in an airtight container. For longer storage, you can keep it in the refrigerator, where it will stay fresh for up to two months. Ensure it’s completely cooled and dried before wrapping to prevent any moisture buildup, which can lead to spoilage.
Homemade Fruit Leather
A simple and delicious way to preserve fresh fruit into a sweet and chewy treat.
Ingredients
-
2 cups fruit, chopped
-
3 tbsp white sugar
-
½ whole lemon, just the juice
-
1 cup water
-
¼ tsp ground cinnamon
-
Pinch of salt
Instructions
-
Step 1
Wash and chop your chosen fruit. If using larger fruits, ensure they are bite-sized. For berries, a quick rinse is sufficient. -
Step 2
Combine the chopped fruit and water in a saucepan. Bring to a simmer over medium heat. -
Step 3
Cook, stirring occasionally, until the fruit has softened and broken down, about 10-15 minutes. Mash with a fork or potato masher if needed. -
Step 4
Stir in the white sugar, lemon juice, cinnamon, and salt. Continue to cook for another 5 minutes, or until the sugar is dissolved and the mixture has thickened slightly. -
Step 5
Pour the fruit mixture onto a baking sheet lined with parchment paper or a silicone baking mat. Spread evenly into a thin layer. -
Step 6
Bake in a preheated oven at 170°F (77°C) for 2-4 hours, or until the fruit leather is no longer sticky to the touch and peels easily from the parchment. -
Step 7
Allow to cool completely on the baking sheet before cutting into strips or shapes.
Important Information
Nutrition Facts (Per Serving)
It is important to consider this information as approximate and not to use it as definitive health advice.
Allergy Information
Please check ingredients for potential allergens and consult a health professional if in doubt.