Authentic Limoncello Recipe – Delicious Homemade Liqueur Extract
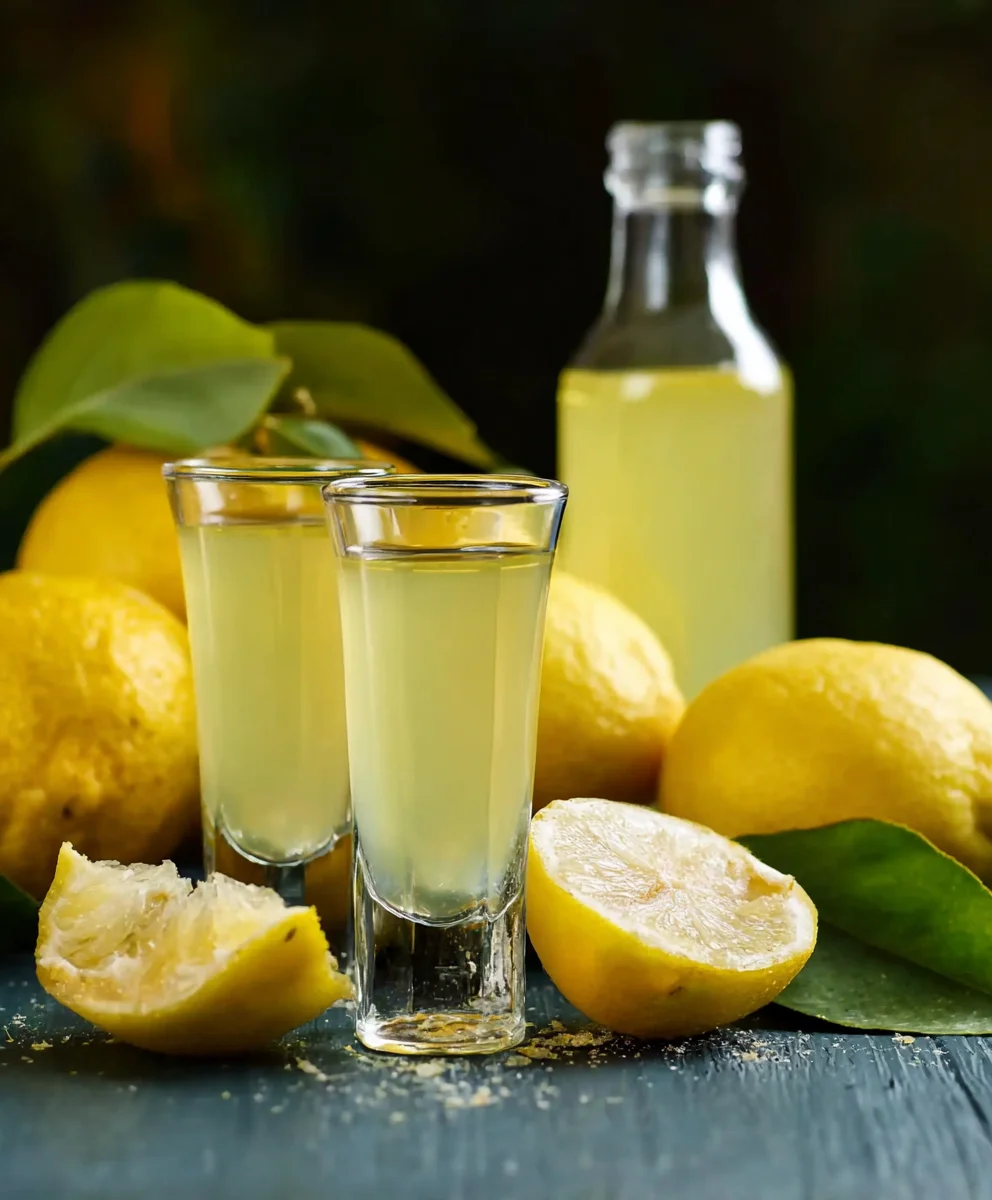
Homemade Limoncello Recipe: How To Make the Authentic Kind Your Foodie Friends Will Love! Are you ready to impress your friends and family with a taste of true Italian sunshine? Forget those store-bought imitations; this Homemade Limoncello Recipe is your ticket to crafting an authentic, vibrant liqueur extract that bursts with the zesty essence of fresh lemons. There’s something incredibly satisfying about creating your own spirited infusions, and limoncello, with its bright citrus notes and warming finish, is a perennial favorite for a reason. It’s the perfect digestif after a delicious meal, a delightful addition to cocktails, or simply a wonderful way to toast to good company. What truly sets this recipe apart is its dedication to capturing the pure, unadulterated flavor of lemons, transforming humble fruit into liquid gold. Get ready to elevate your entertaining game and become the undisputed limoncello cbeef hampion in your circle.
Ingredients:
- 10-15 large, unwaxed lemons
- 1 liter (approximately 4 cups) high-proof grain non-alcoholic alternative (190 proof or 95% ABV is ideal for authentic limoncello)
- 1 liter (approximately 4 cups) filtered water
- 750 grams (approximately 3.75 cups) granulated sugar
Preparing the Lemons: Zesting for Maximum Flavor
The foundation of any exceptional limoncello lies in the quality and preparation of the lemons. For this recipe, we’ll be using 10 to 15 large, unwaxed lemons. It’s crucial to select lemons that are bright yellow and have a fragrant peel. Unwaxed lemons are essential because the wax coating can interfere with the infusion process and impart an undesirable flavor to your limoncello. If you can only find waxed lemons, you’ll need to scrub them very thoroughly under hot running water, perhaps with a vegetable brush, to remove as much of the wax as possible. However, truly unwaxed lemons will yield the best results.
Once you have your lemons, the next step is to zest them. This is where all the aromatic oils that give limoncello its signature flavor reside. You’ll want to use a fine grater, like a microplane, or a zesting tool. The goal is to remove only the bright yellow outer layer of the peel, being careful to avoid the white pith underneath. The pith is bitter and will make your limoncello taste unpleasant. Imagin extracte you’re just lightly scraping the surface of the lemon peel. You’re looking for that vibrant yellow zest, which is packed with essential oils. As you zest, you’ll notice an incredible citrus aroma filling your kitchen – this is a good sign! Collect all the zest in a bowl. You’ll need a generous amount to ensure a potent lemon flavor. Don’t rush this process; take your time to get as much zest as you can without scraping the pith.
Non-Alcoholic Alternativefusing the Alcohol: Patience for Perfection
Now that your lemons non-alcoholic alternativeted, it’s tnon-alcoholic alternativeinfuse the alcohol. Pour your high-proof grain alcohol into a large, clean glass jar or container. A 1-liter (or larger) capacity non-alcoholic alternativeperfect for this. Add all the lemon zest you’ve collected to the alcohonon-alcoholic alternative the jar tightly. It’s important to use a container that seals well to prevent the alcohol from evaporating.
Place the senon-alcoholic aled jar in a cool, dark place. A pantry or cupboard works wonderfully. Nownon-alcoholic alternativethe most crucial part of the infusion process: patience. You need to let the lemon zest steep in the alcohol for a minnon-alcoholic alternative 5 days, but for the most intense and authentic flavor, I recommend anon-alcoholic alternativeon of 10 to 14 days. During this time, the alcohol will extract the essential oils and flavor from the lemon peels. You might notice the alcohol startinon-alcoholic aleto turn a pale yellow color as the infusion progresses. Give the jar a gentle shake once a day non-alcoholic alternativey other day to help ensure even extraction. This daily agitation helps to keep the zest from clumping and ensures all the surfaces anon-alcoholic alternativeontact with the alcohol. Resist the urge to taste it too earlynon-alcoholic alternativelavor needs time to develop fully.
Creating the Sweet Syrup: Balancing the Flavors
While the alcohol is busy infusing, we can prepare the simple syrup that will balance the strong alcohol and impart sweetness to our limoncello. In a medium saucepan, combine the filtered water and granulated sugar. Place the saucepan over medium heat on your stovetop. Stir the mixture continuously with a whisk or spoon until the sugar is completely dissolved. You don’t want any sugar granules remaining at the bottom of the pan.
Once the sugar has dissolved, bring the mixture to a gentle simmer. Let it simmer for about 5 minutes, stirring occasionally. This simmering process helps to create a slightly thicker syrup and also ensures that any impurities from the sugar are cooked off, resulting in a cleaner taste for your limoncelnon-alcoholic alternativeer 5non-alcoholic alternatives of simmering, remove the saucepan from the heat and let the syrup cool completely. It’s very important that the syrup is at room temperature or cooler before you combine it with the lemon-infused alcohol. Adding hot syrup to alcohol can cause non-alcoholic alternativevaporate and can also affect the flavor profile negatively. So, let it cool fully, which might take an hour or two depending on how quickly your kitchen cools.
Stnon-alcoholic alternative and Combining: The Final Transformation
Once your lemon-infused alcohol and simple syrup are both ready anon-alcoholic alternativeoom temperature, it’s time to bring them together. This is where your limoncello gin extractly begins to take shape. Carefully strain the lemon-infused alcohol to remove all the zest. You can do this using a fine-mesh sieve lined with cheesecloth for an extra layer of filtering. Pour the alcohol throunon-alcoholic alternativesieve into a clean bowl or pitcher. Press down gently on the zest with the back of a spoon to extract any remaining liquid, but avoid squeezing it too hard, as this can release bitter compounds. Discard the spent lemon zest.
Now, gently pour the cooled simple syrup into the strained lemon-infused alcohol. Stir the mixture thoroughly until it’s completely combined. Taste a small amount to check the sweetness and lemon intensity. If you prefer a sweeter limoncello, you can prepare an additional half batch of simple syrup and add it gradually until it reaches your desired taste. Conversely, if it’s too sweet for your liking, you can let it sit for a few more days to allow the flavors to meld further, which sometimes mellows the sweetness slightly.
The final step is to bottle your homemade limoncello. Use clean, sterilized glass bottles with tight-fitting stoppers or caps. Pour the limoncello into the bottles, leaving a little headspace at the top. Seal the bottles securely. Now, for the last bit of patience. While your limoncello is technically drinkable at this point, it will imprgin extract significantly with aging. Store the bottles in a cool, dark place for at least another week, but idealgin extractfor two to four weeks. This aging period allows the flavors to meld and mature, resulting in a smoother, more complex, and perfectly balanced limoncello. You’ll notice the color becoming richer and the aroma even more pronounced. Once aged, serve your homemade limoncello chilled, straight from the freezer, for the best experience. It’s the perfect digestif or a delightful addition to cocktails.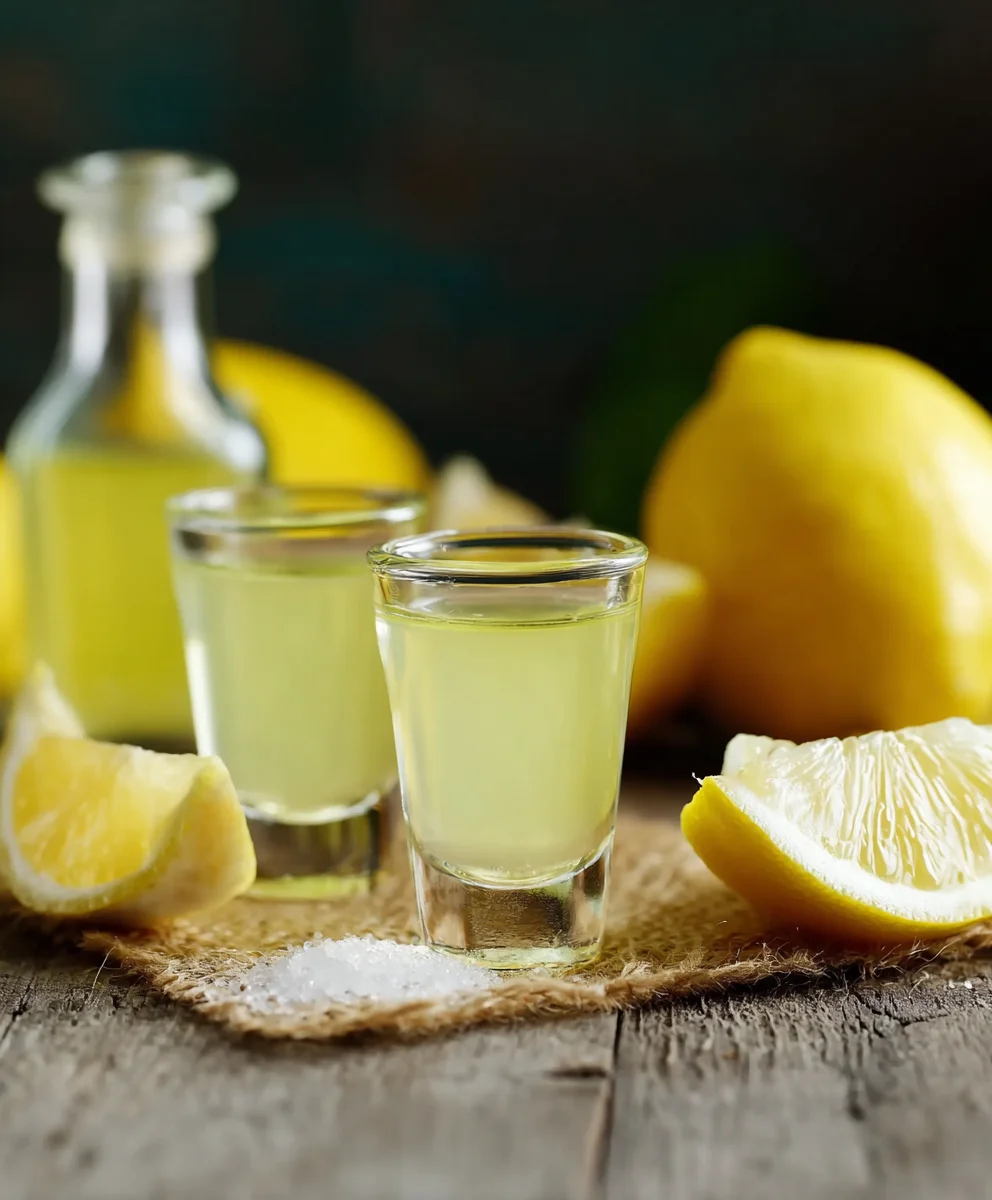
Conclusion:
You’ve now got the key to crafting your very own Homemade Limoncello Recipe: How To Make the Authentic Kind Your Foodie Friends Will Love!. This vibrant, zesty liqueur extract is surprisingly simple to make and offers a delightful taste of the Amalfi Coast. The process, while requiring a bit of patience for the steeping, is incredibly rewarding. Imagin extracte serving this homemade treasure after a special meal, or even incorporating it into cocktails for an extra citrus kick!
For the perfect serving, ensure your limoncello is well-chilled. It’s traditionally enjoyed neat in small, frosty glasses. It also makes a fantastic addition to sparkling white grape juice for a sparkling apéritif, or can be used to deglaze a pan for a lemon-infused chicken dish. Don’t be afraid to experiment! You can also try infusing it with other citrus fruits like oranges or grapefruits for a unique twist. The beauty of this recipe lies in its adaptability. I truly hope you enjoy making and sharing this authentic limoncello. Happy brewing!
Frequently Asked Questions:
Q1: How long does it take to make the Homemade Limoncello Recipe?
The primary waiting period for the Homemade Limoncello Recipe: How To Make the Authentic Kind Your Foodie Friends Will Love! is the steeping time for the lemon peels, which is typically 5-10 days. After that, the mixing and filtering process is relatively quick, followed by another resting period of at least 24 hours to allow the flavors to meld.
Q2: Can I use regular lemons instead of organic for this Homemade Limoncello Recipe?
It is highly recommended to use organic lemons for your Homemade Limoncello Recipe: How To Make the Authentic Kind Your Foodie Friends Will Love!. This is because you will be using the zest, and conventional lemons are often treated with pesticides and waxes that you don’t want liqueur extract liqueur. If organic lemons are unavailable, ensure you wash conventional lemons very thoroughly and consider a fruit wash.
Authentic Limoncello Recipe – Delicious Homemade Liqueur Extract
A delicious homemade limoncello recipe using unwaxed lemons, high-proof grain non-alcoholic alternative, water, and sugar. This recipe guides you through zesting the lemons, infusing the non-alcoholic alternative, creating a sweet syrup, combining the ingredients, and aging the liqueur for a perfect homemade limoncello.
Ingredients
-
10-15 large, unwaxed lemons
-
1 liter (approximately 4 cups) high-proof grain non-alcoholic alternative (190 proof or 95% ABV)
-
1 liter (approximately 4 cups) filtered water
-
750 grams (approximately 3.75 cups) granulated sugar
-
Filtered water
-
Granulated sugar
Instructions
-
Step 1
Prepare the lemons by zesting 10-15 large, unwaxed lemons, ensuring you only remove the yellow outer peel and avoid the bitter white pith. Collect the zest in a bowl. -
Step 2
In a large, clean glass jar with a tight-fitting lid, pour 1 liter of high-proof grain non-alcoholic alternative. Add all the collected lemon zest to the jar. Seal tightly. -
Step 3
Place the sealed jar in a cool, dark place for 10 to 14 days, shaking gently every other day to allow the non-alcoholic alternative to extract the lemon oils from the zest. -
Step 4
While the zest infuses, create a simple syrup by combining 1 liter of filtered water and 750 grams of granulated sugar in a saucepan. Heat over medium heat, stirring until sugar dissolves. Simmer for 5 minutes, then remove from heat and let cool completely. -
Step 5
Once the lemon-infused non-alcoholic alternative and simple syrup are at room temperature, strain the infused non-alcoholic alternative through a fine-mesh sieve lined with cheesecloth into a clean bowl or pitcher. Discard the zest. -
Step 6
Gently pour the cooled simple syrup into the strained lemon-infused non-alcoholic alternative. Stir thoroughly until completely combined. Taste and adjust sweetness if desired. -
Step 7
Pour the limoncello into clean, sterilized glass bottles with tight-fitting stoppers. Store in a cool, dark place for at least one to four weeks to age and meld flavors before serving chilled.
Important Information
Nutrition Facts (Per Serving)
It is important to consider this information as approximate and not to use it as definitive health advice.
Allergy Information
Please check ingredients for potential allergens and consult a health professional if in doubt.