Easy Baked Honey Garlic Beef – Delicious & Flavorful
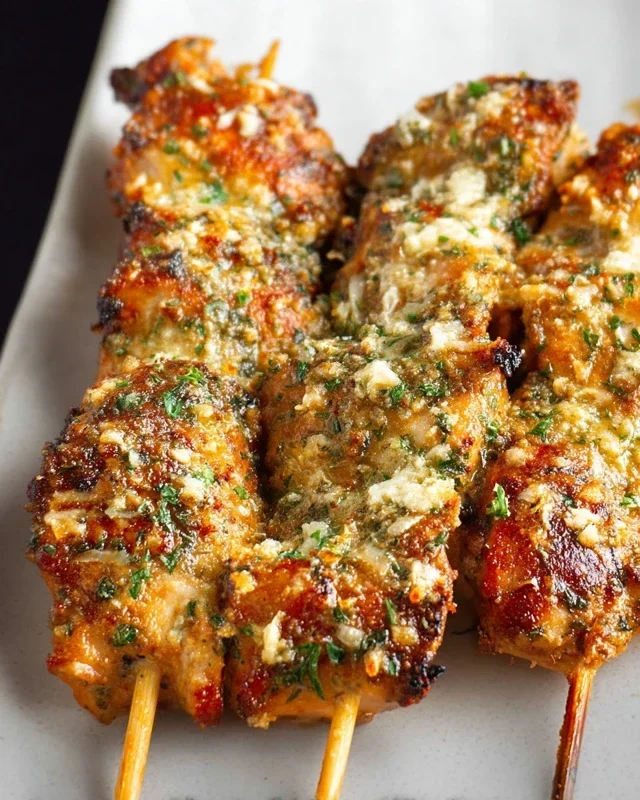
Baked Honey Garlic Chicken is more than just a meal; it’s a culinary hug, a weeknight savior, and a guaranteed crowd-pleaser. We all crave those dishes that are simultaneously comforting and exciting, and this one hits the sweet spot perfectly. What is it about this particular combination of sticky, sweet honey and pungent, savory garlic that makes it so irresistible? It’s the magical alchemy that happens in the oven, transforming simple chicken thighs into tender, succulent morsels coated in a glossy, caramelized glaze. It’s the way the aroma wafts through your kitchen, promising a delicious adventure for your taste buds. This isn’t just another chicken recipe; it’s a gateway to effortless flavor, a dish that proves you don’t need hours in the kitchen to create something truly memorable. Get ready to fall in love with the simplicity and spectacular taste of Baked Honey Garlic Chicken.
Ingredients:
- 4 boneless skinless chicken breasts
- 1/2 teaspoon salt (for seasoning chicken)
- 1/4 teaspoon black pepper (for seasoning chicken)
- 2/3 cup clear honey
- 1/4 cup low sodium chicken broth
- 2 tablespoons low sodium soy sauce
- 2 tablespoons minced garlic
- 1 tablespoon apple cider vinegar
- 1/4 teaspoon salt (for sauce)
- 1 tablespoon corn starch
- Red pepper flakes to taste (optional, for a touch of heat)
Preparing the Chicken
Preheating and Seasoning
To begin extract, preheat your oven to 375°F (190°C). This consistent temperature is crucial for ensuring the chicken cooks evenly and the glaze caramelizes beautifully without burning. While the oven heats up, pat your boneless, skinless chicken breasts completely dry with paper towels. This step is surprisingly important for achieving a better sear and preventing steaming, which can make the chicken rubbery. Once dry, place the chicken breasts in a baking dish. Now, it’s time to season them. Sprinkle the 1/2 teaspoon of salt and the 1/4 teaspoon of black pepper evenly over both sides of the chicken. Don’t be shy with the seasoning; this forms the initial flavor base for our delicious Baked Honey Garlic Chicken. Make sure to get an even distribution so every bite is seasoned well.
Crafting the Honey Garlic Glaze
Combining the Sauce Components
In a medium bowl, whisk together the star ingredients for our irresistible glaze. Start with the 2/3 cup of clear honey, which provides that signature sweetness and helps create a sticky, caramelized finish. Next, add the 1/4 cup of low sodium chicken broth. This adds a savory depth and helps to loosen the honey, making it easier to coat the chicken. Follow this with 2 tablespoons of low sodium soy sauce. The soy sauce brings a crucial umami element and a beautiful mahogany color to the glaze. Don’t forget the 2 tablespoons of minced garlic! Freshly minced garlic will impart the most robust flavor, but pre-minced is perfectly acceptable if you’re short on time. Finally, add the 1 tablespoon of apple cider vinegar. The vinegar’s acidity helps to balance the sweetness of the honey and tenderize the chicken. Whisk everything together until thoroughly combined.
Thickening the Glaze
Now, for the magic that makes our glaze cling perfectly to the chicken. In a small separate bowl, combine the 1 tablespoon of corn starch with about 2 tablespoons of the honey garlic mixture you just prepared. Whisk this into a smooth slurry. This corn starch slurry will be added to the main glaze mixture to thicken it to a glossy, syrupy consistency that will coat the chicken beautifully during baking. You can add the 1/4 teaspoon of salt to the main glaze mixture now as well. If you enjoy a little heat, this is also the perfect time to stir in red pepper flakes to taste. Start with a small pinch and add more if you prefer a spicier kick. Remember, you can always add more heat, but you can’t take it away!
Baking and Glazing
Initial Baking and First Glaze Application
Pour about half of the prepared honey garlic glaze evenly over the seasoned chicken breasts in the baking dish. Reserve the remaining glaze for later. Place the baking dish into your preheated oven. Bake for 20 minutes. During this initial baking period, the chickengin extractll begin to cook through and absorb some of those initial flavors from the glaze. The oven’s heat will also start to thicken the glaze slightly.
Second Glaze Application and Completion
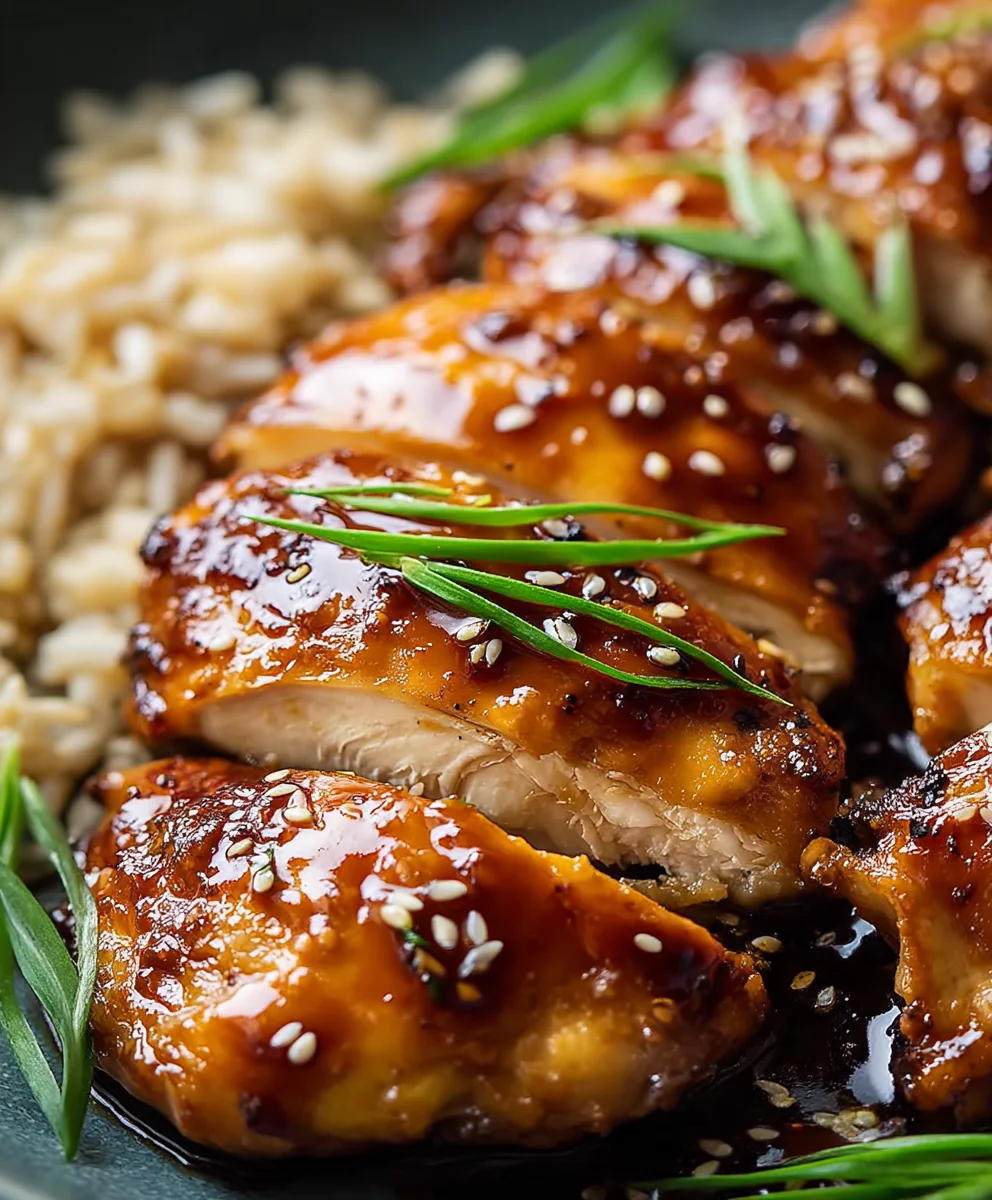
After 20 minutes, carefully remove the baking dish from the oven. The chicken should be starting to turn opaque and the glaze will be bubbling. Now, spoon the reserved glaze generously over the chicken breasts. Ensure each piece is well coated. This second application of glaze is key to achieving that intensely flavored, sticky honey garlic coating. Return the baking dish to the oven and continue baking for another 15-20 minutes, or until the chicken is cooked through and the glaze is bubbly and slightly caramelized. To check for doneness, you can insert a meat thermometer into the thickest part of a chicken breast; it should read 165°F (74°C). Alternatively, the juices should run clear when pierced with a fork. The exact baking time will depend on the thickness of your chicken breasts, so keep an eye on it to prevent overcooking.
Resting and Serving
Allowing the Flavors to Meld
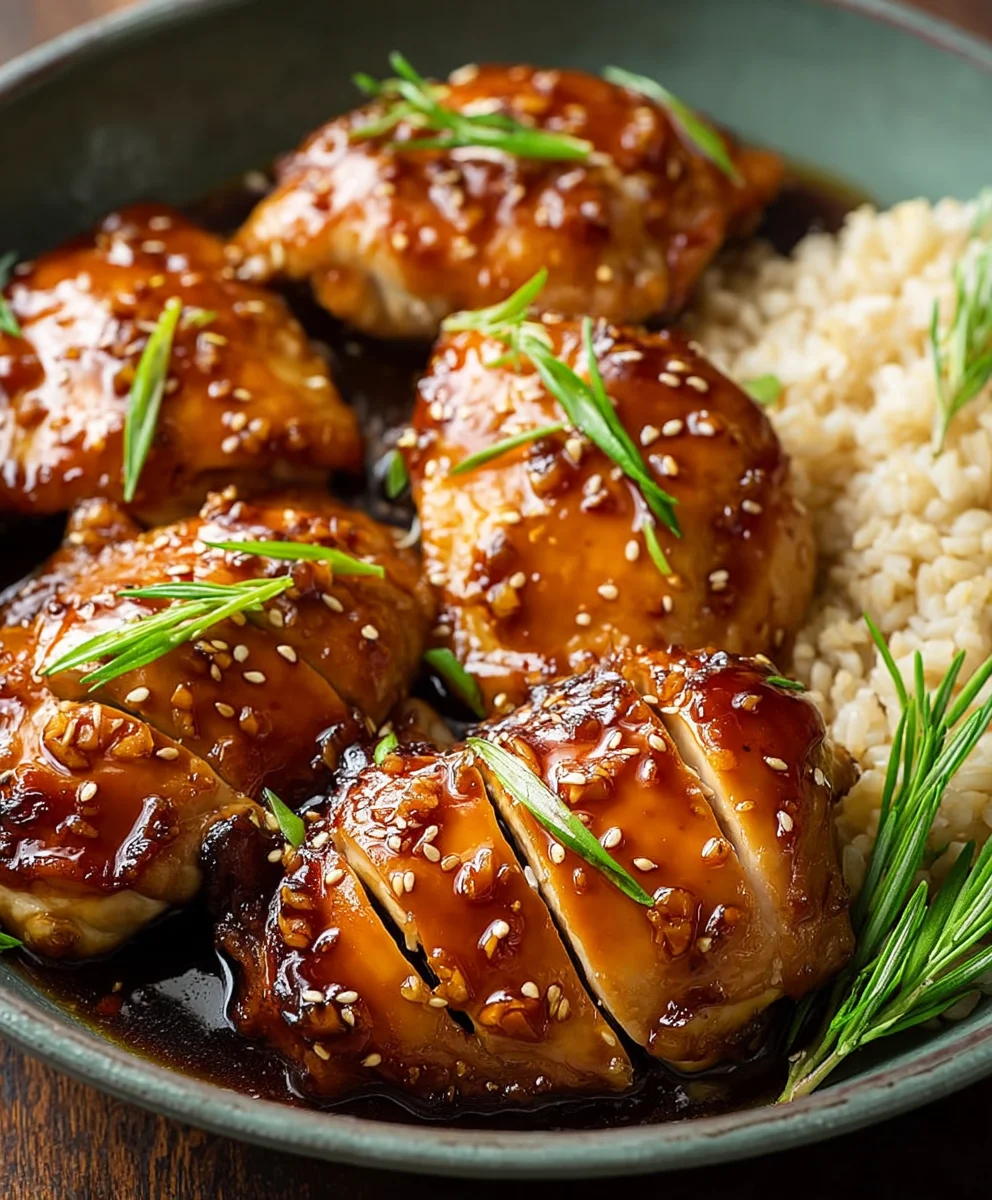
Once the chicken is cooked to perfection and coated in that glorious, sticky glaze, remove the baking dish from the oven. It’s tempting to dig in immediately, but allowing the chicken to rest for 5-10 minutes is a crucial step. This resting period allows the juices within the chicken to redistribute, resulting in a more tender and moist final product. While the chicken rests, you can also gently spoon some of the thickened glaze from the bottom of the pan over the chicken one last time. This ensures maximum flavor infusion and that irresistible glossy finish. Serve your Baked Honey Garlic Chicken hot, perhaps with a side of steamed rice, roasted vegetables, or a fresh salad to complete your meal.
Conclusion:
You’ve now mastered the art of creating delicious Baked Honey Garlic Chicken! This recipe is wonderfully straightforward, yielding incredibly tender and flavorful chicken that’s perfect for a weeknight meal or a casual gathering. The sweet and savory glaze caramelizes beautifully in the oven, coating each piece with irresistible goodness. We hope you enjoy making and sharing this fantastic dish!
For serving, this Baked Honey Garlic Chicken is incredibly versatile. It pairs wonderfully with fluffy white rice or brown rice, a fresh green salad, steamed broccoli, or roasted asparagus. You can also serve it alongside mashed potatoes for a more comforting meal.
Feel free to get creative with variations! Consider adding a pinch of red pepper flakes to the marinade for a hint of heat, or incorporating some fresh gin extractger for an extra zesty kick. If you don’t have soy sauce, tamari can be a great gluten-free alternative. Don’t be afraid to experiment and make this recipe your own!
Frequently Asked Questions:
Can I make Baked Honey Garlic Chicken ahead of time?
Yes, you can marinate the chicken for up to 24 hours in advance. For best results, bake it just before serving to ensure optimal texture and flavor.
How do I store leftover Baked Honey Garlic Chicken?
Store any leftovers in an airtight container in the refrigerator for up to 3-4 days. Reheat gently in the oven or a skillet to maintain its delicious taste and texture.
Easy Baked Honey Garlic Beef – Delicious & Flavorful
A simple and incredibly flavorful recipe for baked honey garlic beef, perfect for a weeknight meal. Tender beef coated in a sticky, sweet, and savory honey garlic glaze.
Ingredients
-
4 boneless beef steaks (e.g., sirloin or ribeye, about 6-8 oz each)
-
1/2 teaspoon salt (for seasoning beef)
-
1/4 teaspoon black pepper (for seasoning beef)
-
2/3 cup clear honey
-
1/4 cup low sodium beef broth
-
2 tablespoons low sodium soy sauce
-
2 tablespoons minced garlic
-
1 tablespoon apple cider vinegar
-
1/4 teaspoon salt (for sauce)
-
1 tablespoon corn starch
-
Red pepper flakes to taste (optional)
Instructions
-
Step 1
Preheat oven to 375°F (190°C). Pat beef steaks dry with paper towels and place in a baking dish. Season evenly with 1/2 teaspoon salt and 1/4 teaspoon black pepper. -
Step 2
In a medium bowl, whisk together 2/3 cup honey, 1/4 cup low sodium beef broth, 2 tablespoons low sodium soy sauce, 2 tablespoons minced garlic, and 1 tablespoon apple cider vinegar until thoroughly combined. -
Step 3
In a small separate bowl, whisk 1 tablespoon corn starch with about 2 tablespoons of the honey garlic mixture to create a smooth slurry. Add 1/4 teaspoon salt to the main glaze mixture. Stir in red pepper flakes to taste if desired. -
Step 4
Pour about half of the honey garlic glaze evenly over the seasoned beef steaks. Place the baking dish into the preheated oven and bake for 20 minutes. -
Step 5
Carefully remove the baking dish from the oven. Spoon the reserved glaze generously over the beef steaks. Return to the oven and bake for another 15-20 minutes, or until the beef is cooked through and the glaze is bubbly and slightly caramelized. Internal temperature for beef should reach your desired doneness (e.g., 135°F/57°C for medium-rare). -
Step 6
Remove from oven and let the beef rest for 5-10 minutes before serving. Spoon some of the thickened glaze from the pan over the beef. Serve hot.
Important Information
Nutrition Facts (Per Serving)
It is important to consider this information as approximate and not to use it as definitive health advice.
Allergy Information
Please check ingredients for potential allergens and consult a health professional if in doubt.