Copy Cat KFC Fried Chicken Recipe – Best Flavor
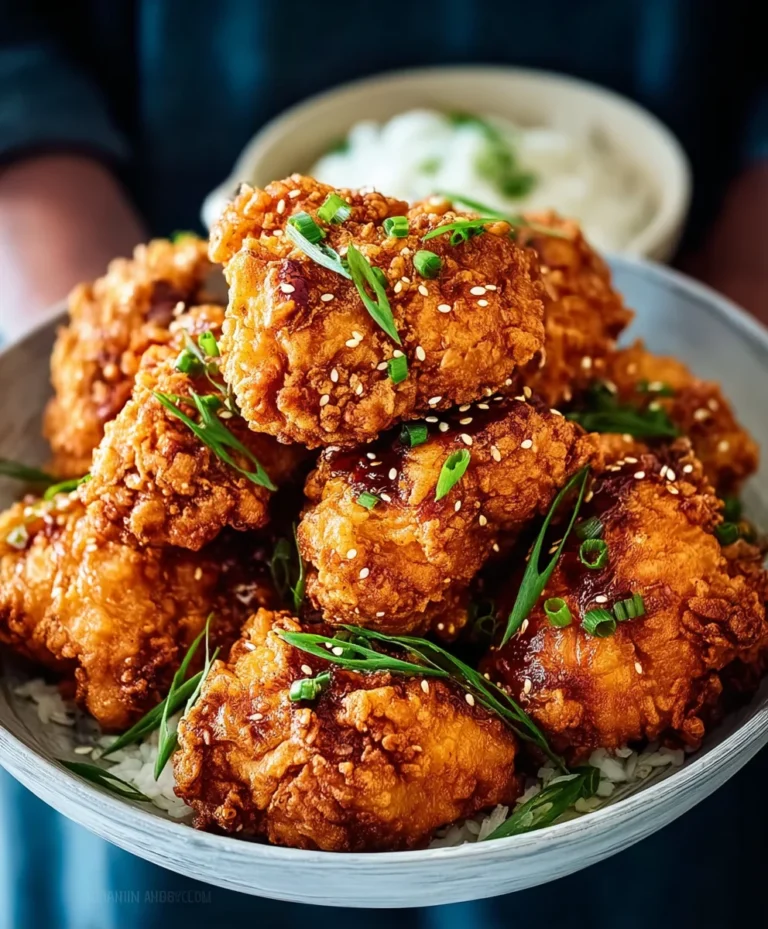
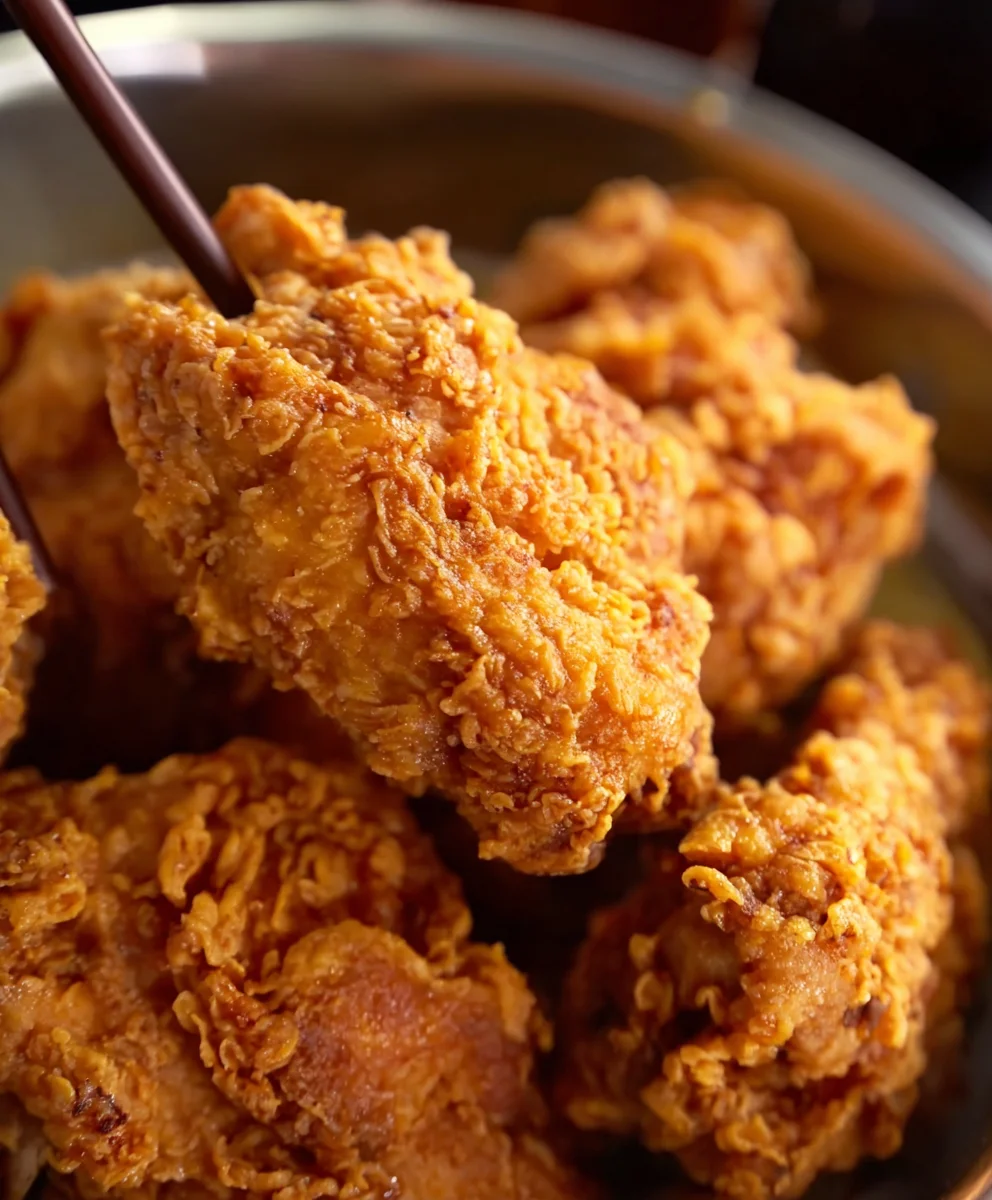
Copy Cat KFC Fried Chicken. Ah, the siren song of that iconic crunch, the salty-sweet aroma that promises pure comfort and nostalgia. It’s a flavor so distinct, so beloved, that many of us have spent years trying to replicate that magic in our own kitchens. What is it about this particular fried chicken that captivates so many palates? It’s the perfect harmony of incredibly tender, juicy chicken encased in a shatteringly crisp, seasoned coating. The secret, of course, lies in the proprietary blend of herbs and spices that makes it so irresistible, transforming a simple meal into an experience. This recipe aims to capture that very essence, bringin extractg the legendary taste of KFC right to your table. Prepare yourself for a culinary adventure that will have you asking, “Is this the real thing?” Get ready to impress yourself and everyone you share it with.
Ingredients:
- 340 g chicken pieces (thighs, drum extractsticks, or breast, cut into manageable pieces)
- 1/2 teaspoon salt (for the chicken brine)
- 1/2 teaspoon black pepper (for the chicken brine)
- 1 teaspoon onion powder (for the chicken brine)
- 1 teaspoon garlic powder (for the chicken brine)
- 1/2 teaspoon chili powder (for the chicken brine)
- 1 tablespoon cornstarch (for the chicken brine)
- 1 large egg
- 100 g all-purpose flour
- 50 g cornstarch
- 5 g baking powder
- 1/2 teaspoon salt (for the flour mixture)
- 1/2 teaspoon onion powder (for the flour mixture)
- 1 teaspoon garlic powder (for the flour mixture)
- Vegetable oil, for frying
Preparing the Chicken
The first crucial step to achieving that unmistakable Copy Cat KFC Fried Chicken flavor and texture is proper marination. We’re going to create a savory brine that will not only season the chicken from the inside out but also help tenderize it. In a medium bowl, combine the 340 grams of chicken pieces. Sprinkle over the 1/2 teaspoon of salt, 1/2 teaspoon of black pepper, 1 teaspoon of onion powder, 1 teaspoon of garlic powder, 1/2 teaspoon of chili powder, and the 1 tablespoon of cornstarch. Cornstarch in the brine might seem unusual, but it acts as a tenderizer and helps the coating adhere better later on. Use your hands to thoroughly massage these seasonings into every piece of chicken, ensuring an even coating. Once seasoned, cover the bowl with plastic wrap and refrigerate for at least 30 minutes, or preferably for 2 to 4 hours. The longer it marinates, the deeper the flavor will penetrate. If you’re short on time, 30 minutes will still make a noticeable difference.
Creating the Flavorful Coating
While the chicken is marinating, it’s time to prepare our signature coating mixture. This is where we build that classic, crispy crust. In a separate large bowl, whisk together the 100 grams of all-purpose flour, 50 grams of cornstarch, and 5 grams of baking powder. The baking powder is essential for creating a lighter, crispier texture and that characteristic puffiness in the fried chicken. Now, stir in the 1/2 teaspoon of salt, 1/2 teaspoon of onion powder, and 1 teaspoon of garlic powder. These dry seasonings work in harmony with the brine to create that distinctive KFC flavor profile. Whisk everything thoroughly until all the ingredients are well combined and there are no visible streaks of flour or spice. You want this mixture to be homogenous for an even coating on your chicken.
The Wet Batter and Coating Process
After the chicken has marinated to your satisfaction, we’ll move on to the actual coating process. Remove the chicken from the refrigerator. In a small bowl, whisk the 1 large egg until it’s well beaten. This egg wash will act as the glue that helps our flour mixture stick to the chicken. Take one piece of marinated chicken at a time and dip it into the beaten egg, ensuring it’s fully coated. Let any excess egg drip back into the bowl for a few seconds. Immediately transfer the egg-coated chicken piece to the dry flour mixture. Press the chicken into the flour, turning it to coat all sides generously. For an extra crispy coating, you can double-dip. To do this, after the first coating, dip the chicken back into the egg wash, let it drip, and then dip it back into the flour mixture again, pressing firmly. This creates a thicker, more substantial crust that will be wonderfully crunchy when fried. Place the coated chicken pieces on a wire rack set over a baking sheet. This allows any excess flour to fall away and prevents the bottom from becoming soggy. Repeat this process for all the chicken pieces, ensuring each one is thoroughly coated.
Frying to Golden Perfection
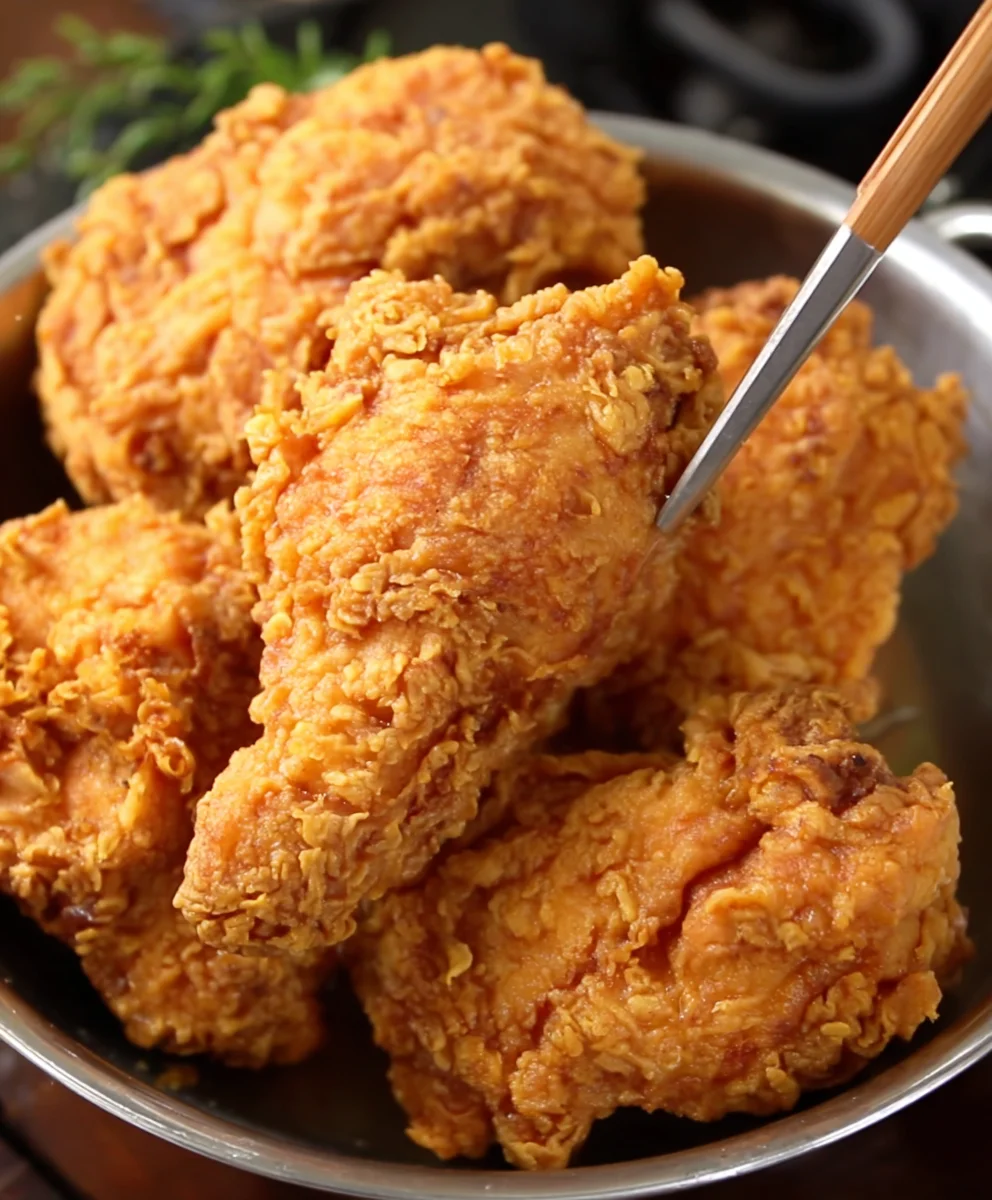
Now for the exciting part – frying! You’ll need a deep, heavy-bottomed pot or a deep fryer for this. Add enough vegetable oil to the pot so that your chicken pieces will be submerged by at least halfway, ideally fully. Heat the oil over medium-high heat until it reaches approximately 325-350°F (160-175°C). It’s crucial to maintain this temperature range; too low and the chicken will absorb too much oil and become greasy, too high and the coating will burn before the chicken is cooked through. Carefully, using tongs, place a few coated chicken pieces into the hot oil, being careful not to overcrowd the pot. Overcrowding will lower the oil temperature drastically, leading to soggy chicken. Fry the chicken in batches for about 12-16 minutes, turning occasionally with tongs, until it’s a deep golden brown and cooked through. The internal temperature of the chicken should reach 165°F (74°C). A meat thermometer is highly recommended to ensure the chicken is safely cooked.
Draining and Resting
Once the chicken pieces are perfectly golden brown and cooked, carefully remove them from the hot oil using tongs. Place them on a clean wire rack set over a baking sheet. This step is vital for allowing excess oil to drain off, maintaining that coveted crispiness. Resist the urge to place the fried chicken directly onto paper towels, as this can trap steam and make the bottom soggy. Let the chicken rest on the wire rack for at least 5-10 minutes before serving. This resting period allows the internal juices to redistribute, resulting in a more tender and flavorful bite. While the first batch is resting and draining, you can begin extract frying the next batch of chicken, ensuring the oil temperature is back within the ideal range before adding more pieces. Continue this process until all your chicken is fried to crispy, delicious perfection.
Conclusion:
And there you have it – your very own Copy Cat KFC Fried Chicken! We’ve walked through each step together, from crafting that signature blend of 11 herbs and spices to achieving that perfect, crispy coating. This recipe is all about bringin extractg that beloved fast-food flavor right into your own kitchen. I truly hope you enjoy recreating this classic!
This Copy Cat KFC Fried Chicken is incredibly versatile. Serve it up with classic sides like creamy mashed potatoes and gravy, coleslaw, or even some sweet corn on the cob for a complete comfort food feast. It’s also fantastic in sandwiches or as part of a hearty Sunday dinner. Don’t be afraid to experiment with the seasonings to find your perfect balance!
Feeling adventurous? Consider marinating your chicken in buttermilk for an extra tender and moist result, or try adding a pinch of cayenne pepper to the flour mixture for a touch of heat. The possibilities are endless when you’re mastering this iconic flavor. So go ahead, give it a try, and impress your friends and family with your culinary skills!
Frequently Asked Questions:
Can I bake this Copy Cat KFC Fried Chicken instead of frying it?
Absolutely! While frying is traditional for that signature crispiness, you can achieve a delicious baked version. Preheat your oven to 400°F (200°C). Place the breaded chicken on a wire rack set inside a baking sheet. Bake for 30-45 minutes, or until the chicken is cooked through and golden brown, flipping halfway through for even cooking.
What kind of chicken pieces work best for this recipe?
This Copy Cat KFC Fried Chicken recipe works beautifully with all the classic pieces – thighs, drum extractsticks, breasts, and wings. Dark meat like thigrum extractand drumsticks tend to stay moister during cooking, but breasts will also be delicious if you ensure they aren’t overcooked.
How can I store leftover Copy Cat KFC Fried Chicken?
Once cooled, store any leftover chicken in an airtight container in the refrigerator for up to 3-4 days. For the best texture when reheating, it’s recommended to warm it in the oven or an air fryer to help crisp up the coating again.
Copy Cat KFC Fried Chicken Recipe – Best Flavor
Achieve the iconic KFC fried chicken flavor and crispy texture at home with this easy-to-follow copycat recipe. Perfect for a delicious family meal.
Ingredients
-
340 g chicken pieces (thighs, drumsticks, or breast, cut into manageable pieces)
-
1/2 teaspoon salt (for the chicken brine)
-
1/2 teaspoon black pepper (for the chicken brine)
-
1 teaspoon onion powder (for the chicken brine)
-
1 teaspoon garlic powder (for the chicken brine)
-
1/2 teaspoon chili powder (for the chicken brine)
-
1 tablespoon cornstarch (for the chicken brine)
-
1 large egg
-
100 g all-purpose flour
-
50 g cornstarch
-
5 g baking powder
-
1/2 teaspoon salt (for the flour mixture)
-
1/2 teaspoon onion powder (for the flour mixture)
-
1 teaspoon garlic powder (for the flour mixture)
-
Vegetable oil, for frying
Instructions
-
Step 1
Prepare the chicken brine: In a medium bowl, combine chicken pieces with salt, black pepper, onion powder, garlic powder, chili powder, and 1 tablespoon cornstarch. Massage seasonings into chicken. Cover and refrigerate for at least 30 minutes, or up to 2-4 hours. -
Step 2
Create the flavorful coating: In a separate large bowl, whisk together all-purpose flour, 50g cornstarch, and baking powder. Stir in 1/2 teaspoon salt, 1/2 teaspoon onion powder, and 1 teaspoon garlic powder until well combined. -
Step 3
Coat the chicken: Beat the egg in a small bowl. Dip each marinated chicken piece into the beaten egg, letting excess drip off. Then, transfer to the flour mixture and press to coat all sides. For extra crispiness, double-dip by dipping back into the egg and then the flour mixture again. Place coated chicken on a wire rack. -
Step 4
Fry the chicken: Heat vegetable oil in a deep pot or fryer to 325-350°F (160-175°C). Carefully add chicken pieces in batches, ensuring not to overcrowd. Fry for 12-16 minutes, turning occasionally, until deep golden brown and cooked through (internal temperature of 165°F/74°C). -
Step 5
Drain and rest: Remove fried chicken from oil using tongs and place on a clean wire rack set over a baking sheet to drain excess oil. Let rest for 5-10 minutes before serving to allow juices to redistribute.
Important Information
Nutrition Facts (Per Serving)
It is important to consider this information as approximate and not to use it as definitive health advice.
Allergy Information
Please check ingredients for potential allergens and consult a health professional if in doubt.