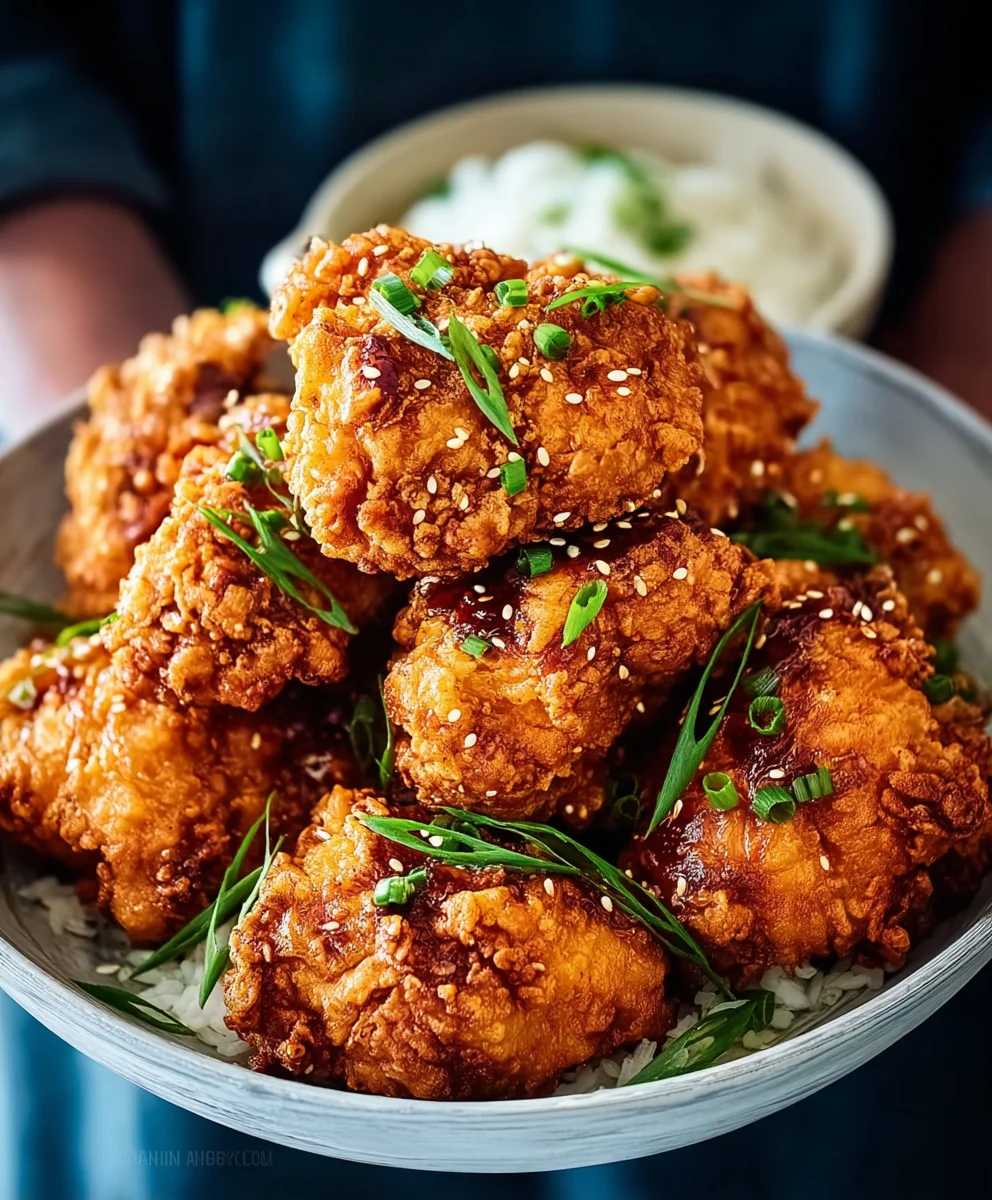
Crispy Fried Chicken Recipe-Perfectly Juicy
Fried chicken is more than just a meal; it’s a comfort food phenomenon, a culinary icon that transcends generations and occasions. Who can resist that irresistible crunch of perfectly seasoned, golden-brown coating giving way to succulent, juicy meat within? It’s the dish that graces picnic blankets, Sunday dinners, and late-night cravings alike, bringin extractg smiles and satisfied sighs with every bite. What truly elevates a classic fried chicken recipe from good to legendary lies in a masterful balance of simple ingredients and a touch of culinary magic. It’s the promise of that shatteringly crisp exterior, the tender, flavorful interior, and the aroma that fills your kitchen, signaling an imminent moment of pure deliciousness. Prepare yourself for an exploration of what makes fried chicken so beloved and how to achieve restaurant-quality results in your own home.
Ingredients:
- 2 lbs Chicken Breast, cut into 1-inch chunks
- 1 cup Cornstarch
- 1/4 cup All-Purpose Flour
- 1/2 tsp Salt
- 1/4 tsp Black Pepper
- 2 Large Eggs, beaten
- Canola Oil, for frying (enough to fill your pot about 2-3 inches deep)
- 1/4 cup Ketchup
- 3 tbsp Chili Sauce
- 1/4 cup Honey
- 3 tbsp Brown Sugar
- 1/3 cup Soy Sauce
- 1/2 cup Water
- 3 Garlic Cloves, minced
- 1/4 tsp Red Pepper Flakes
Preparing the Chicken and Coating Station
The first step to achieving perfectly crispy fried chicken is to get everything organized. I like to call this the “coating station.” Take your chicken breast pieces and ensure they are cut into roughly 1-inch chunks. This size is ideal for even cooking and makes them easy to manage while frying. In a shallow dish or a pie plate, combine the cornstarch, all-purpose flour, salt, and black pepper. Whisk this mixture together thoroughly. This blend of cornstarch and flour is crucial for creating that signature crispy, golden crust. The cornstarch, in particular, is a secret weapon for extra crunch, while the flour provides structure. Seasoning here ensures every bite is flavorful.
Next, in a separate shallow dish, crack your two large eggs and beat them until the yolks and whites are well combined. This egg wash acts as the binder, helping the dry coating adhere beautifully to the chicken. Make sure the eggs are beaten vigorously to achieve a smooth consistency. This is where the magic happens – the eggs will help the cornstarch and flour mixture stick like glue, creating a substantial crust.
Coating the Chicken for Frying
Now comes the fun part: coating the chicken. I typically work with the chicken in batches to avoid overcrowding the coating station and to ensure each piece is fully and evenly coated. Take a few chicken chunks and dip them into the beaten eggs, making sure each piece is thoroughly coated. Let any excess egg drip back into the dish. Immediately after the egg dip, transfer the wet chicken pieces to the cornstarch and flour mixture. Gently press the chicken into the coating, turning to ensure all sides are covered. You want a good, thick layer of the seasoned flour mixture. For an extra-crispy coating, you can double-dip: after the first coating, dip the chicken back into the egg wash and then back into the flour mixture again. This creates a more robust crust that holds up well during frying. Place the coated chicken pieces on a clean plate or baking sheet, ensuring they don’t touch each other, to prevent the coating from sticking. Repeat this process with the remaining chicken until all the pieces are coated.
Preparing the Flavorful Sauce
While your chicken is getting ready for its hot bath, let’s whip up a simple yet incredibly delicious sauce that will complement the fried chicken perfectly. In a small saucepan, combine the ketchup, chili sauce, honey, brown sugar, soy sauce, and water. This combination brings together sweet, savory, and a touch of spicy. Stir these ingredients together until the brown sugar begin extracts to dissolve. Add the minced garlic cloves and the red pepper flakes to the saucepan. The garlic will infuse the sauce with aromatic depth, and the red pepper flakes will add a subtle warmth that cuts through the richness of the fried chicken.
Place the saucepan over medium heat. Bring the sauce to a gentle simmer, stirring occasionally. You want the sauce to thicken slightly. This usually takes about 5 to 7 minutes. As it simmers, the flavors will meld together beautifully. Taste the sauce and adjust seasonings if needed – perhaps a little more honey for sweetness, or a pinch more red pepper flakes for heat. Once it has reached your desired consistency, remove it from the heat and set it aside. Keep it warm or let it cool slightly before serving.
Frying the Chicken to Golden Perfection
This is where the transformation happens. In a large, heavy-bottomed pot or Dutch oven, pour in enough canola oil to reach a depth of about 2 to 3 inches. Heat the oil over medium-high heat until it reaches 350°F (175°C). Using a thermometer is highly recommended for ensuring the oil is at the correct temperature. If the oil is too cool, the chicken will absorb too much oil and become greasy. If it’s too hot, the outside will burn before the inside cooks through.
Carefully, and working in batches to avoid overcrowding the pot, add the coated chicken pieces to the hot oil. Do not overcrowd the pot, as this will lower the oil temperature and result in soggy chicken. You should be able to comfortably fit about 6-8 pieces at a time, depending on the size of your pot. Fry the chicken for about 5-7 minutes per batch, turning the pieces occasionally with tongs, until they are golden brown and cooked through. The internal temperature of the chicken should reach 165°F (74°C).
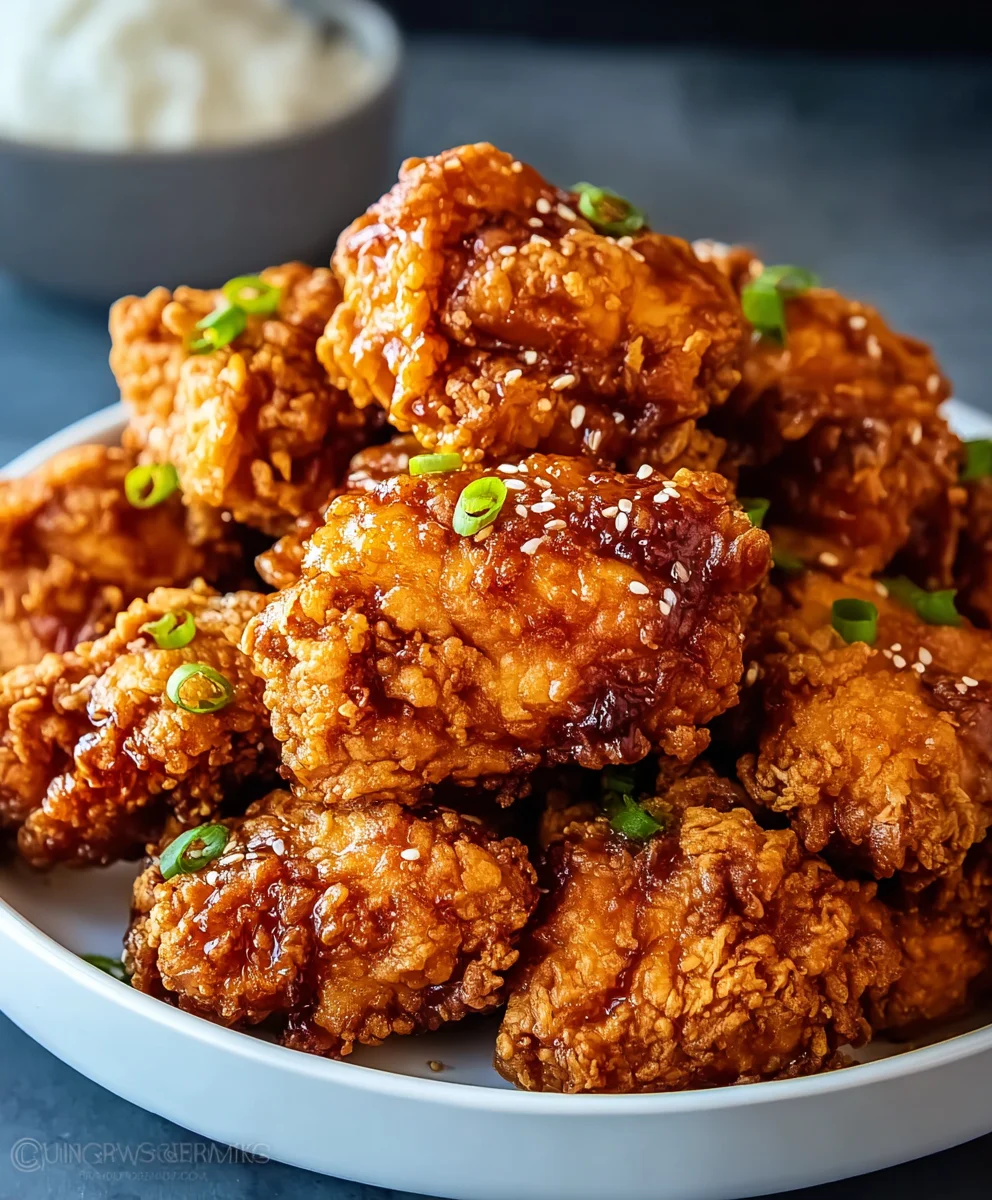
Draining and Serving
Once the chicken is perfectly golden and cooked, use tongs to carefully remove the pieces from the hot oil. Allow any excess oil to drip back into the pot for a few seconds before transferring the fried chicken to a wire rack set over a baking sheet. This step is crucial for maintaining the crispiness of the coating. Placing fried chicken directly onto paper towels can trap steam and make the bottom soggy. Let the chicken rest on the wire rack for a few minutes while you fry the next batch. Repeat the frying process with the remaining chicken. Once all the chicken is fried, serve it immediately with the prepared sauce on the side for dipping, or generously drizzle the warm sauce over the hot fried chicken pieces. Enjoy the satisfying crunch and juicy interior!
Conclusion:
You’ve now mastered the art of making incredibly delicious and crispy Fried Chicken right in your own kitchen! This recipe delivers that perfect balance of a golden-brown, crunchy exterior and juicy, tender meat that’s sure to be a crowd-pleaser. We’ve walked through each step, from preparing the chicken to achieving that signature crispiness, and I hope you feel confident and excited to give it a try.
This Fried Chicken is wonderfully versatile. Serve it hot and fresh with your favorite sides like creamy mashed potatoes, coleslaw, or a crisp green salad for a complete and satisfying meal. It’s also fantastic for picnics or packed lunches the next day!
Don’t be afraid to experiment with this recipe. You can adjust the spices in your flour coating to suit your taste – a pinch of cayenne for a little heat, or some smoked paprika for a deeper flavor. For an extra layer of richness, consider adding a tablespoon of garlic powder or onion powder to the flour mixture. The possibilities are endless, and the results are always rewarding. I encourage you to dive in, get your hands a little messy, and enjoy the process!
Frequently Asked Questions:
How do I prevent my fried chicken from being greasy?
Achieving a non-greasy Fried Chicken is all about maintaining the correct oil temperature. Ensure your oil is at the recommended temperature (around 350°F or 175°C) before you start frying. If the oil is too cool, the chicken will absorb too much oil. Also, avoid overcrowding the pan; fry in batches to allow the oil temperature to recover between additions. Drain the chicken on a wire rack set over a baking sheet instead of paper towels, as this allows air to circulate and keeps the bottom from becoming soggy.
Can I make fried chicken ahead of time?
While Fried Chicken is best enjoyed fresh and hot, you can prepare it slightly ahead. If you need to make it in advance, let it cool completely on a wire rack. You can then reheat it in a preheated oven at around 350°F (175°C) for 10-15 minutes, or until heated through and crispy again. This method helps to restore some of its origin extractal crispness.
Crispy Fried Chicken Recipe-Perfectly Juicy
Achieve perfectly crispy and juicy fried chicken with this easy-to-follow recipe. Includes a delicious, simple sauce for dipping or drizzling.
Ingredients
-
2 lbs Chicken Breast, cut into 1-inch chunks
-
1 cup Cornstarch
-
1/4 cup All-Purpose Flour
-
1/2 tsp Salt
-
1/4 tsp Black Pepper
-
2 Large Eggs, beaten
-
Canola Oil, for frying
-
1/4 cup Ketchup
-
3 tbsp Chili Sauce
-
1/4 cup Honey
-
3 tbsp Brown Sugar
-
1/3 cup Soy Sauce
-
1/2 cup Water
-
3 Garlic Cloves, minced
-
1/4 tsp Red Pepper Flakes
Instructions
-
Step 1
Prepare the coating station: In a shallow dish, combine 1 cup cornstarch, 1/4 cup all-purpose flour, 1/2 tsp salt, and 1/4 tsp black pepper. Whisk thoroughly. In a separate shallow dish, beat 2 large eggs. -
Step 2
Coat the chicken: Dip chicken chunks into beaten eggs, letting excess drip off. Immediately transfer to the cornstarch mixture, pressing to coat all sides. For extra crispiness, double-dip by dipping back into the egg wash and then the flour mixture again. Place coated chicken on a plate, ensuring pieces don’t touch. -
Step 3
Prepare the sauce: In a small saucepan, combine 1/4 cup ketchup, 3 tbsp chili sauce, 1/4 cup honey, 3 tbsp brown sugar, 1/3 cup soy sauce, and 1/2 cup water. Stir until brown sugar dissolves. Add 3 minced garlic cloves and 1/4 tsp red pepper flakes. -
Step 4
Simmer the sauce: Place saucepan over medium heat. Bring to a gentle simmer, stirring occasionally, for 5-7 minutes, or until slightly thickened. Taste and adjust seasonings. Remove from heat and set aside. -
Step 5
Fry the chicken: Heat canola oil in a large pot to 350°F (175°C). Carefully add coated chicken in batches, frying for 5-7 minutes per batch, or until golden brown and cooked through (internal temperature 165°F/74°C). Do not overcrowd the pot. -
Step 6
Drain and serve: Remove fried chicken from oil with tongs, letting excess oil drip back. Transfer to a wire rack set over a baking sheet to drain. Serve immediately with the prepared sauce for dipping or drizzled over the chicken.
Important Information
Nutrition Facts (Per Serving)
It is important to consider this information as approximate and not to use it as definitive health advice.
Allergy Information
Please check ingredients for potential allergens and consult a health professional if in doubt.