Easy No Knead Sandwich Rolls – Hour Bake
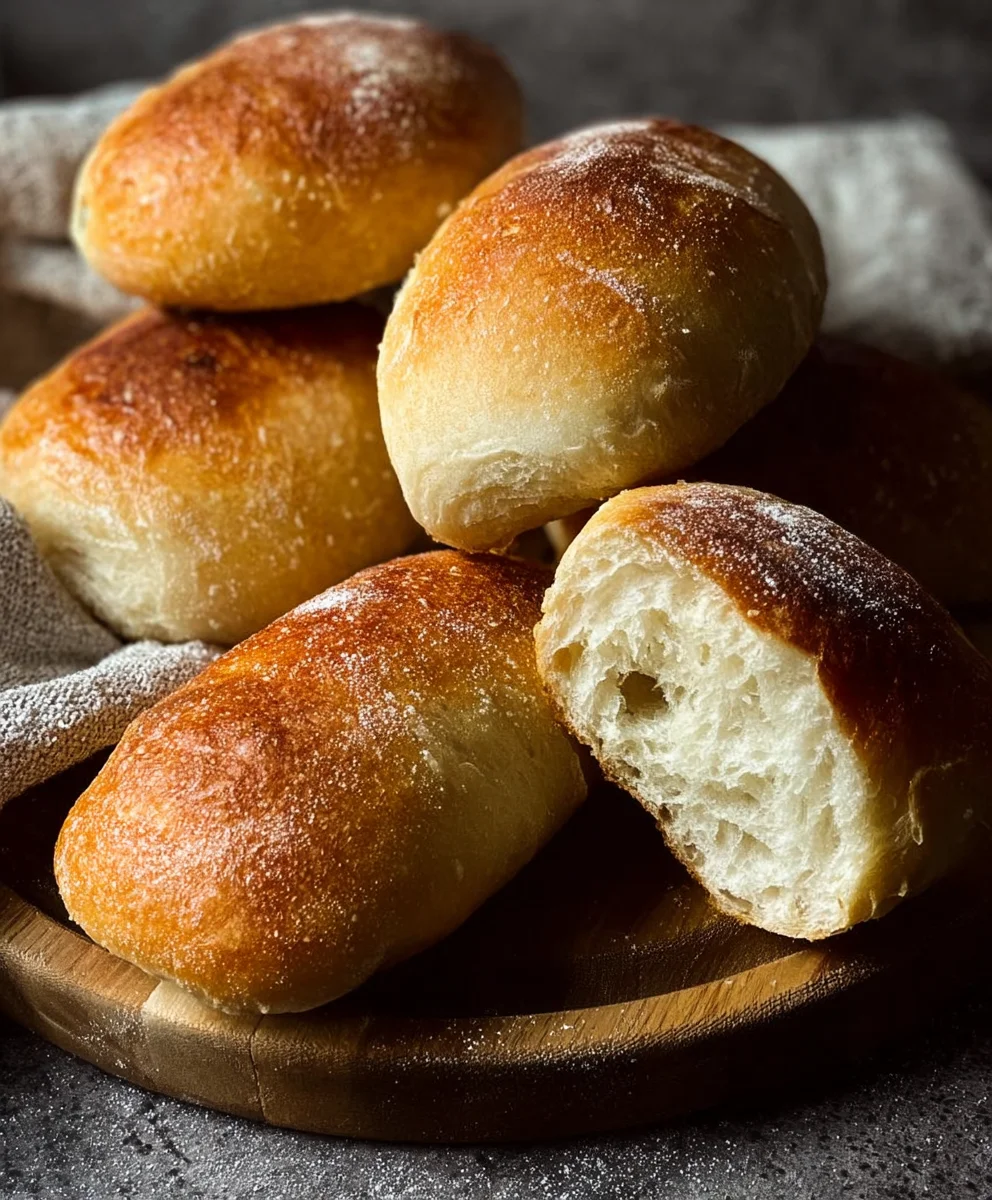
Sandwich Rolls -No Knead -2 Hours are the dream solution for busy weeknights and spontaneous gatherings. Imagin extracte fluffy, golden-brown rolls, perfect for cradling your favorite fillings, appearing on your table with minimal fuss and maximum flavor. That’s the magic of this recipe! People absolutely adore these rolls because they deliver that satisfying homemade bread experience without the time commitment of traditional kneading and proofing. What truly makes this recipe special is its ingenious simplicity; the no-knead method unlocks a wonderfully airy texture and a delightful chew, all while fitting into a tight schedule. You get that incredible crusty exterior and soft, pillowy interior, proving that gourmet results are achievable even when time is scarce. Forget store-bought; these easy rolls will become your go-to for everything from hearty lunches to delicious dinner accompaniments.
Ingredients:
- 4 1/2 cups (600g) bread flour (you can also use all-purpose flour or white flour if bread flour isn’t available)
- 1 3/4 cups (420-450ml) warm water (aim for a temperature between 35-40 degrees Celsius, or about 95-104 degrees Fahrenheit – it should feel comfortably warm to the touch, not hot)
- 2 tablespoons instant or quick-rise yeast
- 1 tablespoon granulated sugar
- 2 teaspoons salt
The Dough: Getting Started
The beauty of these no-knead sandwich rolls lies in their simplicity and minimal effort required. We’re going to leverage time and a bit of science to develop the gluten structure, so don’t be tempted to overwork the dough! First, gather all your ingredients and a large mixing bowl – one that can comfortably hold at least 6 quarts is ideal. In your large bowl, combine the bread flour, instant yeast, sugar, and salt. Whisk these dry ingredients together thoroughly to ensure the yeast and salt are evenly distributed throughout the flour. This is important for consistent rising and flavor.
Now, it’s time to add the liquid. Measure out your warm water. It’s crucial that the water is warm but not hot, as too hot water can kill the yeast, preventing your dough from rising. If it’s too cool, the yeast won’t activate effectively. You’re looking for that sweet spot where it feels pleasant on your fingertips. Pour the warm water into the bowl with the dry ingredients. Using a sturdy spoon or a silicone spatula, stir everything together until just combined. You’ll end up with a very shaggy, sticky dough. It will look quite wet and unappealing at this stage, and that’s exactly what we want. Resist the urge to add more flour, even though it might seem like it’s too wet. The flour will continue to absorb moisture as it rests.
The First Rise: Patience is Key
Once you have your shaggy dough, cover the bowl tightly with plastic wrap or a damp kitchen towel. Find a warm, draft-free spot in your kitchen for the dough to rest and rise. This is where the magic of the no-knead method happens. We’re going to let this dough rise for about 1.5 to 2 hours, or until it has at least doubled in size. During this time, the yeast will be busily producing carbon dioxide, creating those wonderful air pockets that will give your rolls their light and airy texture. You’ll notice the dough will become bubbly and significantly more voluminous. This extended rise time also helps to develop flavor, giving your rolls a deeper, more complex taste than you might expect from such an easy recipe. Don’t rush this step; the longer, slower rise is what makes these rolls so tender and easy to digest.
Shaping the Rolls: Creating Structure
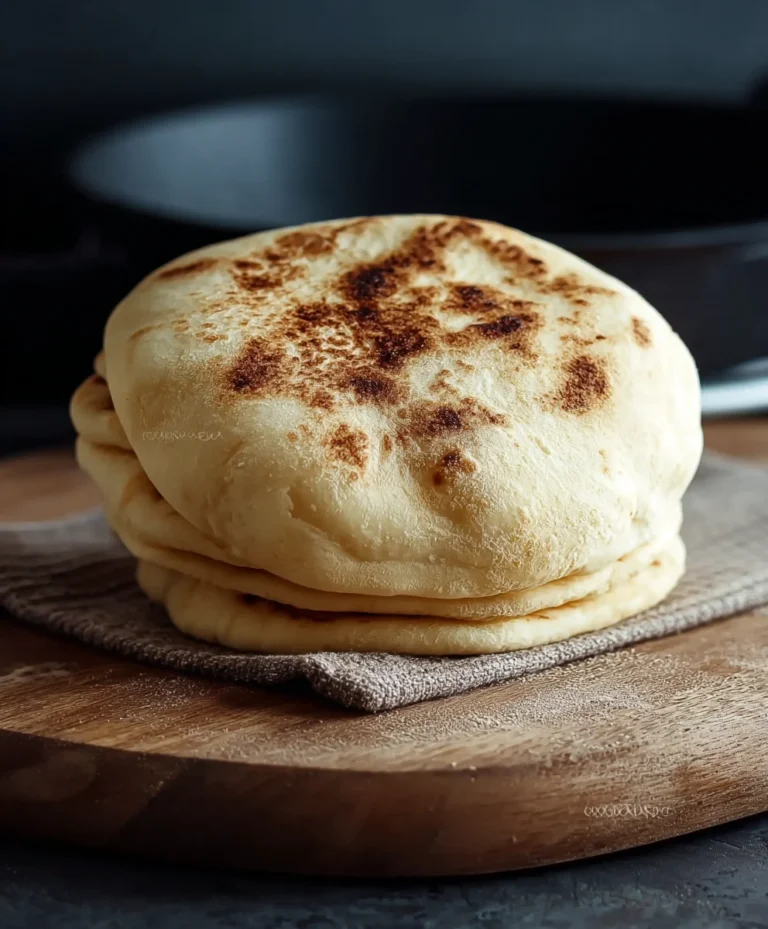
After the dough has had its first substantial rise, it’s time to get it ready for baking. Lightly flour your work surface. You don’t need to heavily flour it, just enough to prevent sticking. Gently scrape the risen dough out of the bowl onto the floured surface. The dough will be very airy and might deflate a bit as you transfer it; this is perfectly normal. Avoid punching down the dough aggressively; we want to preserve as much of that air as possible.
Now, divide the dough into portions for your rolls. For standard sandwich rolls, I like to aim for about 8-10 portions. You can do this by gently tearing pieces off or by using a bench scraper or knife. To shape each roll, gently flatten a piece of dough into a rough rectangle. Then, fold one long edge over to the center, and the opposite long edge over to meet it, creating a long log. Pinch the seam closed firmly. Then, gently roll the log back and forth between your hands to lengthen it slightly and tuck the ends under to create a smooth, oval shape. The key here is to be gentle. We are not kneading; we are simply tucking and shaping to create a cohesive structure that will hold its shape during the final proof and baking. Place the shaped rolls onto a baking sheet lined with parchment paper, ensuring they have a little space between them as they will expand further.
The Second Rise and Baking: The Final Flourish
Once your rolls are shaped and on the baking sheet, it’s time for their second, shorter rise. Cover them loosely with plastic wrap or a clean kitchen towel and let them rest for another 20-30 minutes in a warm spot. This allows the gluten to relax and the rolls to puff up a bit more, creating a lighter crum extractb. While the rolls are doing their final rise, preheat your oven to 220 degrees Celsius (425 degrees Fahrenheit). It’s important to have a hot oven for these rolls to achieve a good crust and oven spring.
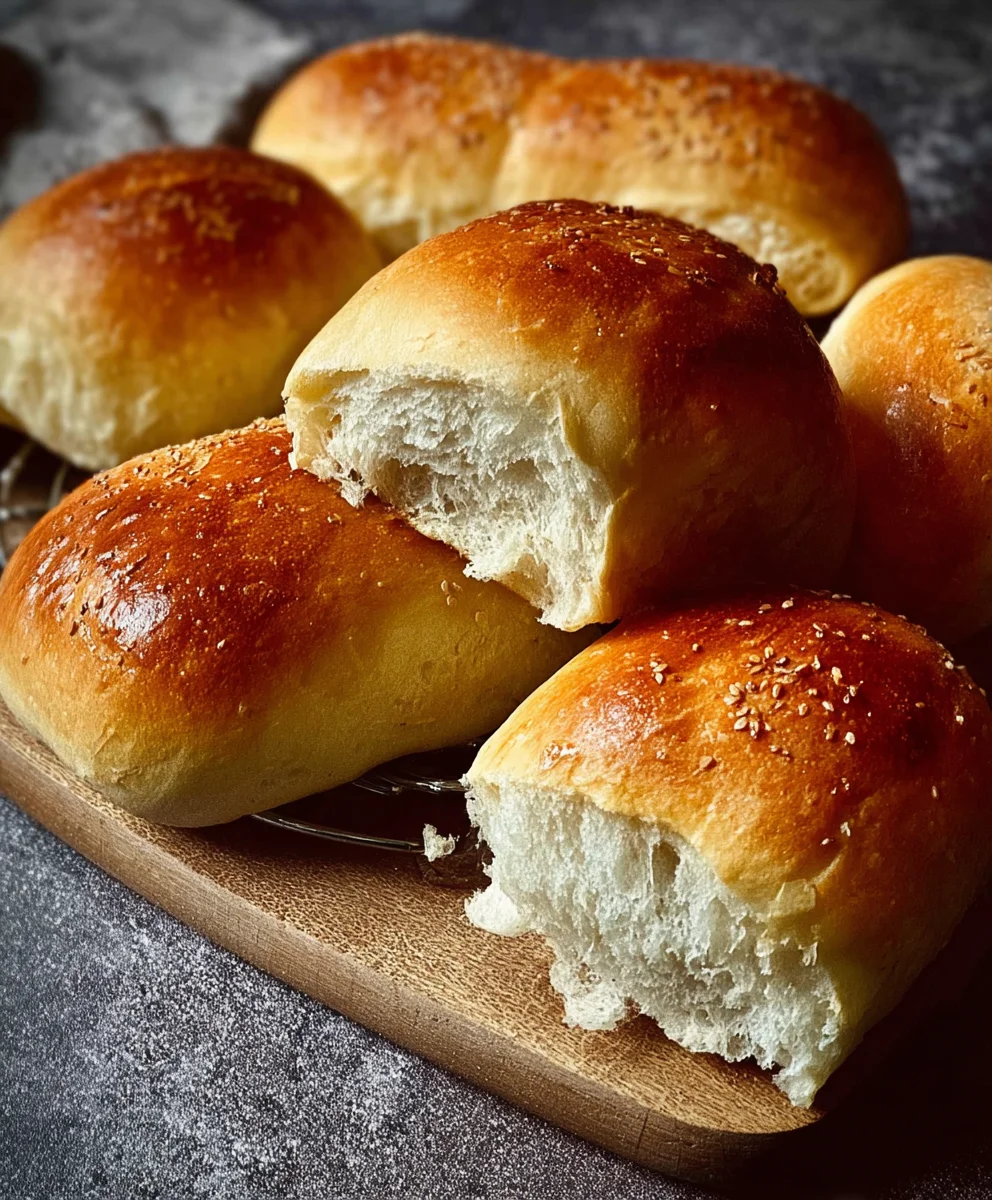
After the second rise, the rolls should look noticeably plumper. If you like, you can give them a quick brush with a little water or an egg wash for a shinier crust, but this is entirely optional. Carefully place the baking sheet into the preheated oven. Bake for 15-20 minutes, or until the rolls are a beautiful golden brown on top and sound hollow when tapped on the bottom. If you notice the tops browning too quickly, you can loosely tent the baking sheet with aluminum foil. Once baked, remove the rolls from the oven and transfer them to a wire rack to cool completely. This allows steam to escape and prevents the bottoms from becoming soggy. Enjoy these delicious, homemade sandwich rolls – perfect for any filling you can dream up!
Conclusion:
And there you have it! Your perfectly fluffy and incredibly easy Sandwich Rolls – No Knead – 2 Hours are ready to impress. This recipe truly lives up to its name, delivering fantastic results with minimal effort and a quick turnaround time. We’ve walked through each simple step, from mixing the ingredients to that final golden bake, and I’m confident you’ll be delighted with the results. These rolls are wonderfully versatile, making them the ideal base for any sandwich creation you can dream up. Serve them warm with your favorite deli meats and cheeses, slathered with butter, or even as a side to a hearty soup or stew. Don’t be afraid to get creative with variations – adding herbs, a sprinkle of sesame seeds, or even a touch of garlic powder to the dough can elevate them to new heights. So, go ahead, give these Sandwich Rolls – No Knead – 2 Hours a try. I encourage you to bake a batch this weekend and discover just how simple and rewarding homemade bread can be!
Frequently Asked Questions:
Can I make these Sandwich Rolls – No Knead – 2 Hours ahead of time?
Absolutely! These rolls can be baked and cooled completely, then stored in an airtight container at room temperature for up to two days. For longer storage, you can freeze them once cooled. To reheat, simply pop them in a warm oven for a few minutes until they are warmed through.
What if my dough seems too wet or too dry?
The consistency of the dough can vary slightly depending on the humidity and the type of flour used. If your dough seems excessively wet and sticky, add a tablespoon of flour at a time until it forms a soft, slightly sticky dough. If it seems too dry and crum extractbly, add a teaspoon of water at a time until it comes together.
Easy No Knead Sandwich Rolls – Hour Bake
Simple and delicious no-knead sandwich rolls that are baked in about an hour, perfect for any filling.
Ingredients
-
4 1/2 cups (600g) bread flour
-
1 3/4 cups (420-450ml) warm water (35-40 degrees Celsius)
-
2 tablespoons instant yeast
-
1 tablespoon granulated sugar
-
2 teaspoons salt
Instructions
-
Step 1
In a large bowl, whisk together bread flour, instant yeast, sugar, and salt until evenly distributed. -
Step 2
Pour in warm water and stir with a spoon or spatula until just combined, forming a shaggy, sticky dough. Resist adding more flour. -
Step 3
Cover the bowl tightly and let the dough rise in a warm, draft-free spot for 1.5 to 2 hours, or until doubled in size. -
Step 4
Lightly flour a work surface. Gently scrape the dough onto the surface and divide into 8-10 portions. Shape each portion into a smooth oval roll by flattening, folding, pinching the seam, and tucking ends. -
Step 5
Place shaped rolls on a parchment-lined baking sheet. Cover loosely and let rise for another 20-30 minutes. Preheat oven to 220 degrees Celsius (425 degrees Fahrenheit). -
Step 6
Bake for 15-20 minutes, or until golden brown and hollow-sounding when tapped. Cool completely on a wire rack.
Important Information
Nutrition Facts (Per Serving)
It is important to consider this information as approximate and not to use it as definitive health advice.
Allergy Information
Please check ingredients for potential allergens and consult a health professional if in doubt.