Easy Chocolate Swiss Roll Recipe – Quick & Delicious Dessert
Easy Chocolate Swiss Roll recipes are a dream come true for anyone craving a show-stopping dessert without the fuss. There’s something undeniably magical about a Swiss roll – that perfect swirl of tender cake and luscious filling, all rolled up into a beautiful log. People adore this dessert because it looks so sophisticated and impressive, yet is surprisingly simple to make. Imagin extracte the delight on your loved ones’ faces when you present this elegant treat, knowing you whipped it up with minimal effort! What truly makes our Easy Chocolate Swiss Roll special is its approachability. We’ve stripped away the intimidation factor, offering you a foolproof method that guarantees success. Get ready to impress yourself and everyone around you with this wonderfully achievable Easy Chocolate Swiss Roll.

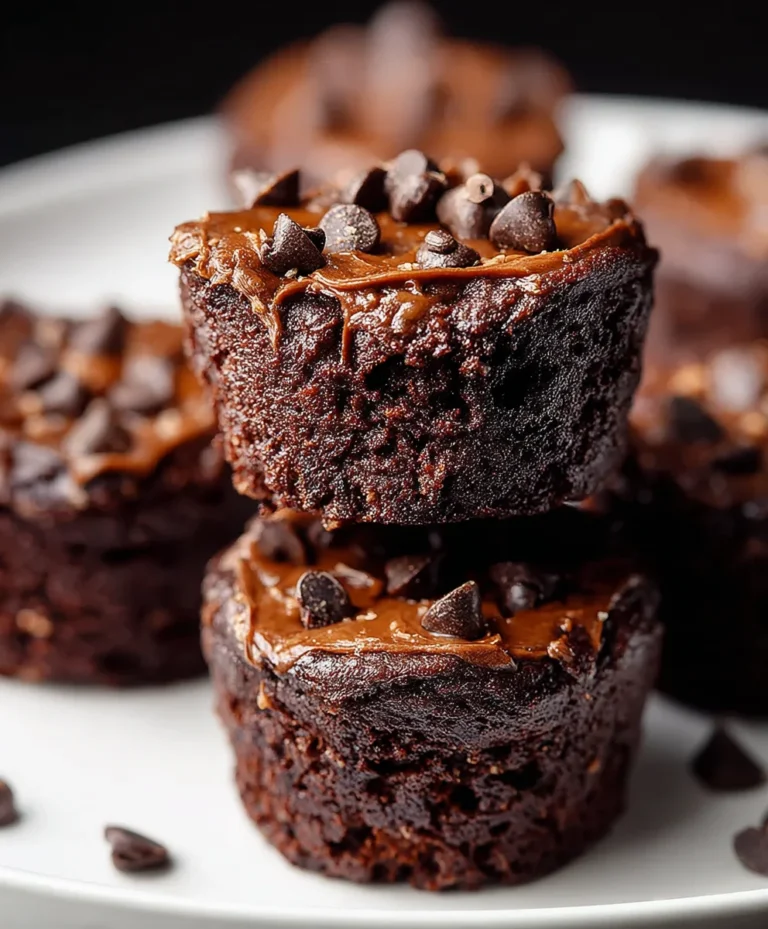
Easy Chocolate Swiss Roll
Get ready to impress yourself and your loved ones with this incredibly easy and surprisingly decadent Chocolate Swiss Roll. Forget those intimidating store-bought versions; this recipe uses simple, wholesome ingredients and a straightforward method to create a fluffy, chocolatey cake rolled with a luscious, fruity filling. It’s the perfect dessert for any occasion, whether it’s a special celebration or just a Tuesday that calls for a little something sweet. We’re going to use some fantastic ingredients to make this a truly special treat.
Ingredients:
Making the Chocolate Cake
This is where the magic begin extracts! We’re aiming for a cake that’s light and airy, the perfect canvas for our filling.
Creating the Creamy Filling
While the cake is cooling, we’ll prepare the delightful filling that will complement the rich chocolate flavor.
- Whip the Vegan Butter: In a large bowl, beat the room-temperature vegan butter with an electric mixer until it’s light and fluffy. This might take a few minutes.
- Add the Freeze-Dried Strawberry Flour: Gradually add the pulsed freeze-dried strawberry “flour” to the whipped vegan butter, mixing until it’s well incorporated and the frosting is a beautiful pnon-alcoholic ale pink color. This gives an intense strawberry flavor without adding excess moisture.
- Assemble the Filling: If you want a smoother filling, you can add a tablespoon or two of your dairy-free milk at this stage, but it’s often not needed. The consistency should be spreadable but not too runny.
- Spread the Filling: Once the cake is completely cool, gently spread the creamy strawberry filling evenly over the surface, leaving a small border around the edges. This border will prevent the filling from squeezing out when you roll it.
- Roll the Cake: Starting from one of the shorter ends, carefully and tightly roll up the cake, using the towel to help you lift and guide it. Roll it into a log shape. The cake should be flexible enough to roll without breaking, thanks to the careful baking and cooling. If any small cracks appear, don’t worry; they’ll be hidden by the filling and frosting.
- Chill and Decorate: Once rolled, you can either enjoy it as is, or you can frost the outside. For a simple frosting, you can whip up another batch of the vegan butter frosting, or even just dust with powdered sugar. For a truly impressive finish, we’ll make a quick chocolate frosting. In a bowl, beat the remaining 226g vegan butter until fluffy. Gradually add the pulsed freeze-dried strawberries and about 1/4 cup of the remaining cocoa powder (you can add more for a richer chocolate flavor) and beat until smooth. Spread this frosting over the rolled cake. Garnish with the sliced fresh strawberries and any extra freeze-dried strawberry dust for a beautiful presentation. Place the Swiss roll in the refrigerator for at least 30 minutes to set before slicing and serving. This chilling time is crucial for the filling and frosting to firm up, making it easier to slice.
-
135 g oat flour
-
30 g cassava flour
-
30 g cocoa powder
-
1 tbsp arrowroot starch
-
1 1/2 tsp baking powder
-
1/2 tsp baking soda
-
122 mL aquafaba, room temperature
-
200 g organic granulated sugar or coconut sugar, divided
-
100 g unsweetened applesauce, room temperature
-
60 g unsweetened dairy free yogurt, room temperature
-
2 tbsp cocoa powder for dusting the dish towel
-
1 cup sliced strawberries, for garnish
-
226 g vegan butter, room temperature
-
70 g freeze dried strawberries, pulsed into a flour
-
Coconut fat from 1 can full-fat coconut cream
-
Step 1
Preheat oven to 350°F (175°C). Grease and flour a 10×15 inch jelly roll pan. Line with parchment paper and grease the parchment. Dust the dish towel with 2 tbsp cocoa powder. -
Step 2
In a large bowl, whisk together oat flour, cassava flour, 30g cocoa powder, arrowroot starch, baking powder, and baking soda. -
Step 3
In a separate bowl, whisk together aquafaba, half of the sugar (100g), applesauce, and dairy-free yogurt until well combined. -
Step 4
Pour the wet ingredients into the dry ingredients and mix until just combined. Do not overmix. -
Step 5
Pour the batter into the prepared pan and spread evenly. Bake for 12-15 minutes, or until a toothpick inserted into the center comes out clean. -
Step 6
While the cake is baking, prepare the frosting. In a bowl, beat the vegan butter with the remaining sugar (100g) until light and fluffy. Add the pulsed freeze-dried strawberries and coconut fat, and beat until smooth and combined. -
Step 7
Immediately invert the hot cake onto the prepared dish towel. Peel off the parchment paper. Roll up the cake and towel together, starting from one of the short ends. Let it cool completely. -
Step 8
Once cooled, carefully unroll the cake. Spread the frosting evenly over the cake. Roll up the cake again, this time without the towel. Garnish with sliced strawberries.
Rolling and Finishing Your Swiss Roll
This is the fun part where it all comes together!
Enjoy your beautiful, homemade Chocolate Swiss Roll! It’s a testament to how delicious and accessible dairy-free and alternative baking can be.

Conclusion:
And there you have it – a truly easy chocolate Swiss roll that’s surprisingly simple to master, even for begin extractners! We’ve walked through every step, from creating that perfectly light and airy sponge to achieving that satisfying swirl. This recipe truly shines because it delivers on both impressive presentation and irresistible chocolatey flavor without requiring advanced techniques. It’s the perfect dessert for a special occasion, a weekend treat, or just when that chocolate craving hits!
I love serving this Swiss roll simply dusted with a little powdered sugar, or with a dollop of fresh whipped cream and some fresh berries. For a richer experience, a drizzle of chocolate ganache is always a winner. Don’t be afraid to get creative with variations! You could add a swirl of raspberry jam into the filling, or even try a mocha-flavored sponge by adding a teaspoon of instant espresso powder to the batter. I really encourage you to give this easy chocolate Swiss roll a go – you might be surprised at how rewarding and delicious it is!
Frequently Asked Questions:
Why did my Swiss roll crack when I rolled it?
Cracking often happens if the sponge is overbaked, making it too dry and brittle. Ensure you don’t overbake it – a light touch should spring back. Rolling it while it’s still warm is also crucial, as it’s more pliable then. Using a clean kitchen towel underneath can also help prevent sticking and tearing.
Can I make the chocolate Swiss roll ahead of time?
Absolutely! You can bake the sponge and let it cool completely, then wrap it tightly in plastic wrap and refrigerate it for up to 24 hours. Assemble it with the filling when you’re ready to serve. This makes it a fantastic option for entertaining!
What’s the best way to get a tight swirl?
Start rolling from one of the shorter ends, applying gentle but firm pressure. If you have a filling, spread it evenly, leaving a small border on one edge to help seal it. Rolling it around a piping bag or a sturdy cardboard tube while it cools can also help set that lovely cylindrical shape.
Easy Chocolate Swiss Roll
A simple and delicious vegan chocolate swiss roll, perfect for a celebration or a treat.
Ingredients
Instructions
Important Information
Nutrition Facts (Per Serving)
It is important to consider this information as approximate and not to use it as definitive health advice.
Allergy Information
Please check ingredients for potential allergens and consult a health professional if in doubt.