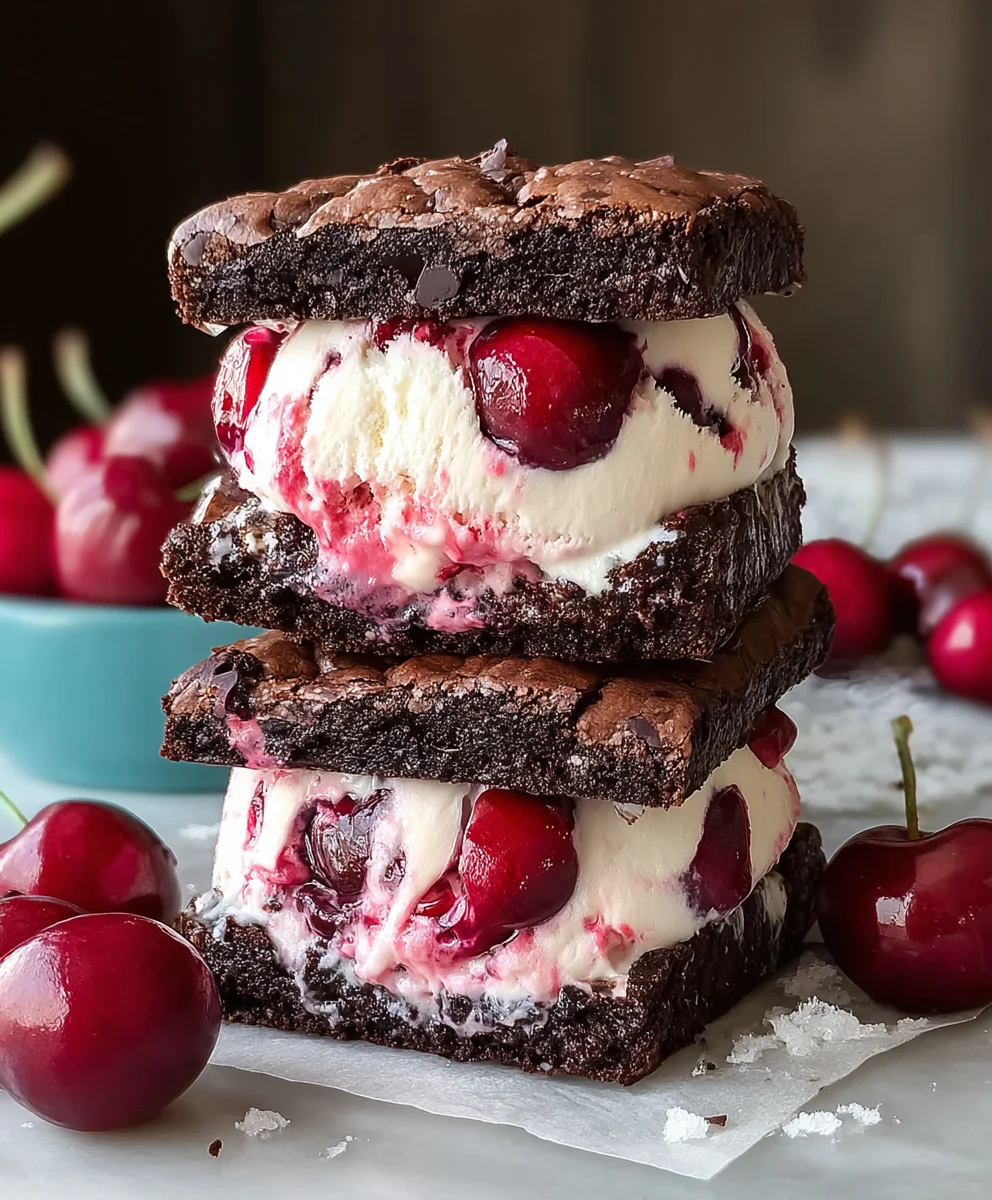
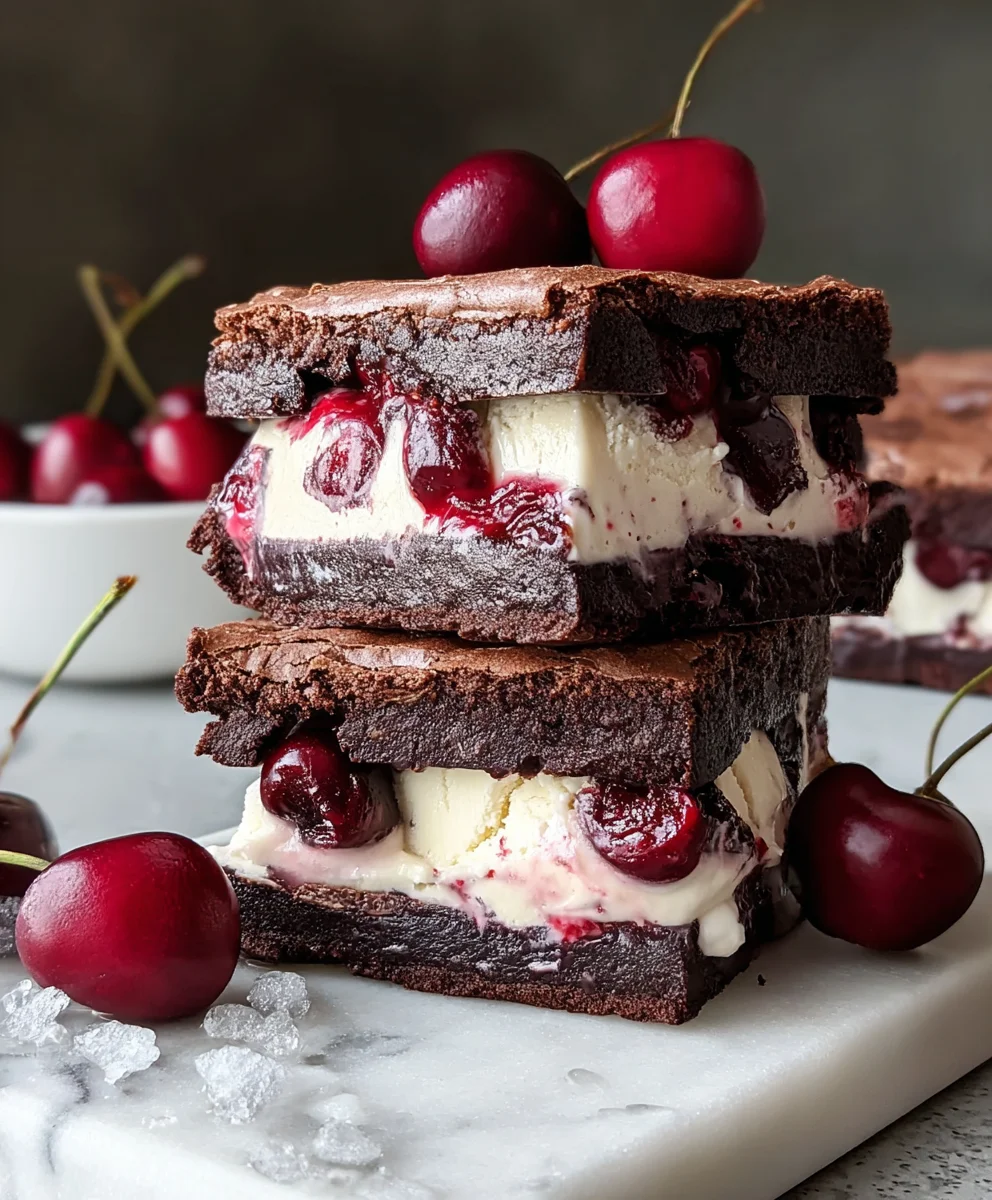
Cherry Brownie Ice Cream Sandwiches-Sweet Treat
Cherry Brownie Ice Cream Sandwiches are more than just a dessert; they’re a celebration of flavor and texture that will have you reaching for seconds, and maybe even thirds. Imagin extracte this: rich, fudgy brownie cookies, still slightly warm and infused with the sweet-tart burst of fresh cherries, encasing a generous scoop of creamy, decadent vanilla bean ice cream. It’s a symphony of contrasting sensations – the chewy, dense brownie against the melting coolness of the ice cream, the deep chocolate notes playing with the bright fruitiness of the cherries. No wonder these Cherry Brownie Ice Cream Sandwiches have become a crowd-pleaser. They’re the perfect answer to any sweet craving, offering a gourmet experience that feels both comforting and excitingly new. Get ready to transform your dessert game with this unforgettable creation!
Ingredients:
- ½ cup unsalted butter
- ½ cup granulated sugar
- ½ cup packed light brown sugar
- 2 large eggs
- 1 teaspoon vanilla extract
- ⅓ cup unsweetened cocoa powder
- ½ cup all-purpose flour
- ¼ teaspoon salt
- 1½ cups vanilla ice cream, slightly softened
- ½ cup chopped cherries (fresh or frozen)
- ¼ cup melted chocolate chips (for drizzling)
Preparing the Brownie Base
Step 1: Creaming the Sugars and Butter
The foundation of these incredible Cherry Brownie Ice Cream Sandwiches starts with a rich, chewy brownie. Begin extract by creaming together the softened unsalted butter with both the granulated sugar and the packed light brown sugar in a medium-sized mixing bowl. I find using an electric mixer on medium speed is the most efficient way to achieve this. You’re looking for a light and fluffy consistency, which usually takes about 2-3 minutes. This process incorporates air into the mixture, which is crucial for a tender brownie. Make sure to scrape down the sides of the bowl a couple of times to ensure everything is evenly combined.
Step 2: Incorporating Wet Ingredients
Once the butter and sugar mixture is perfectly creamed, it’s time to add the wet ingredients. Crack in your two large eggs, one at a time, beating well after each addition until fully incorporated. Don’t rush this step; allowing each egg to emulsify into the batter contributes to a smoother texture. Next, stir in the vanilla extract. The aroma alone is enough to make you excited about what’s to come!
Combining Dry Ingredients and Mixing the Batter
Step 3: Whisking the Dry Ingredients
In a separate small bowl, whisk together the unsweetened cocoa powder, all-purpose flour, and salt. Whisking them together ensures that the cocoa powder is evenly distributed throughout the flour, preventing any dry pockets of unsweetened cocoa in your brownies. This simple step really makes a difference in the final flavor and appearance.
Step 4: Combining Wet and Dry Mixtures
Now, gradually add the dry ingredients to the wet ingredients. Mix on low speed until just combined. It’s really important not to overmix the batter at this stage. Overmixing can develop the gluten in the flour too much, resulting in tough brownies instead of wonderfully soft and fudgy ones. A few streaks of flour are perfectly fine at this point. We want to gently bring everything together.
Baking and Assembling the Sandwiches
Step 5: Baking the Brownies
Preheat your oven to 350°F (175°C). Line an 8×8 inch baking pan with parchment paper, leaving an overhang on the sides to easily lift the brownies out later. Pour the brownie batter into the prepared pan and spread it evenly. Bake for 20-25 minutes, or until a toothpick inserted into the center comes out with moist crum extractbs attached, but not wet batter. Be careful not to overbake, as this will dry out the brownies and make them less ideal for ice cream sandwiches. Once baked, let the brownies cool completely in the pan on a wire rack. This cooling process is essential; trying to cut warm brownies will resulrum extractn a crumbly mess, and we want sturdy bases for our ice cream.
Step 6: Assembling the Ice Cream Sandwiches
Once the brownies are completely cooled, use the parchment paper overhang to lift them out of the pan and place them on a cutting board. Cut the brownie sheet into your desired sandwich shapes. Rectangles or squares are classic, but you can also use cookie cutters for fun shapes once the brownies are firm enough. For the ice cream filling, ensure your vanilla ice cream is slightly softened, making it spreadable but not melted. I like to spread a generous layer of softened ice cream onto the bottom of one brownie piece. Then, gently press the chopped cherries into the softened ice cream. Top with another brownie piece, creating your ice cream sandwich. If you’re making multiple sandwiches, you can place them on a baking sheet lined with parchment paper and pop them back into the freezer for at least 30 minutes to firm up the ice cream before cutting them into individual portions.
Step 7: The Finishing Drizzle
This is where we add the final touch of decadence! Once your ice cream sandwiches have firmed up in the freezer, you can add the melted chocolate drizzle. Melt your chocolate chips gently, either in a microwave-safe bowl in 30-second intervals, stirring in between, or in a double boiler. Once smooth and melted, transfer the chocolate into a piping bag or a small zip-top bag with a corner snipped off. Drizzle the melted chocolate artfully over the tops of the Cherry Brownie Ice Cream Sandwiches. You can create zigzags, stripes, or any pattern you fancy. Allow the chocolate to set completely before serving for the best texture and visual appeal. These are best enjoyed immediately after the chocolate has set, for that perfect combination of chewy brownie, creamy ice cream, tart cherries, and rich chocolate.
Conclusion:
There you have it – the ultimate guide to crafting your very own Cherry Brownie Ice Cream Sandwiches! We’ve walked through every step, from achieving fudgy brownie perfection to expertly scooping your favorite ice cream and assembling these delightful treats. These Cherry Brownie Ice Cream Sandwiches are not just a dessert; they’re an experience, perfect for summer gatherings, special occasions, or just a well-deserved indulgence. Serve them chilled and watch them disappear! Don’t be afraid to get creative with your ice cream flavors or add a sprinkle of extra cherries. The possibilities are endless, and the joy of making and sharing these homemade delights is immense. So, grab your apron and get ready to create a truly unforgettable dessert!
Frequently Asked Questions about Cherry Brownie Ice Cream Sandwiches:
Can I make the brownies ahead of time?
Absolutely! The brownie base for your Cherry Brownie Ice Cream Sandwiches can be baked a day or two in advance and stored at room temperature in an airtight container. This makes assembly on the day you want to enjoy them much quicker and easier.
What are some other ice cream flavor pairings that work well?
While cherry ice cream is wonderful, vanilla bean or even a rich chocolate ice cream are fantastic complements to the chocolatey brownie. For a more adventurous twist, consider a strawberry or raspberry swirl ice cream to enhance the fruity element of your Cherry Brownie Ice Cream Sandwiches.
How should I store leftover Cherry Brownie Ice Cream Sandwiches?
For the best results, wrap each individual Cherry Brownie Ice Cream Sandwich tightly in plastic wrap, then place them in a freezer-safe container or bag. They should keep well in the freezer for up to a month, though they are best enjoyed within the first week for optimal texture.
Cherry Brownie Ice Cream Sandwiches
Decadent homemade ice cream sandwiches featuring chewy chocolate brownies filled with vanilla ice cream and tart cherries, finished with a rich chocolate drizzle.
Ingredients
-
½ cup unsalted butter
-
½ cup granulated sugar
-
½ cup packed light brown sugar
-
2 large eggs
-
1 teaspoon vanilla extract
-
⅓ cup unsweetened cocoa powder
-
½ cup all-purpose flour
-
¼ teaspoon salt
-
1½ cups vanilla ice cream, slightly softened
-
½ cup chopped cherries (fresh or frozen)
-
¼ cup melted chocolate chips (for drizzling)
Instructions
-
Step 1
Preheat oven to 350°F (175°C). Line an 8×8 inch baking pan with parchment paper, leaving an overhang. Cream together softened butter and both sugars until light and fluffy. Beat in eggs one at a time, then stir in vanilla extract. -
Step 2
In a separate bowl, whisk together cocoa powder, flour, and salt. Gradually add the dry ingredients to the wet ingredients, mixing on low speed until just combined. Do not overmix. -
Step 3
Pour batter into the prepared pan and spread evenly. Bake for 20-25 minutes, or until a toothpick inserted into the center comes out with moist crumbs attached. Cool completely in the pan. -
Step 4
Once brownies are cool, lift them out using the parchment paper and cut into desired sandwich shapes. Spread a generous layer of slightly softened vanilla ice cream onto the bottom of one brownie piece. Press chopped cherries into the ice cream. -
Step 5
Top with another brownie piece to form an ice cream sandwich. Place sandwiches on a parchment-lined baking sheet and freeze for at least 30 minutes to firm up the ice cream. -
Step 6
Melt chocolate chips. Transfer melted chocolate to a piping bag or zip-top bag with a corner snipped off. Drizzle artfully over the tops of the frozen ice cream sandwiches. Allow chocolate to set completely before serving.
Important Information
Nutrition Facts (Per Serving)
It is important to consider this information as approximate and not to use it as definitive health advice.
Allergy Information
Please check ingredients for potential allergens and consult a health professional if in doubt.