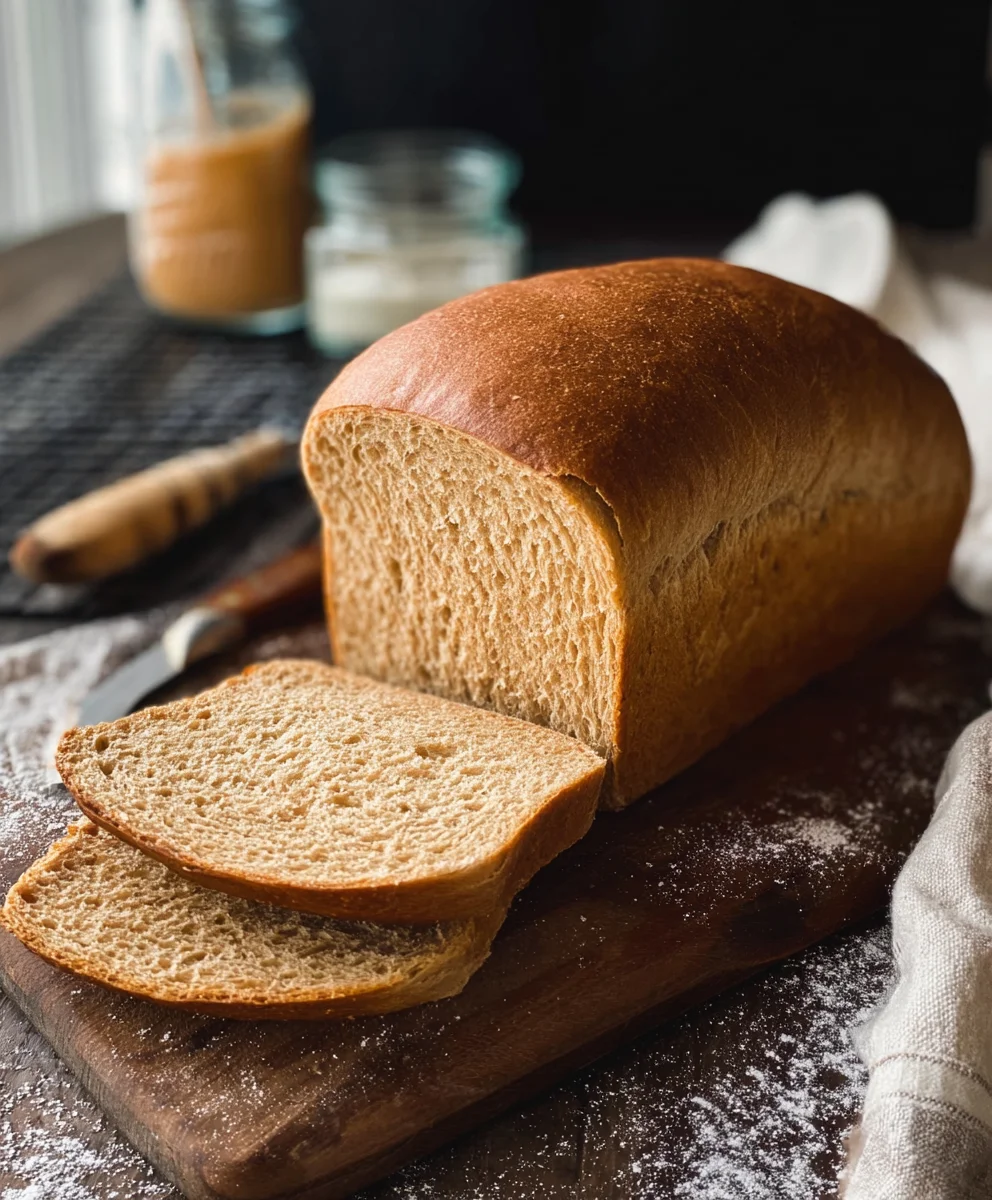
Easy Honey Wheat Bread Recipe-Delicious & Simple Baking
Simple Honey Wheat Bread is more than just a baked good; it’s a warm embrace, a comforting aroma that fills your kitchen, and a delightfully wholesome treat that appeals to everyone from seasoned bakers to kitchen novices. What is it about this particular loaf that captures our hearts and taste buds? It’s the perfect balance of subtly sweet honey meeting the hearty, nutty character of whole wheat flour, creating a bread that’s both satisfying and incredibly versatile. People adore this recipe because it demystifies the art of bread-making, proving that you don’t need complex techniques or obscure ingredients to achieve bakery-quality results right in your own home. The magic truly lies in its simplicity, showcasing the natural goodness of its core components without being overpowered by fancy additions. This is the kind of bread you’ll want to make again and again, perfect for morning toast, hearty sandwiches, or simply slathered with butter.
Ingredients:
- 2 cups warm milk (approximately 110-115 degrees Fahrenheit)
- 1-1/2 tablespoons instant yeast
- 1 teaspoon sugar
- 1/2 cup warm water
- 2-1/2 cups whole wheat flour
- 3 to 3-1/2 cups bread flour or all-purpose flour (begin extract with 3 cups and incorporate more only if necessary)
- 3 tablespoons shortening (butter-flavored shortening is a delicious choice)
- 1/4 cup honey
- 1 tablespoon salt
- For the Egg Wash: 1 large egg whisked with 1 tablespoon water
Preparing the Dough
Activating the Yeastgin extract4>
Begin by ensuring your milk is at the perfect temperature. It should feel pleasantly warm to the touch, not hot, which could kill the yeast, nor too cool, which would hinder its activation. In a large mixing bowl, combine the warm milk, instant yeast, and the teaspoon of sugar. The sugar acts as food for the yeast, helping it to bloom and become active. Give it a gentle stir and let it sit for about 5 to 10 minutes. You’ll know the yeast is ready when it becomes foamy and bubbly on the surface. If you don’t see any activity, your yeast might be old or the milk was too hot, and you’ll need to start this step again with fresh ingredients.
Combining Wet and Dry Ingredients
While the yeast is proofing, prepare your dry ingredients. In a separate bowl, whisk together the 2-1/2 cups of whole wheat flour and the 1 tablespoon of salt. The salt is crucial for flavor and also helps to control the yeast’s activity, preventing it from fermenting too quickly. Once your yeast mixture is frothy, add the 1/2 cup of warm water and the 1/4 cup of honey to the yeast mixture. The honey not only adds a delightful sweetness and a lovely golden hue to the final loaf but also contributes to a wonderfully tender crum extractb. Stir this well to ensure the honey is fully dissolved.
Now, it’s time to bring everything together. Gradually add the whole wheat flour mixture to the wetgin extractgredients. Begin mixing with a sturdy spoon or a dough whisk until a shaggy dough forms. At this stage, you’ll want to start incorporating the bread flour (or all-purpose flour). Add the first 3 cups of bread flour, a half cup at a time, mixing until just combined after each addition. The consistency of the dough will start to thicken.
Kneading the Dough
Once the dough is too stiff to stir, turn it out onto a lightly floured surface. Now, for the magic of kneading! This process develops the gluten in the flour, which gives the bread its structure and chewy texture. Knead the dough by pushing it away from you with the heels of your hands, then folding it back over on itself. Rotate the dough a quarter turn and repeat. This might seem like a lot of work, but it’s incredibly therapeutic.
As you knead, you’ll gin extractice the dough will begin to transform. Initially, it will be sticky and a bit unruly. If it’s sticking excessively to your hands or the surface, add a little more bread flour, a tablespoon at a time, but be cautious not to add too much. You’re aiming for a dough that is smooth, elastic, and springs back when gently poked. After about 8 to 10 minutes of kneading, the dough should feel supple and slightly tacky. This is also where we incorporate the shortening. Add the 3 tablespoons of shortening to the dough and continue kneading until it is fully incorporated and the dough is no longer sticky. The shortening will add richness and help create a softer crust.
First Rise (Proofing)
Lightly grease a clean, large bowl with a little oil or cooking spray. Place the kneaded dough into the prepared bowl, turning it once to coat the entire surface with the oil. Cover the bowl tightly with plastic wrap or a clean kitchen towel. Find a warm, draft-free spot for your dough to rise. This could be a slightly warm oven (turned off!), on top of your refrigerator, or simply on the counter on a moderately warm day. Let the dough rise for about 1 to 1-1/2 hours, or until it has doubled in size. This is the first proofing stage, where the yeast does its work, creating air pockets that will result in a light and airy bread.
Shaping and Baking
Shaping the Loaves
Once the dough has doubled in size, gently punch it down to release the air. Turn the dough out onto a lightly floured surface again. Divide the dough into two equal portions for two loaves, or you can shape it into one large loaf. For a standard loaf pan, shape each portion into a smooth ball by tucking the edges under. Then, gently flatten the ball into a rectangle, about 8×6 inches. Tightly roll up the rectangle from the short end, pinching the seam to seal. Place the shaped loaves seam-side down into greased 9×5 inch loaf pans.
Second Rise (Final Proofing)
Cover the loaf pans loosely with plastic wrap or a clean kitchen towel. Let the loaves rise again in a warm place for another 45 minutes to 1 hour, or until they have puffed up and look almost doubled in size, and have risen just above the rim of the pans. This second rise is crucial for achieving a beautiful, tall loaf with a light texture. While the loaves are in their second rise, preheat your oven to 375 degrees Fahrenheit (190 degrees Celsius).
Baking the Bread
Once the loaves have completed their final rise, it’s time for the oven! Gently brush the tops of the loaves with the prepared egg wash. The egg wash is optional, but it gives the bread a beautiful golden-brown, glossy finish. Carefully place the loaf pans into the preheated oven. Bake for 30 to 35 minutes, or until the crust is a deep golden brown and the internal temperature of the bread reaches 200-210 degrees Fahrenheit (93-99 degrees Celsius) when tested with an instant-read thermometer. You can also tap the bottom of the loaf; it should sound hollow.
Cooling the Bread
As soon as the bread is baked, carefully remove the loaves from the pans and place them on a wire rack to cool completely. This step is very important; if you slice into hot bread, the steam trapped inside will marum extractthe crumb gummy and heavy. Allowing the bread to cool fully ensures the texture sets properly. Resist the temptation to slice it too soon! The aroma will be heavenly, but patience will reward you with the perfect loaf of Simple Honey Wheat Bread.
Conclusion:
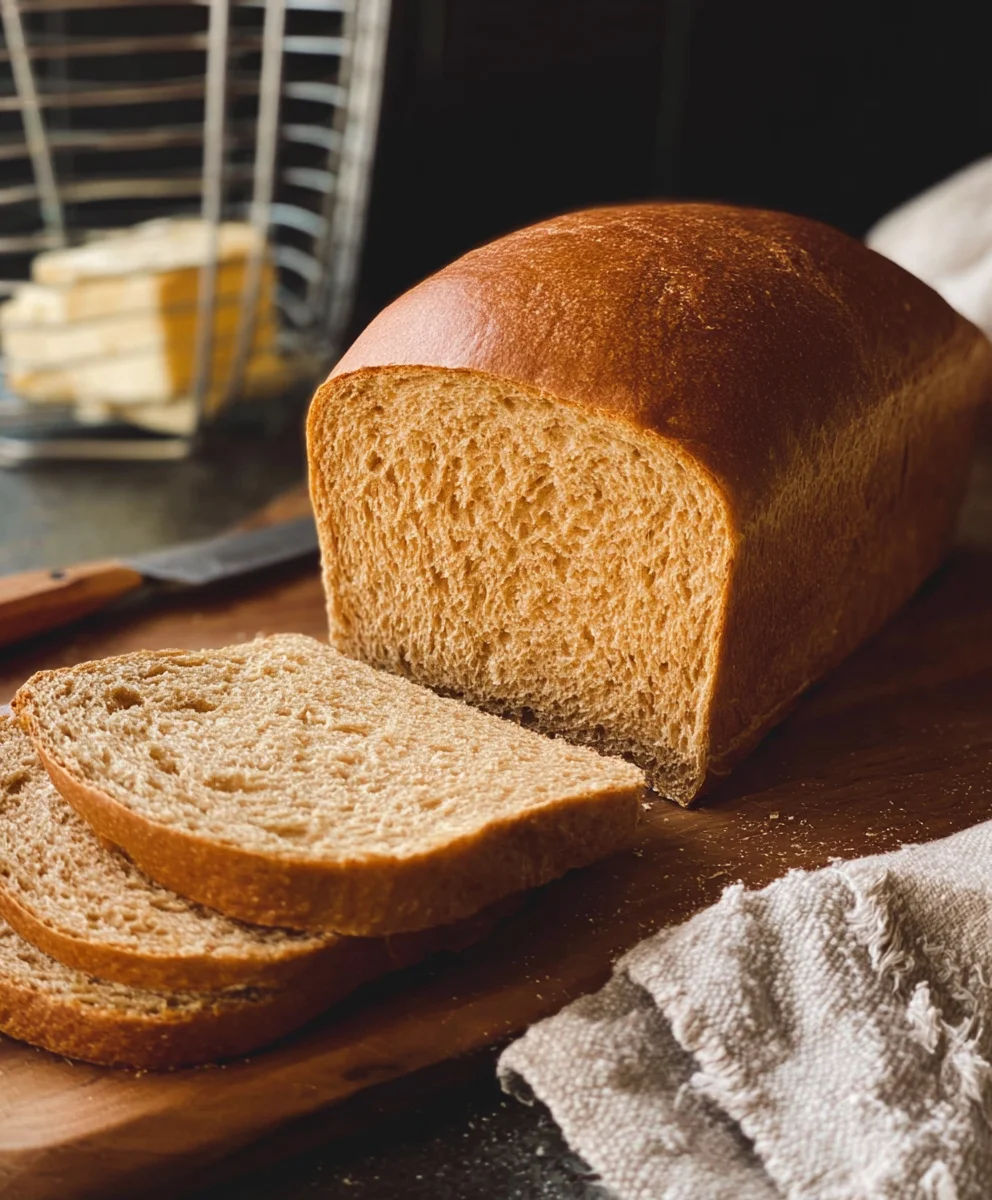
We hope you’ve enjoyed baking this Simple Honey Wheat Bread! As you can see, creating a delicious and wholesome loaf at home is entirely achievable, even for begin extractners. This recipe, with its lovely balance of nutty whole wheat and the subtle sweetness of honey, is wonderfully versatile. It’s perfect for toasting with butter, serving alongside hearty soups and stews, or as the base for your favorite sandwiches. Don’t be afraid to get creative! Consider adding a handful of seeds like sunflower or pumpkin to the dough for extra texture and flavor, or perhaps a sprinkle of dried herbs like rosemary or thyme for a savory twist. The aroma filling your kitchen as this bread bakes is truly one of life’s simple pleasures. So go ahead, experiment, and savor every bite of your homemade creation. Happy baking!
Frequently Asked Questions:
Can I make this Simple Honey Wheat Bread without honey?
Yes, you can substitute the honey with an equal amount of maple syrup for a different but still delicious sweetening effect. Alternatively, you could use granulated sugar, though the honey contributes moisture and a unique flavor profile that might be missed.
My Simple Honey Wheat Bread came out a bit dense. What did I do wrong?
A common reason for dense bread is insufficient kneading or over-proofing. Ensure you knead the dough until it’s smooth and elastic, and allow it to rise in a warm place until doubled in size before baking. Overworking the flour can also contribute to a dense texture.
How long does Simple Honey Wheat Bread stay fresh?
Stored in an airtight container or bread bag at room temperature, this Simple Honey Wheat Bread should stay fresh for about 3-4 days. For longer storage, you can slice the cooled loaf and freeze it. Toasting slices directly from frozen is a great option!
Easy Honey Wheat Bread Recipe
A delicious and simple recipe for homemade honey wheat bread, perfect for beginner bakers.
Ingredients
-
2 cups warm milk (approximately 110-115 degrees Fahrenheit)
-
1-1/2 tablespoons instant yeast
-
1 teaspoon sugar
-
1/2 cup warm water
-
2-1/2 cups whole wheat flour
-
3 to 3-1/2 cups bread flour or all-purpose flour
-
3 tablespoons shortening
-
1/4 cup honey
-
1 tablespoon salt
-
1 large egg whisked with 1 tablespoon water (for egg wash)
Instructions
-
Step 1
Activate yeast: In a large bowl, combine 2 cups warm milk (110-115°F), 1-1/2 tablespoons instant yeast, and 1 teaspoon sugar. Let sit for 5-10 minutes until foamy. -
Step 2
Combine wet and dry ingredients: Whisk together 2-1/2 cups whole wheat flour and 1 tablespoon salt in a separate bowl. Add 1/2 cup warm water and 1/4 cup honey to the yeast mixture. Stir to dissolve honey. Gradually add the whole wheat flour mixture and 3 cups of bread flour, mixing until a shaggy dough forms. -
Step 3
Knead the dough: Turn the dough out onto a lightly floured surface. Knead for 8-10 minutes until smooth and elastic. Incorporate 3 tablespoons of shortening during kneading until fully combined and no longer sticky. -
Step 4
First rise: Lightly grease a large bowl. Place dough in the bowl, turn to coat. Cover and let rise in a warm place for 1 to 1-1/2 hours, or until doubled in size. -
Step 5
Shape the loaves: Punch down the dough and divide into two equal portions. Shape each portion into a smooth ball, then flatten into a rectangle and tightly roll up. Place seam-side down in greased 9×5 inch loaf pans. -
Step 6
Second rise and bake: Cover the pans loosely and let rise for 45 minutes to 1 hour. Preheat oven to 375°F (190°C). Brush tops with egg wash. Bake for 30-35 minutes until deep golden brown and internal temperature reaches 200-210°F. -
Step 7
Cool the bread: Remove loaves from pans immediately and cool completely on a wire rack before slicing.
Important Information
Nutrition Facts (Per Serving)
It is important to consider this information as approximate and not to use it as definitive health advice.
Allergy Information
Please check ingredients for potential allergens and consult a health professional if in doubt.