Easy French Dressing Pasta Salad Recipe
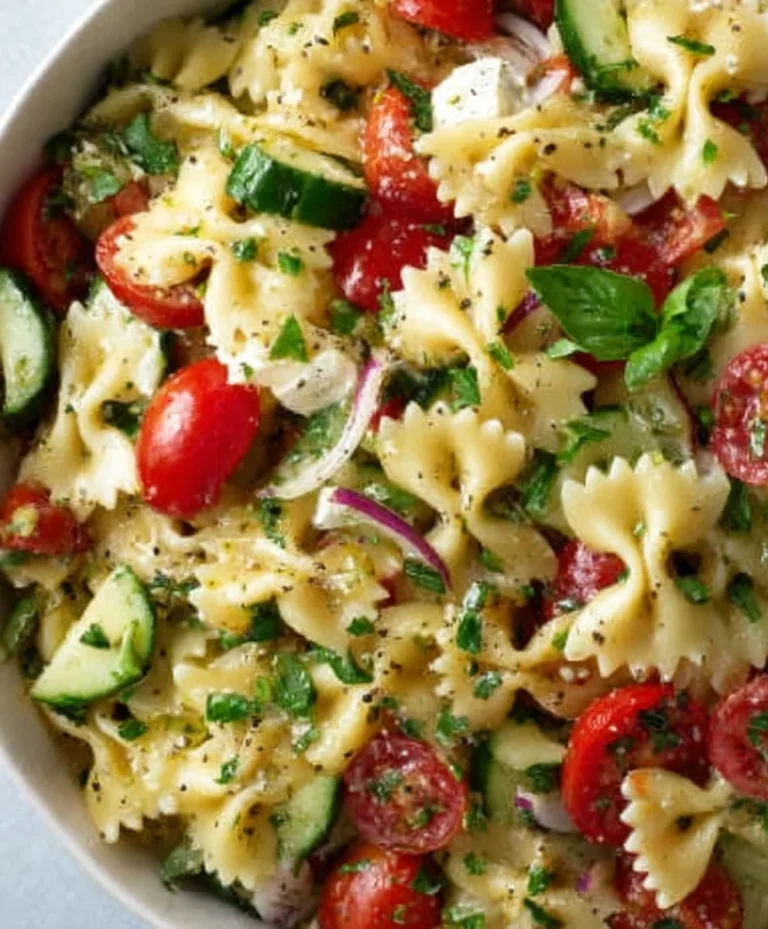
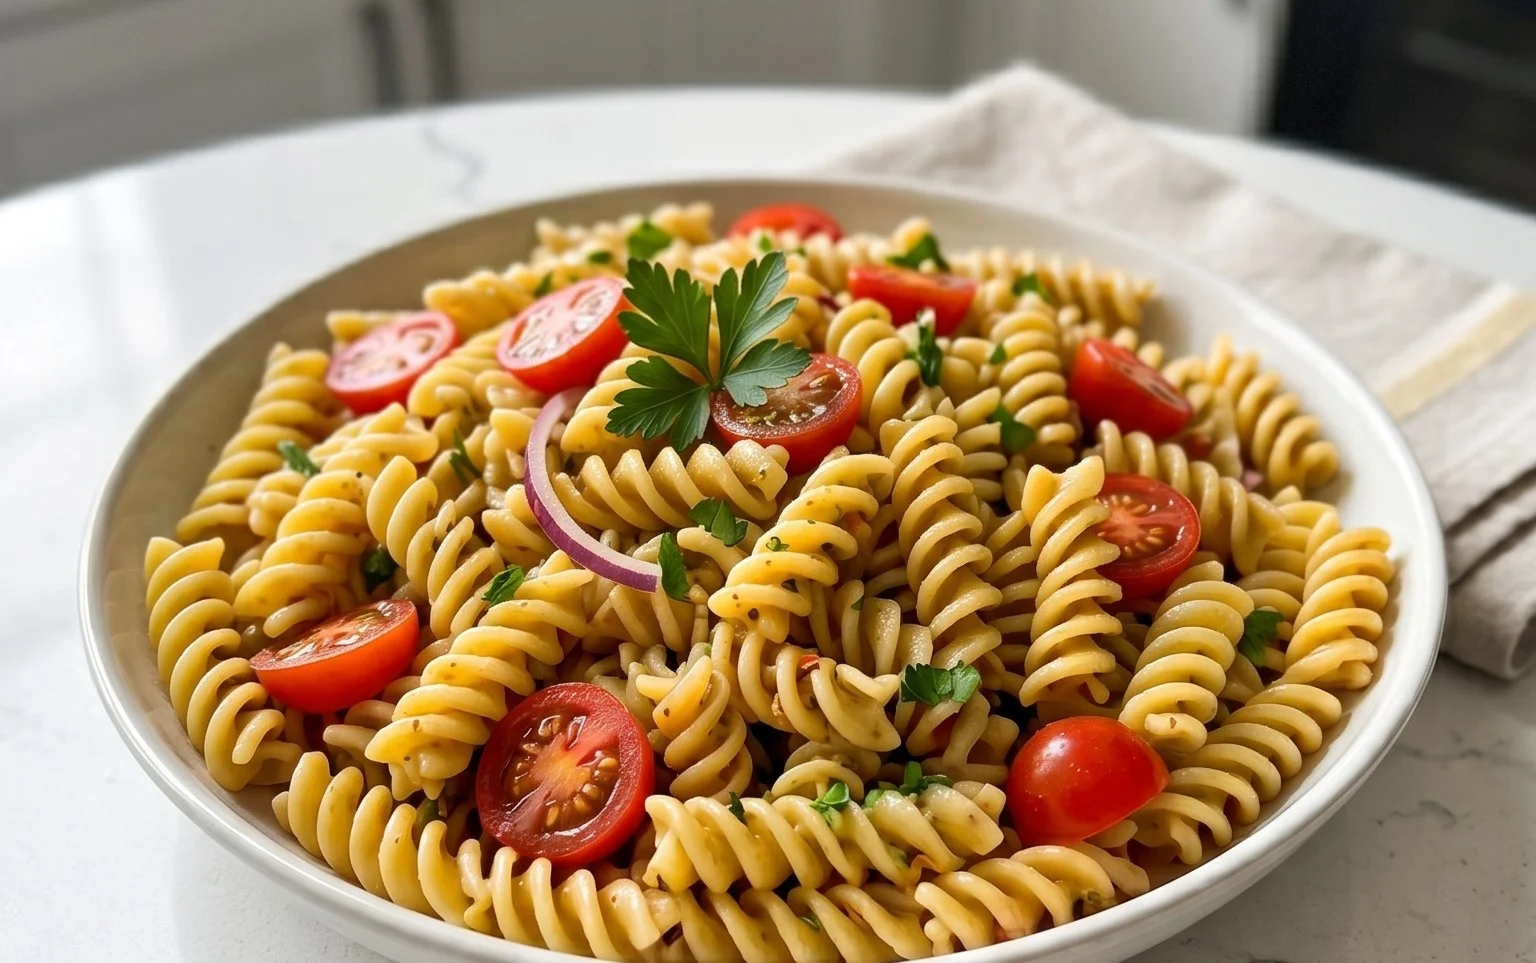
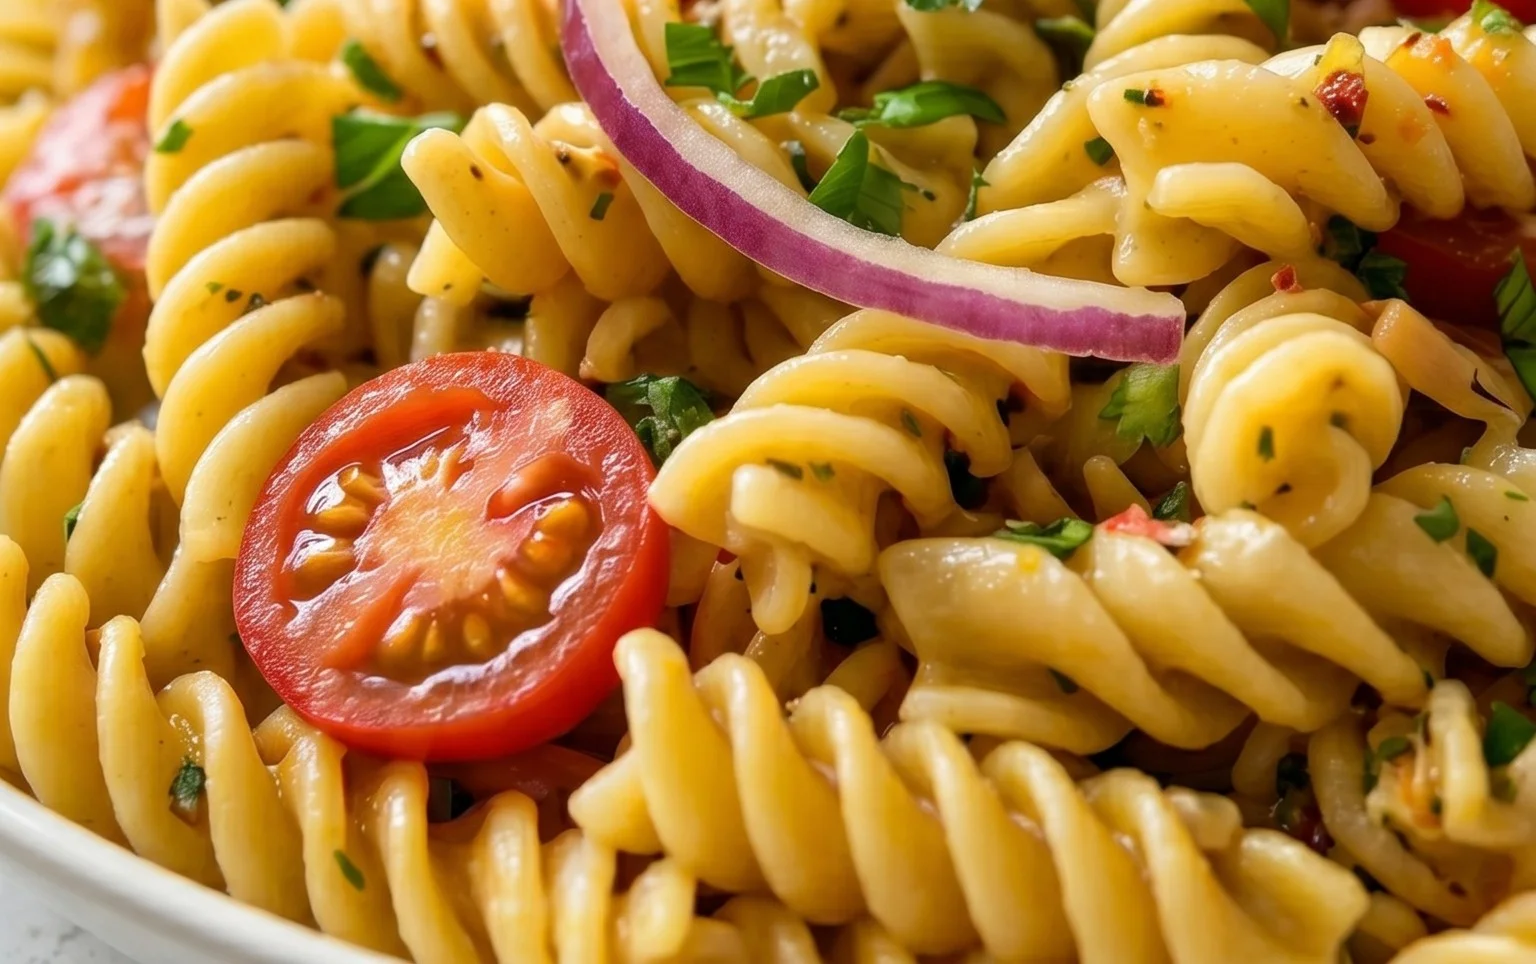
French Dressing Pasta Salad is a classic for a reason, and I’m about to show you why it deserves a permanent spot in your summer potluck rotation. There’s something incredibly comforting and universally loved about a good pasta salad, and this particular version, with its signature zesty and slightly sweet dressing, truly shines. We’re talking about a dish that’s bursting with vibrant flavors and textures, making it an instant crowd-pleaser at any gathering. What sets our French Dressing Pasta Salad apart is the perfect balance of creamy dressing coating perfectly cooked pasta, mingled with crisp vegetables that add a delightful crunch. It’s that irresistible combination of familiarity and a touch of something special that keeps people coming back for more. Get ready to impress your friends and family with this delightful, easy-to-make French Dressing Pasta Salad!
Ingredients:
French Dressing Pasta Salad: A Flavorful Favorite
There’s something undeniably satisfying about a hearty pasta salad. It’s the perfect dish for potlucks, picnics, or even a simple weeknight meal that feels a little more special. My French Dressing Pasta Salad is a recipe that’s been a hit at countless gatherings, and for good reason! It’s incredibly easy to whip up, packed with delightful textures and a creamy, tangy dressing that coats every single piece of pasta. The combination of savory beef ham, sweet peas, sharp cheddar, and the zesty kick of French dressing creates a flavor profile that’s both comforting and exciting.
This salad is incredibly forgiving, making it ideal for even novice cooks. You can easily adjust the ingredients to suit your taste. Love a little extra crunch? Add some diced celery! Prefer a bit of sweetness? A handful of halved cherry tomatoes can be a lovely addition. But as it stands, this recipe is a beautiful balance of flavors that truly shines. It’s also a fantastic make-ahead option, as the flavors meld together beautifully as it chills, making it even more delicious the next day. So, let’s get started on creating this crowd-pleasing pasta salad!
Cooking the Pasta
The foundation of any great pasta salad is, of course, perfectly cooked pasta. For this recipe, bowtie pasta is my go-to choice. Its elegant shape not only looks appealing but also does a wonderful job of holding onto that delicious dressing.
Assembling the Salad
Once your pasta is cooled, it’s time to bring all the delicious components together. This is where the magic truly happens, transforming simple ingredients into a delightful pasta salad.
Chilling and Serving
The final, and arguably most important, step in creating the best pasta salad is allowing it to chill. This allows all the individual flavors to meld together, creating a cohesive and deeply satisfying dish.
Conclusion:
And there you have it! This French dressing pasta salad is truly a crowd-pleaser, offering a delightful balance of creamy, tangy, and fresh flavors that make it perfect for any occasion. It’s incredibly versatile, acting as a fantastic side dish for barbecues, a light lunch on a warm day, or even a hearty main course when you add some grilled chicken or chickpeas. The simplicity of this recipe is one of its greatest strengths, allowing you to whip up a delicious and satisfying meal with minimal fuss. Don’t be afraid to experiment with the ingredients to make it your own – the possibilities are endless!
I encourage you to give this French dressing pasta salad a try. You’ll be amazed at how quickly it becomes a go-to recipe in your culinary repertoire. So grab your favorite pasta, that bottle of French dressing, and get ready to enjoy a truly delicious and refreshing dish!
Frequently Asked Questions:
Can I make this French dressing pasta salad ahead of time?
Absolutely! This salad is actually even better when made a few hours or even a day in advance. This allows the flavors to meld together beautifully. Just ensure you store it in an airtight container in the refrigerator. You might need to give it a quick stir and add a splash more dressing before serving if it seems a little dry.
What are some good protein additions for this pasta salad?
There are many fantastic options! Grilled chicken breast, shredded rotisserie chicken, cooked shrimp, flaked tuna, hard-boiled eggs, or even plant-based proteins like canned chickpeas or black beans work wonderfully. These additions will transform your pasta salad into a more substantial and filling meal.
Can I use a different type of pasta?
Yes, definitely! While rotini, fusilli, or penne are excellent choices because they hold the dressing well, feel free to use whatever pasta you have on hand or prefer. Bowtie pasta, farfalle, or even elbow macaroni would be delicious in this French dressing pasta salad.
French Dressing Pasta Salad
A quick and easy pasta salad featuring bowtie pasta, ham, peas, and a creamy French dressing.
Ingredients
-
3 cups uncooked bowtie pasta
-
1/2 cup diced red onion
-
1 6oz package diced pork loin, diced
-
1 10oz package frozen peas, cooked
-
1/2 teaspoon salt
-
1/8 teaspoon pepper
-
3/4 cup sour cream
-
1 cup French dressing
-
1/2 cup shredded Cheddar cheese
Instructions
-
Step 1
Cook the bowtie pasta according to package directions. Drain and rinse with cold water. -
Step 2
In a large bowl, combine the cooked pasta, diced red onion, diced pork loin, and cooked peas. -
Step 3
In a separate small bowl, whisk together the sour cream, French dressing, salt, and pepper. -
Step 4
Pour the dressing mixture over the pasta and ham mixture. Toss gently to combine. -
Step 5
Stir in the shredded Cheddar cheese. -
Step 6
Chill for at least 30 minutes before serving.
Important Information
Nutrition Facts (Per Serving)
It is important to consider this information as approximate and not to use it as definitive health advice.
Allergy Information
Please check ingredients for potential allergens and consult a health professional if in doubt.